
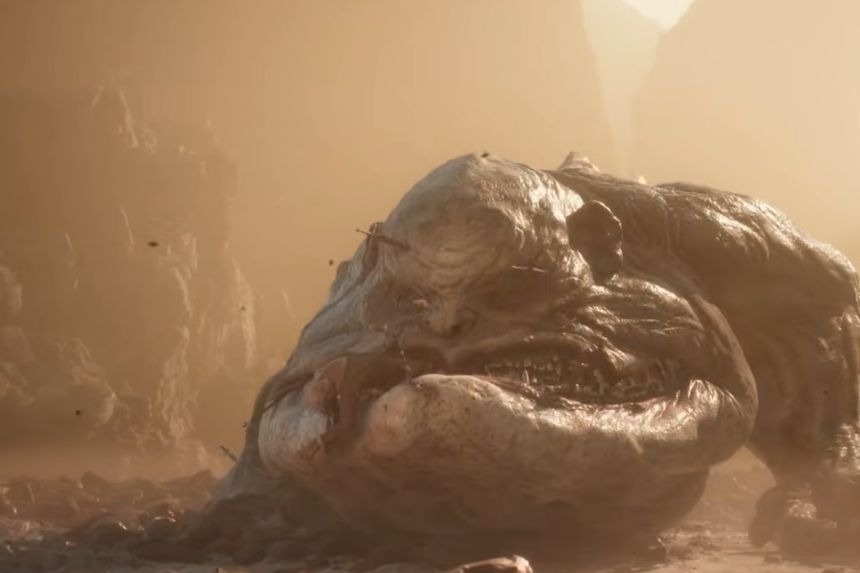
In Mortal Shell 2, the Lost Child can be considered a difficult boss, but with proper positioning and timing, its attacks can be countered easily. In this guide, we will explain different approaches to finding the Lost Child, its attack patterns and second form mechanics, as well as the strategies, summons, and rewards you get from defeating it.
Lost Child Location
The Lost Child can be located by walking from the Sanguine Shoreline Beacon to the Sanguine Caverns. Continue through the area until you reach the Lost Child’s boss encounter.
How to Beat Lost Child
Stay on Its Left Side
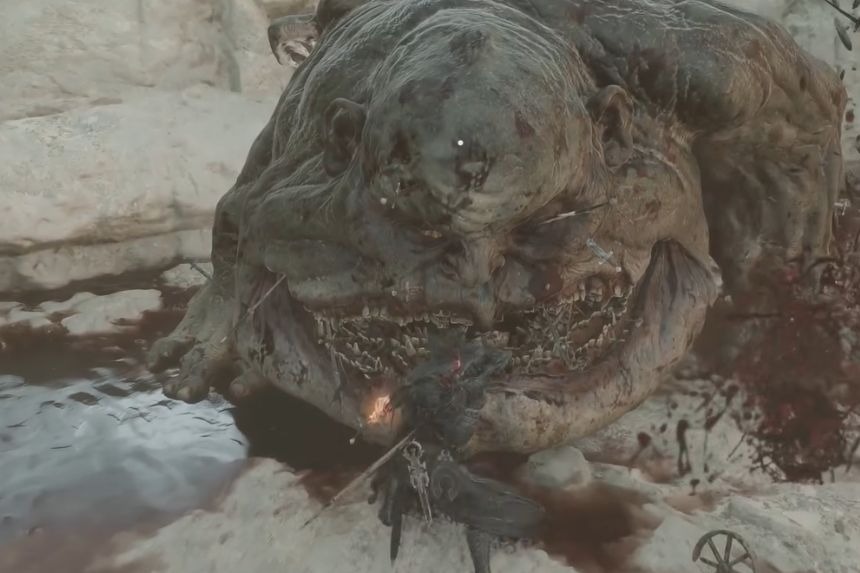
Its right arm is the Lost Child’s most active attacking limb, so staying on its left side makes many of its attacks easier to avoid. During the battle, try to stay close to the boss and direct yourself between its arm and tail to land safer hits.
In many ways, the battle is one where you need to dodge rather than block or parry. Just remember to dodge diagonally so that you move away from the attack while also moving toward the boss. Its right-arm attacks have hitboxes concentrated on that side, making your positioning particularly important.
Some attacks can also put the Lost Child into an animation that will make him unable to move for a few moments, hence players need to capitalize on this time to deal more damage.
Watch for Red Attacks
During the red attack performed by the Lost Child, you can either use a melee or long-range option to perform an attack. If you time your attack correctly, you will be able to break the boss and inflict damage to it while it’s vulnerable.
You must keep dodging to your left while observing for such opportunities. After breaking the boss, you must follow it up with maximum damage.
Use the Crossbow When It Creates Distance
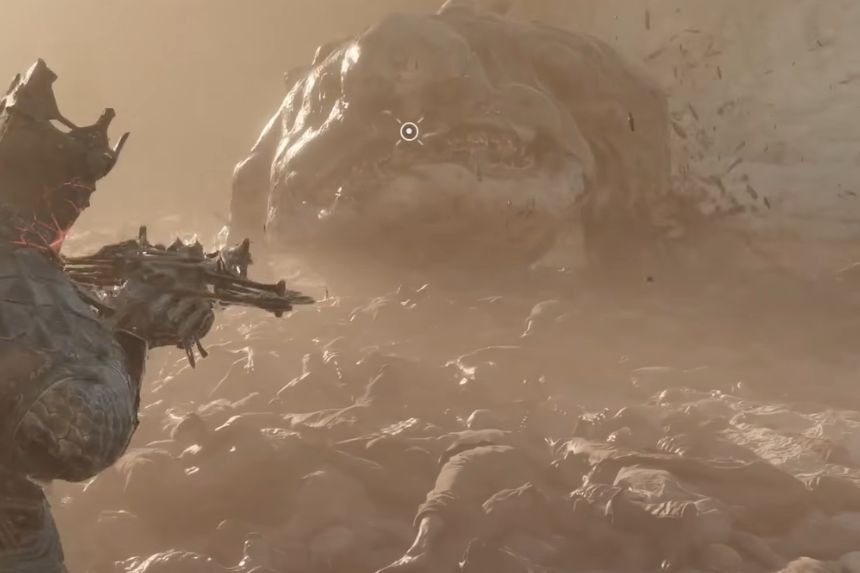
When it comes to the engagement with Lost Child, the crossbow becomes helpful when the enemy is at a distance. The breath attack has its maximum range, thus you can avoid it and use this opportunity to fire some bolts.
Alternatively, if you are close enough to move to the side when the boss performs the conal breath attack, you can evade it as well.
Watch Out for the Grab
A vexing move of the Lost Child is its grabbing mechanism which is essential in the second phase of battle. As the boss’s health goes below half, it unleashes a quick red attack where it grabs you, eats you, and spits you out from behind. This can potentially one-shot a low-level character.
As soon as you see the boss preparing for the grab attack and catch a glimpse of the red glimmer, it would be advisable to go backwards right away. After dodging the grab attack, you will have time for several strikes.
Such unblockable strikes though also deadly are not carried out fast and can easily be recognized thus giving players enough time for dodging.
Deal With the Second Phase
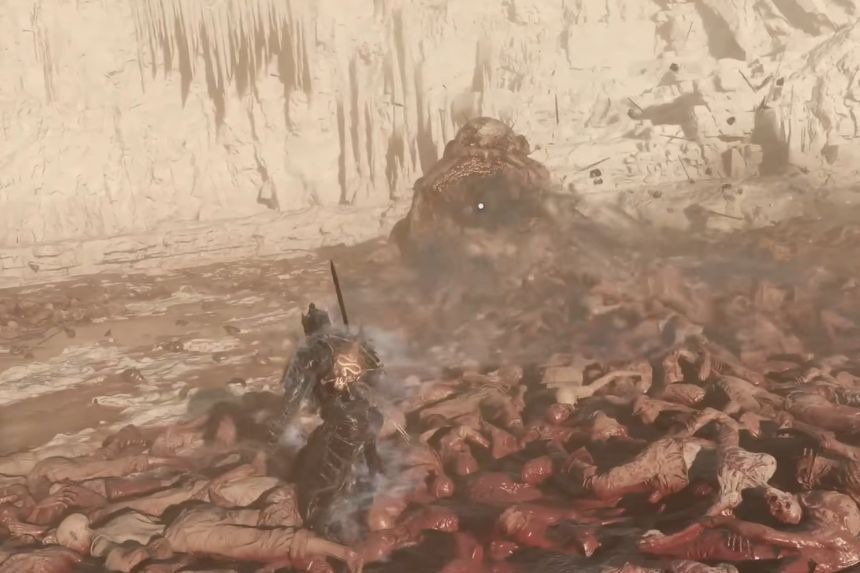
The Lost Child adds more strikes in Phase 2. As soon as you see the red circles on the ground, you should step away from the boss to prevent the attack from coming toward you.
You can dodge its right-arm strikes, but you can also choose to block them. Parrying is a viable option, but blocking may lead to your shield getting destroyed as well.
If you notice that you are caught by the wind attack, you need to shift your position to the right.
Summon Tiel
You can summon Tiel just past the updraft leading to the boss arena. You need to spend Glimpse to summon him, so make sure you have enough Glimpse beforehand if you want the additional help. Tiel’s ultimate attack can also be useful if you’re worried about getting hit during the fight. At Tier 2, you can use Tiel’s invisibility to your advantage.
Lost Child Rewards
Defeating the Lost Child rewards you with:
- Lost Clotstone ×1
- Gloom ×13,019
- Meat’s Back on the Menu, Boys! achievement for defeating the Lost Child.
Overall, the fight becomes much more manageable once you stick to the Lost Child’s left side, keep dodging, and take advantage of its red attacks and other openings.