
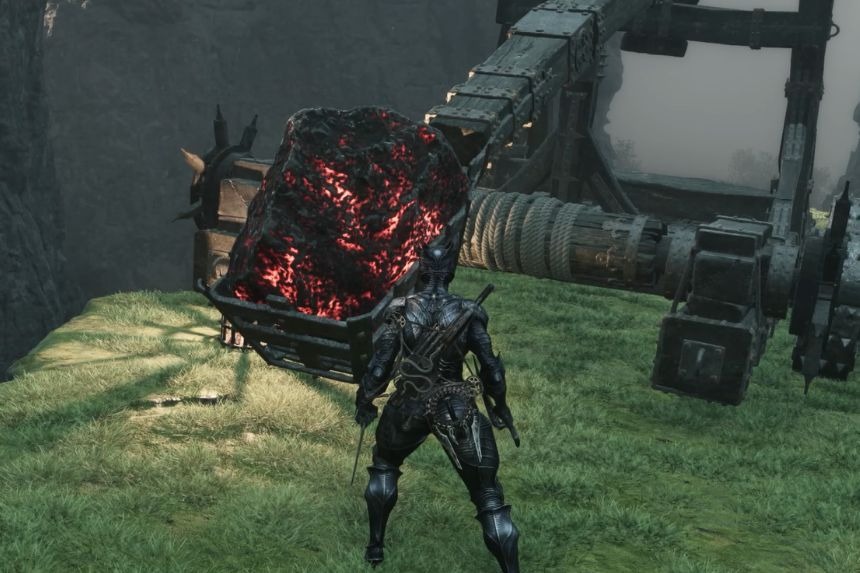
An essential item in Mortal Shell 2 is the Makeshift Projectile which has a certain functionality. This item can be utilized in a catapult in the Mammon region and it has the ability to throw out an enormous boulder which can smash through a hidden barrier to reveal the way to the Alchemist’s Workshop dungeon.
Finding the Makeshift Projectile
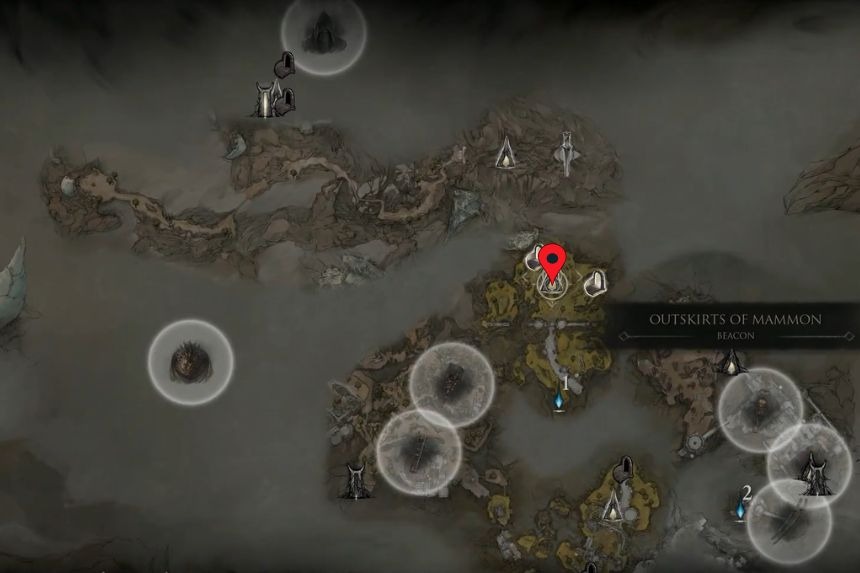
Your adventure begins in the Outskirts of Mammon Beacon, where you’ll need to follow the path on the right until you reach the portal. Pass through the portal before continuing on the right side of the path toward the miners.
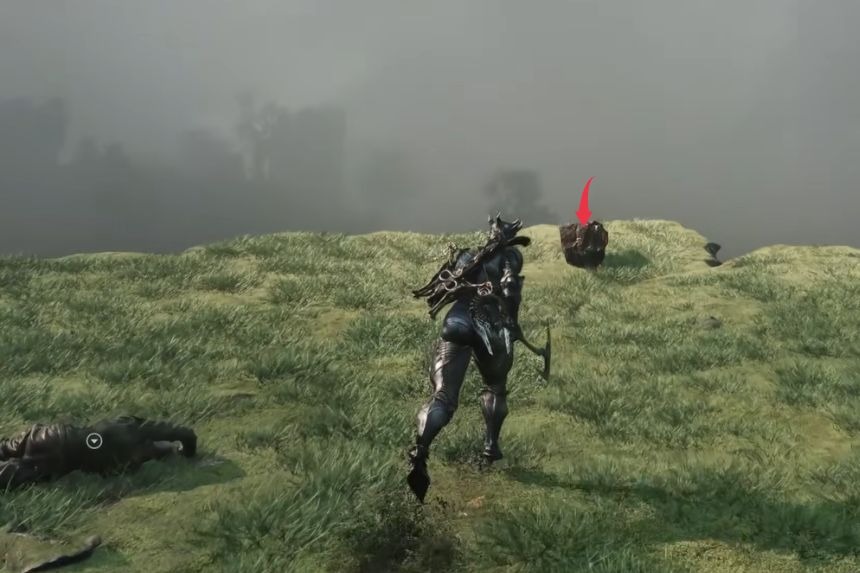
Once you pass the miners, keep proceeding upward. You will discover an area ahead guarded by three Grisha villagers, which you will have to defeat in order to claim the Makeshift Projectile that could be found on the nearby edge.
Loading the Catapult
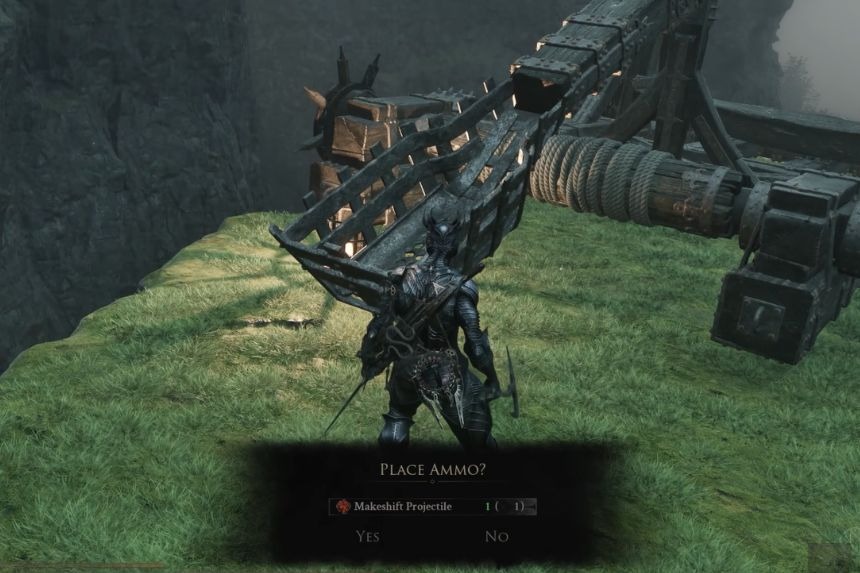
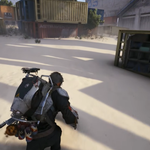
Your next step after acquiring the projectile will be to travel to the location of the catapult near the Outskirts of Mammon Beacon. The weapon is found in a grassy area and is protected by some soldiers. Ruk can also be seen nearby.
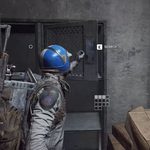
When you reach the siege weapon, interact with it and wait for the “Place Ammo” option to appear on your screen. Use that option to load the Makeshift Projectile in the catapult before proceeding to launch it.
Finding the Impact Site
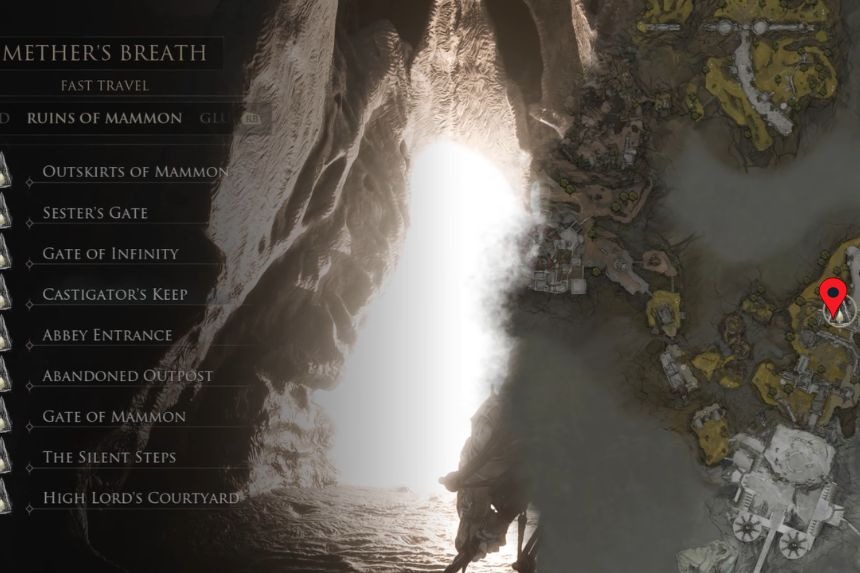
The rock lands down somewhere close to Castigator’s Keep. Move west to the area filled with rocks where a construction site is occupied by Miners.
Follow the path along the cliff to reach the location. The place will appear damaged by the impact and produce a large hole that will make the entrance to the Alchemist’s Workshop visible.
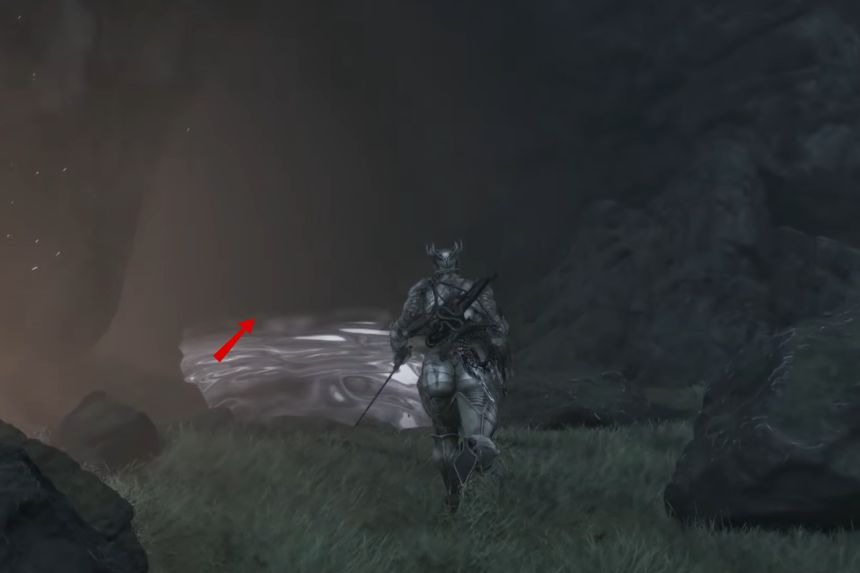
The dungeon can be found in the chain of islands west of Castigator’s Keep and east of the Gate of Mammon’s Beacon. The area hides the entrance behind a fake wall until a Makeshift Projectile is fired.
Alchemist’s Workshop Loot and Encounters
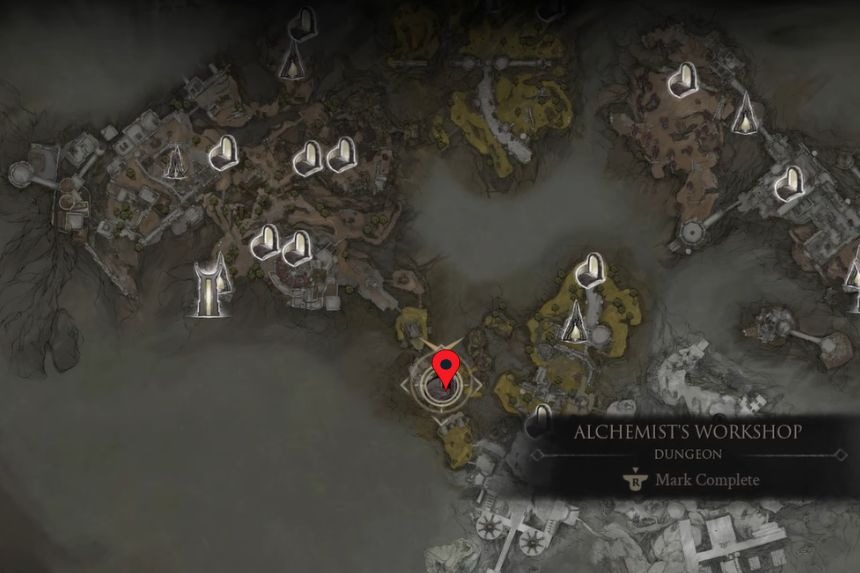
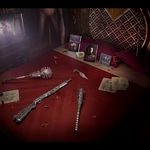
The Alchemist’s Workshop provides a couple of good discoveries. You can find a potion on the table, with which it is possible to rotate the camera, but using the table prompt again makes the effect disappear.
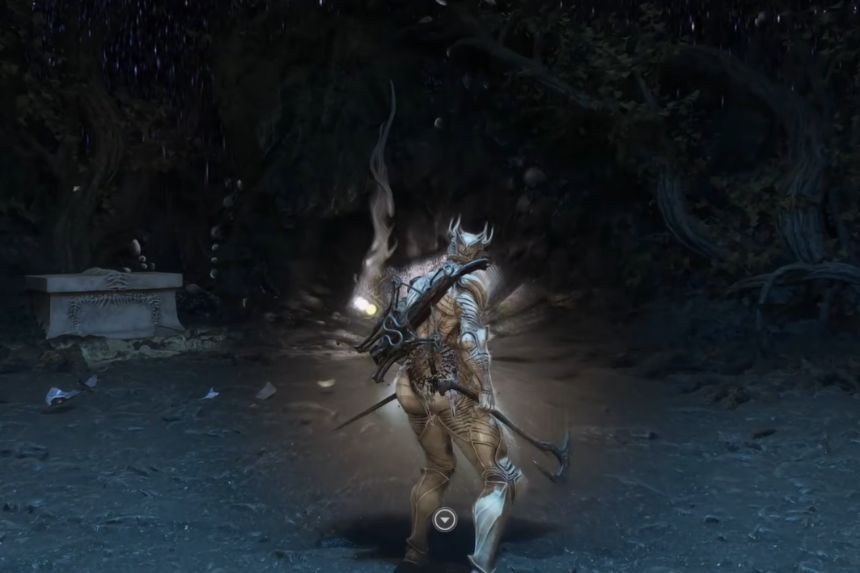
In the back of the Workshop, you will find a Synaptic Vessel on the dais, which helps improve the Mether’s Flask, while five Glimpse materials can also be collected for your shells. Last, you need to go down the elevator shaft, since the Clockwork Shardstone is guarded by a Shell Snatcher.
The Clockwork Sharstone can be found in the corner, inside the stone chest. Retrieving it will give you the following effects if equipped on your primary weapon.
- Tier 1 – When equipped, Resolve will be consumed over time to hold your weapon in front of you and project a spinning chainsaw.
- Tier 2 – Each spin deals 12% weapon base damage.
- Tier 3 – Each spin deals stagger damage worth 15 damage output.
- Tier 4 – Each spin deals 20% weapon base damage.