As the shadows of Diablo 4: Season 9 grow deeper and players persevere on their journey through Horadric mysteries, they will eventually unlock The Priestess Horadrim quest. This chapter picks up on the action of Wisdom’s Chosen, pushing players further into forgotten dungeons and abandoned ruins tied to the heritage of Iben Fahd.
If you’re unsure how to proceed with this multi-step objective and where you can find all of these relics, here is a step-by-step guide that walks you through the quest from start to finish.
Discovering the Horadric Relics

Once you’ve completed Wisdom’s Chosen, you’re awarded the quest The Priestess Horadrim in your log. The task puts you on pilgrimage across Sanctuary to reclaim three significant Horadric relics—each hidden within one of the old world dungeons.
These relics are central not only to your mission but to what motivates—and corrupts—the power of the Blood Relics you’ve seen up to now this season.
Step 1: Explore the Forgotten Depths
First, head to the Forgotten Depths dungeon, a dark, corrupted area with traps and imprisoned spirits. While your mission is to track down a relic, it won’t be waiting in ambush.
You must complete the entire dungeon, which includes:
- Rescuing trapped prisoners
- Recalling the mechanical box
- Beating the last boss, Tomb Lord
Once you defeat the boss, loot the Embalming Tool, your first relic. You will also receive a Torn Scroll, which gives you a cryptic clue about where you should proceed next.
Step 2: Get the Scroll from the Sunken Library

Sunken Library, which is next to the Iron Wolves Encampment, is where you’re headed to. Go in and move forward until you meet a path fork. At the fork:
- Go right
- Watch for a red skull icon on your mini-map, where the Archival Guardian mini-boss is
- Defeat this mini-boss to get the Letter to Iben Fahd, your second key item and guide to where the final relic is located.
Step 3: Search Mercy’s Reach
Your final relic awaits in Mercy’s Reach, a dungeon tucked away in the southern part of the map. From the entrance:
- Take the southern path
- At the first junction, turn northeast
- Then turn southeast at the next fork
- Here, you’ll encounter the duo Rograk and Takral, known as the Knight Hunters. One of them will drop the Zakarum Emblem, the last relic required for the quest.
Step 4: Return the Relics to Cerrigar
You now have all three relics—Embalming Tool, Letter to Iben Fahd, and Zakarum Emblem—so return to Cerrigar. You will be prompted to leave the relics in the designated area.
By doing this, not only do you complete The Priestess Horadrim, but you also advance the Season 9 story, previewing the deeper spiritual corruption that is afflicting Sanctuary and setting the stage for what’s to come.
Quest Rewards and What’s Next

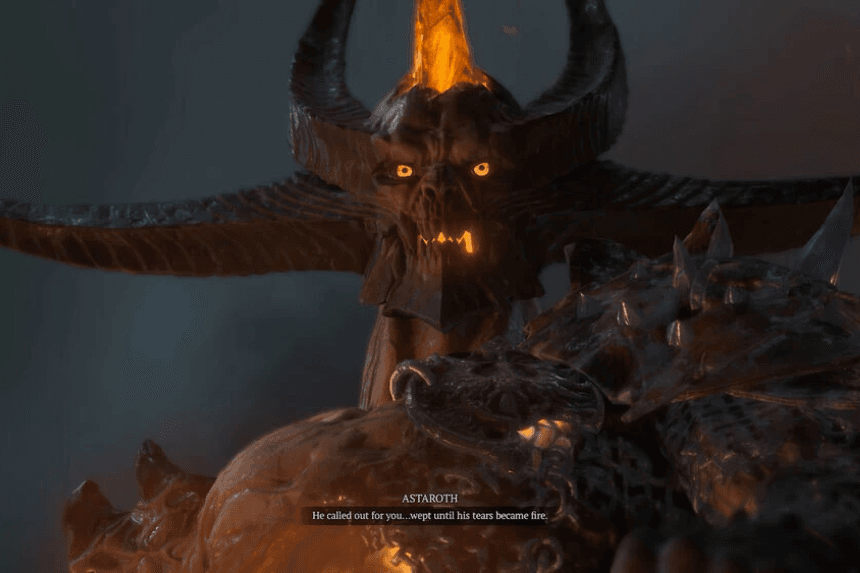
Though The Priestess Horadrim lacks a major high-profile boss battle or dungeon game mechanic twist, it is another vital component of the overall puzzle that contributes to the lore of the Horadrim’s shattered heritage and threat posed by Astaroth’s presence.
Following this quest’s completion, the next chapter of the seasonal story should be enabled automatically or become available soon after—continuing your search for relics into ever more dangerous realms.