You will need to find the Houndgar and bioscan it to help unlock Chum Cloud in Subnautica 2. To locate this hostile creature, you will have to find an alien ruin approximately 150 to 200 meters away from the life pod. In this guide, we’ll show you how to locate the alien ruins, provide you with markers, and explain how to safely finish your scan.
Head Toward the Alien Ruins
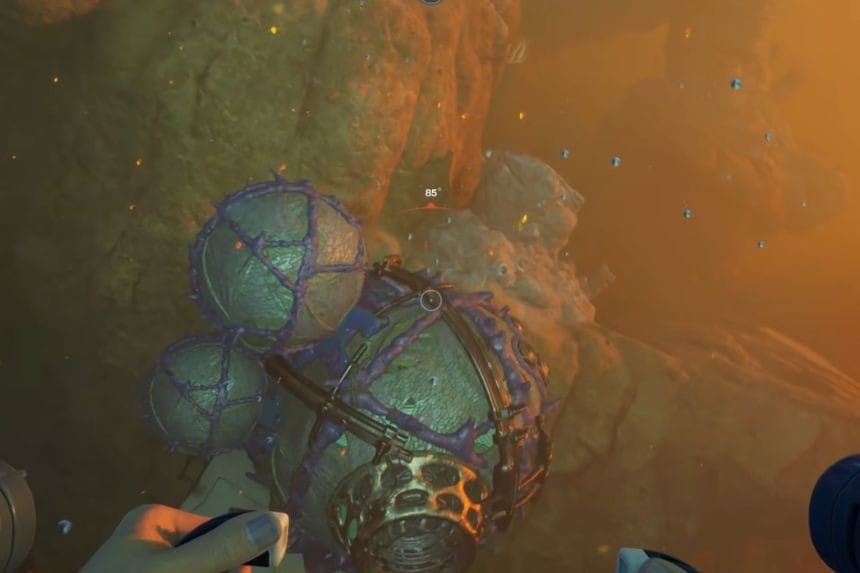
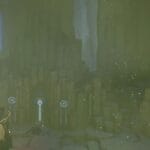
To perform a bioscan on the Houndgar, you’ll need to start at the life pod and head approximately 500 meters to the south-southeast or east-southeast roughly at 110°. Continue in a straight line until you reach the alien ruins; this will indicate you are close to the area where you need to perform the bioscan on the Houndgar.
Find the Pot Area
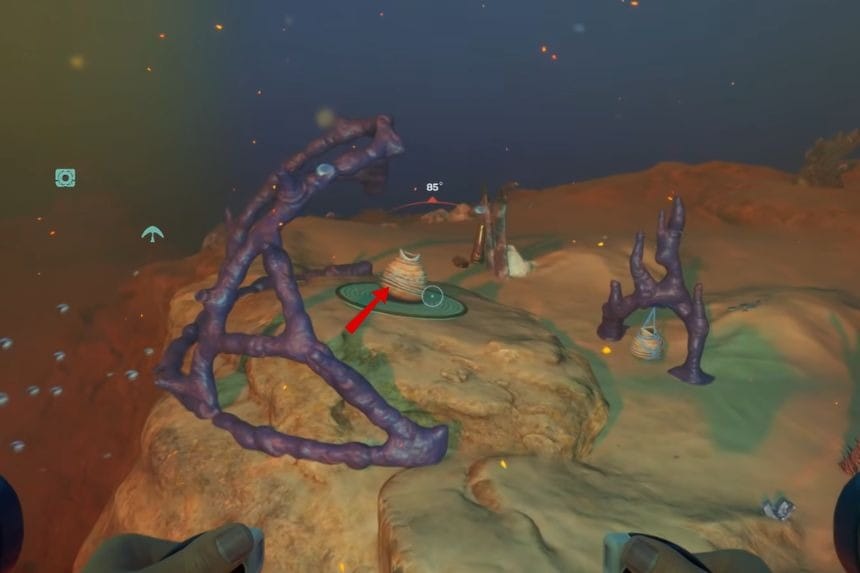
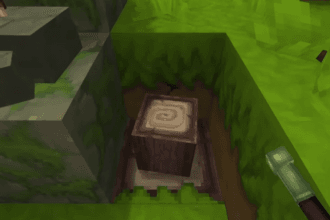
When you’ve arrived at the ruins, head slightly to your right and you should find a section with multiple creatures around you. There will be a pot located in the area, which serves as yet another landmark to confirm that you are where you should be. From there, head slightly up as you continue to search the area.
Scan the Houndgar
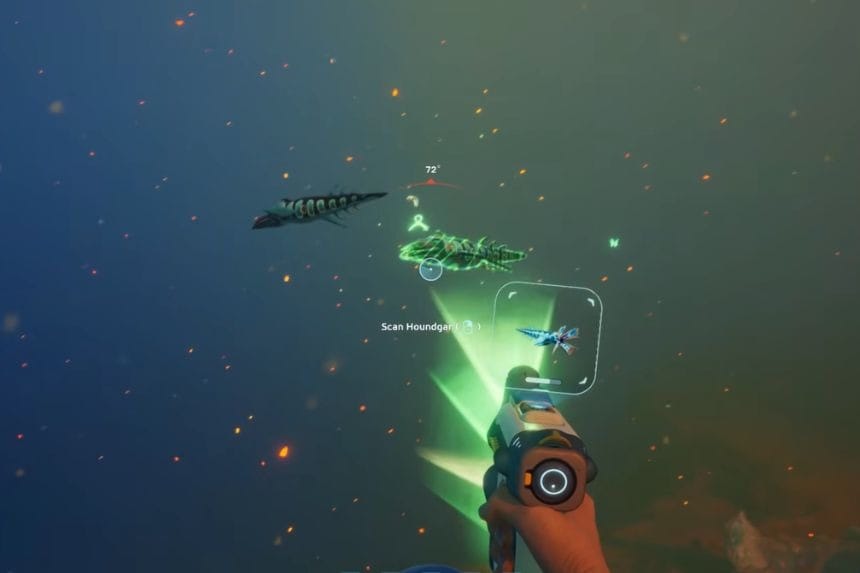
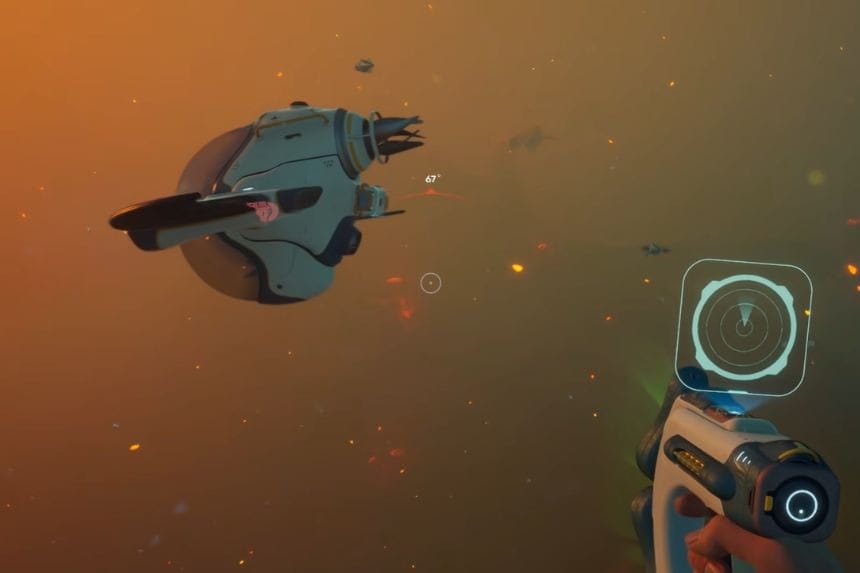
As soon as you come into contact with a Houndgar, they will almost attack you. Therefore, make sure your scanner is readily available before you come into contact with them. When you see the Houndgar, bring out your Bioscanner and scan the creature so that you can complete the scan before they attack you. Continue scanning the Houndgar until you finish. Once complete, the Houndgar entry will be added into the system successfully.
Scanning a Houndgar is one of the necessary steps to unlock the Chum Cloud Active Biomod. The remaining step includes scanning a Toxic Sponge.