

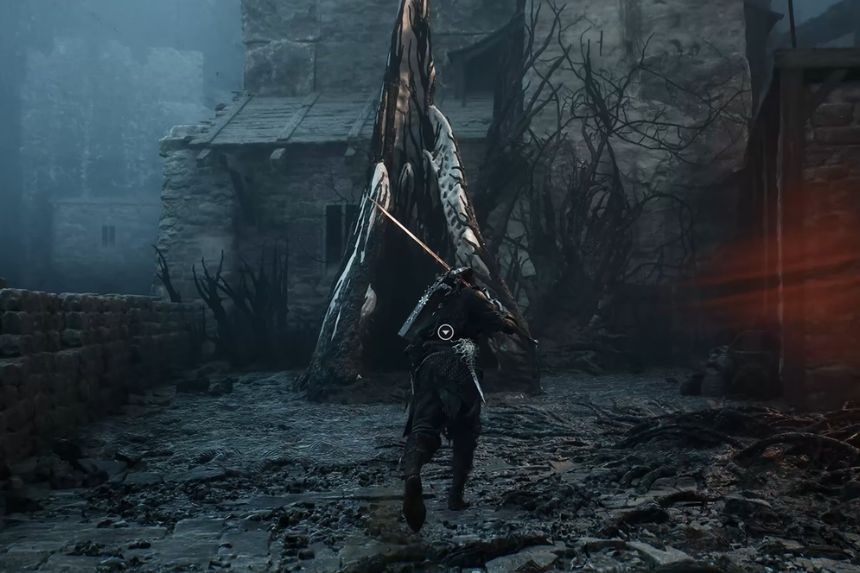
Prisoners’ Domain is home to four Beacons, each tucked away in different sections of the area. Finding them requires exploring hidden paths, breaking through walls, solving simple environmental obstacles, and using elevators and bridges. This guide covers the location of all four Beacons and explains how to reach each one.
All Beacons in Prisoners’ Domain
There are a total of four Beacons you’ll be able to find in Prisoners’ Domain. In case you can’t find the Prisoner’s Domain, it is right inside the Fainweald area’s Northwest gate. Here’s an easy breakdown on how to get each one of them:
Beacon 1 – Slumwater Drain
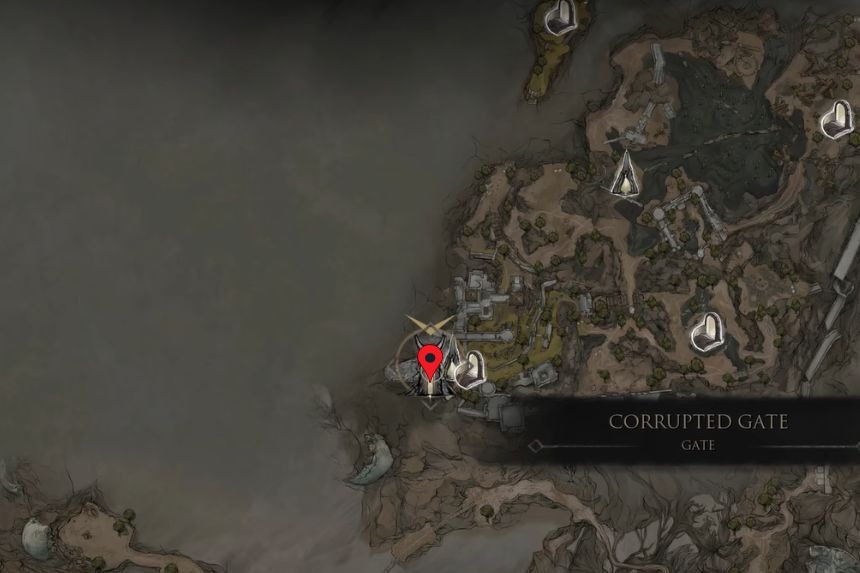
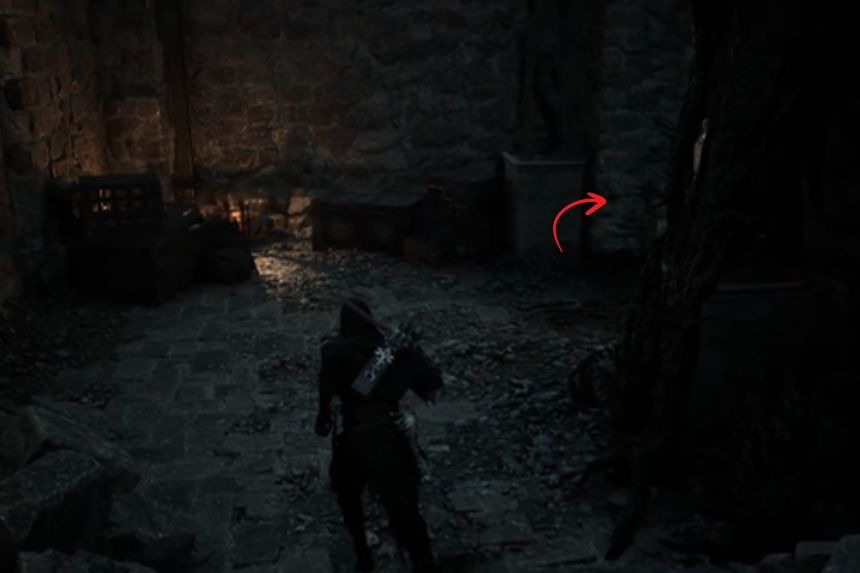
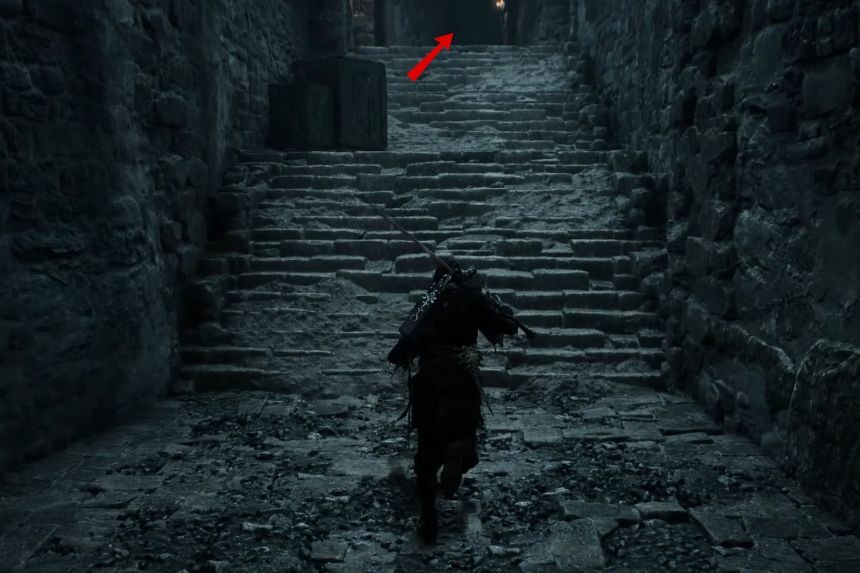
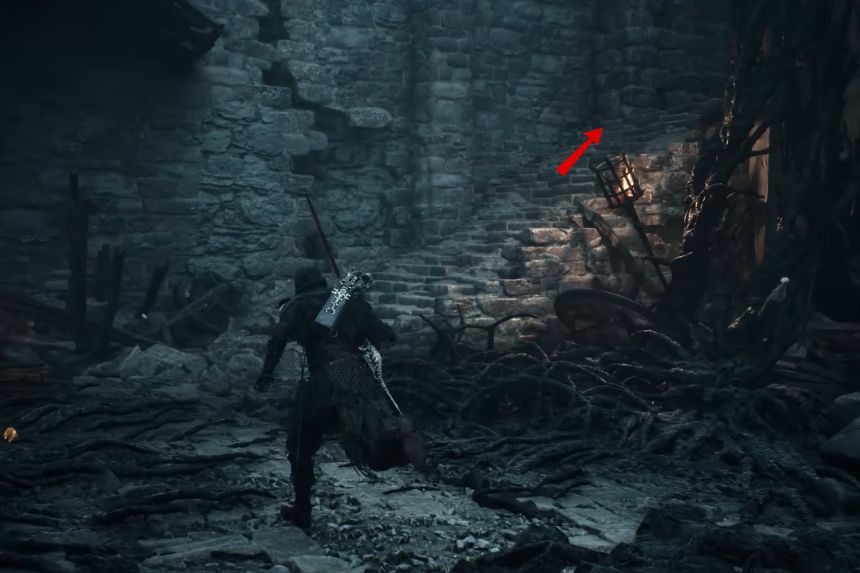
You’ll need to start from the Corrupted Gate. Follow a straight path, ascend the stairs, cross the huge gate, and then take the stairs on the right to go up.
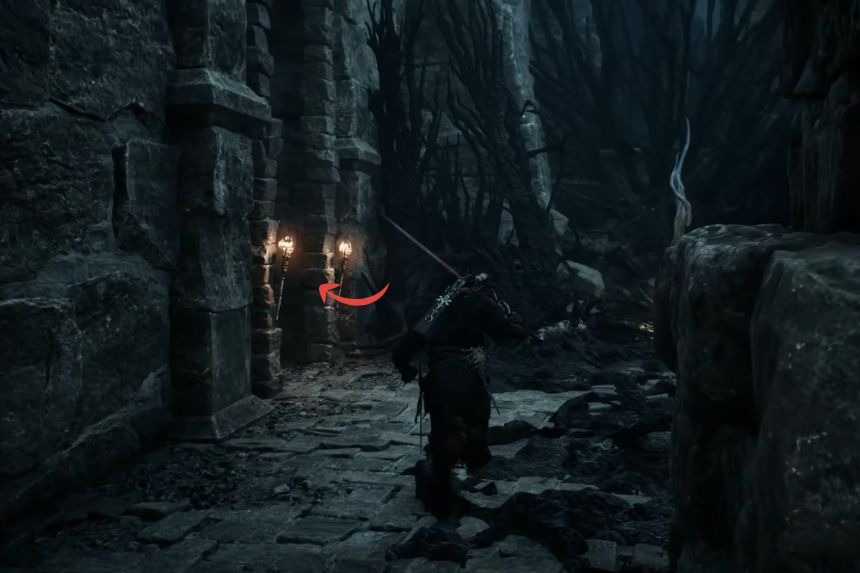
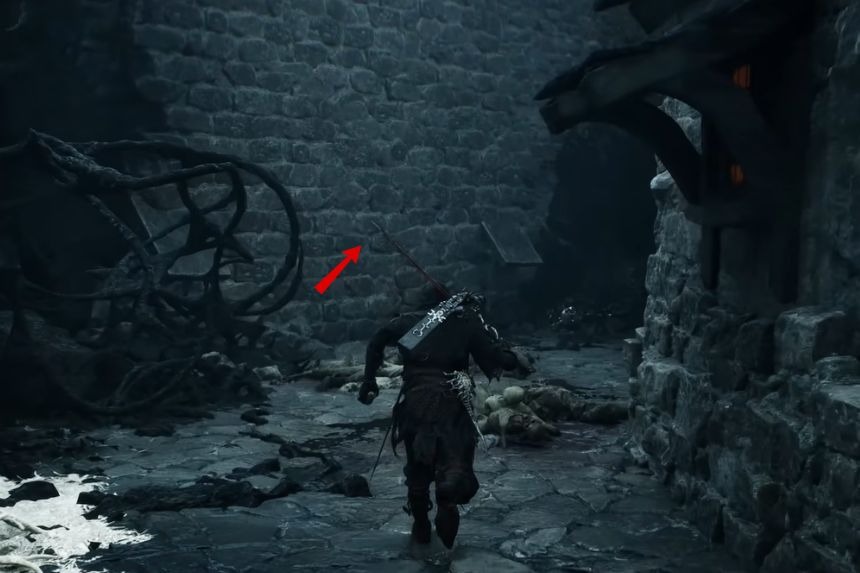
After reaching the top, go left, and follow the path until you reach a brick wall in front of which you’ll find a house. Use your sword on the wall and it’ll reveal a new area to you. Jump to the newly discovered area and go right until you find an enemy behind which there is a hole in the ground.
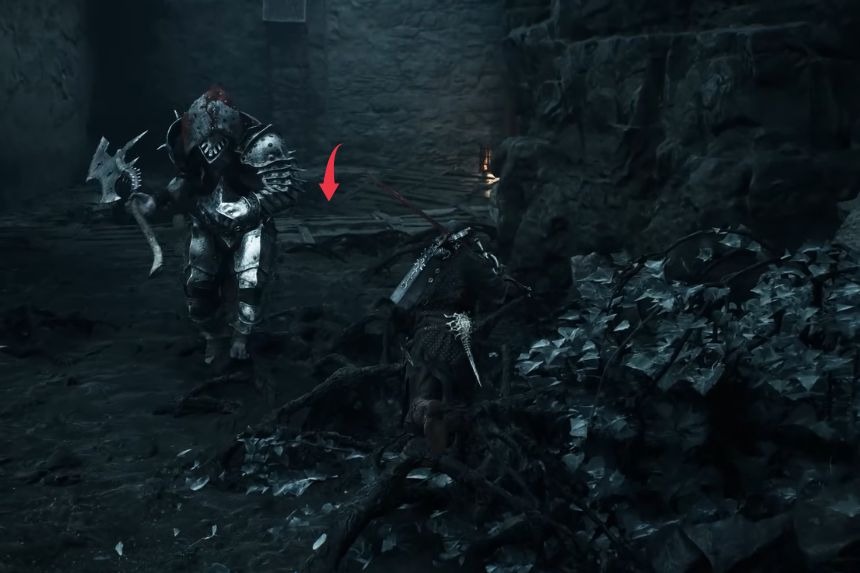
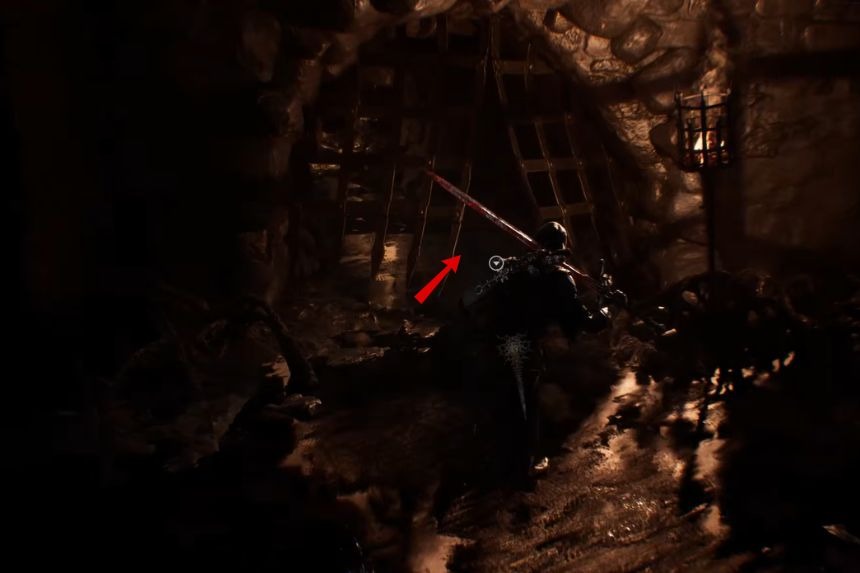
Jump down through the hole and you’ll come across the Entrance to Slumwater Drain behind which the Slumwater Beacon can be found.
Beacon 2 – Hangman’s Scaffold
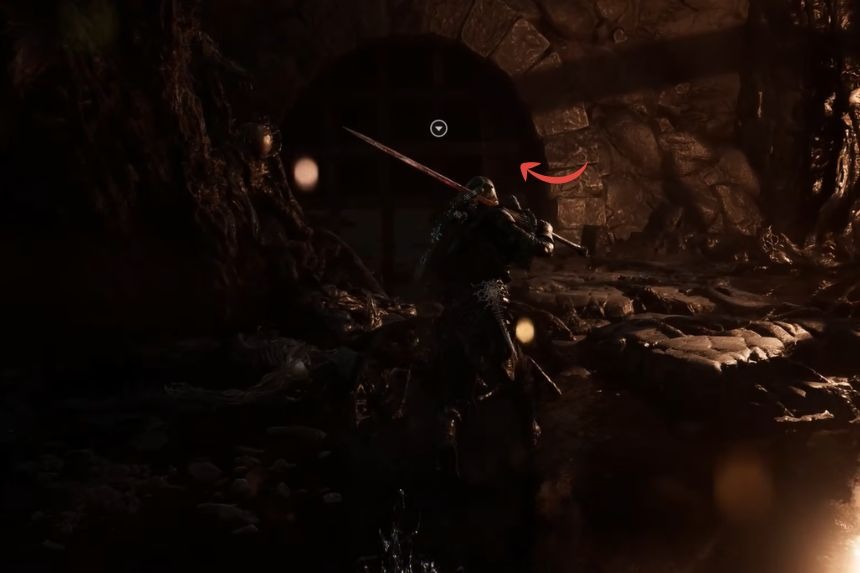
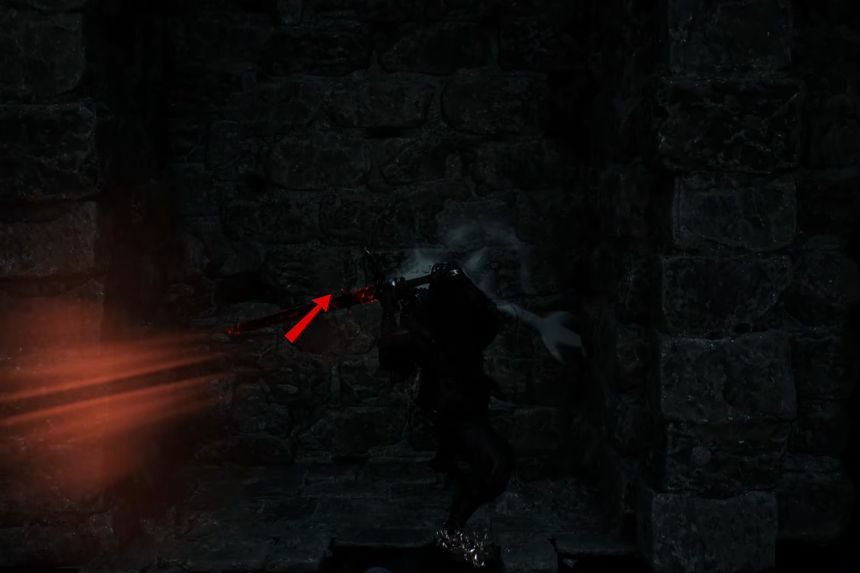
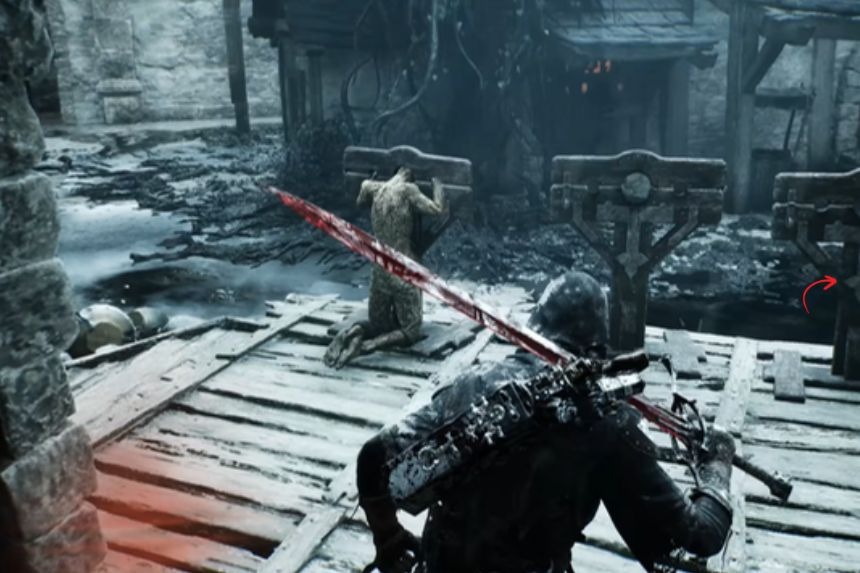
To get to the second Beacon, exit the area from where you found the Slumwater Beacon and go towards the right to reach an entrance. Walk through it and you’ll come across an illusionary wall which you’ll need to destroy with your sword to reach a sort of sacrificial altar. Take right from there and you’ll come across an open area with a huge statue.
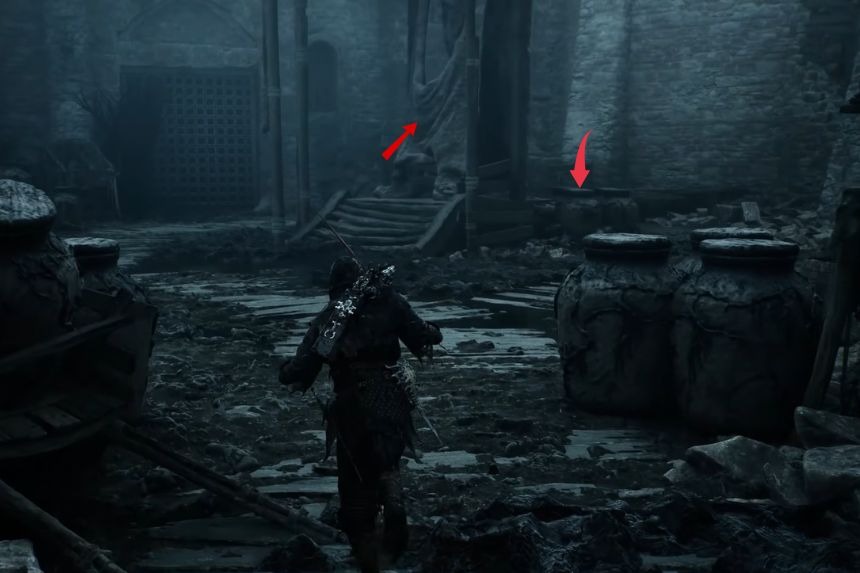
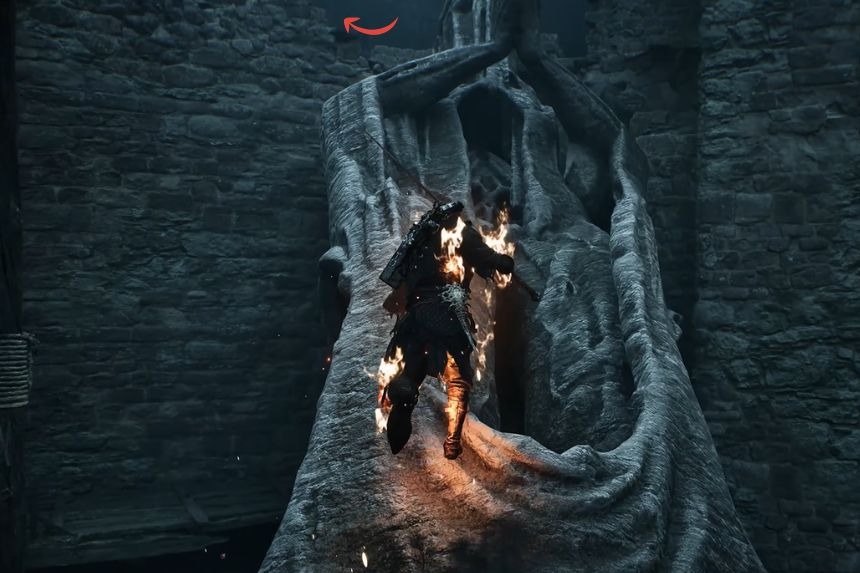
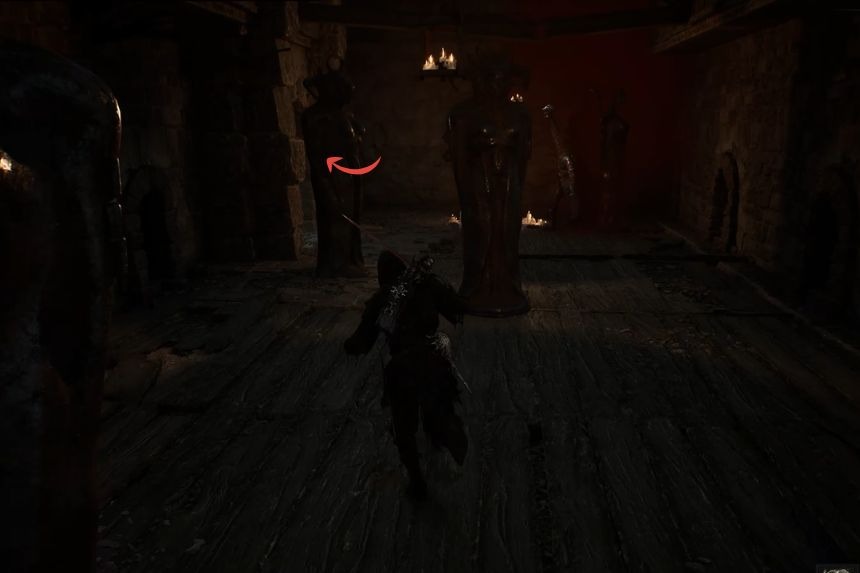
Behind the statues, you’ll find some barrels that you’ll need to shoot in order for the statue to fall down and make a path for you to climb upwards. Once you’re up, go left, cross the entrance, take another left, and you’ll reach the Hangman’s Scaffold Beacon.
Beacon 3 – Executioner’s Pulpit
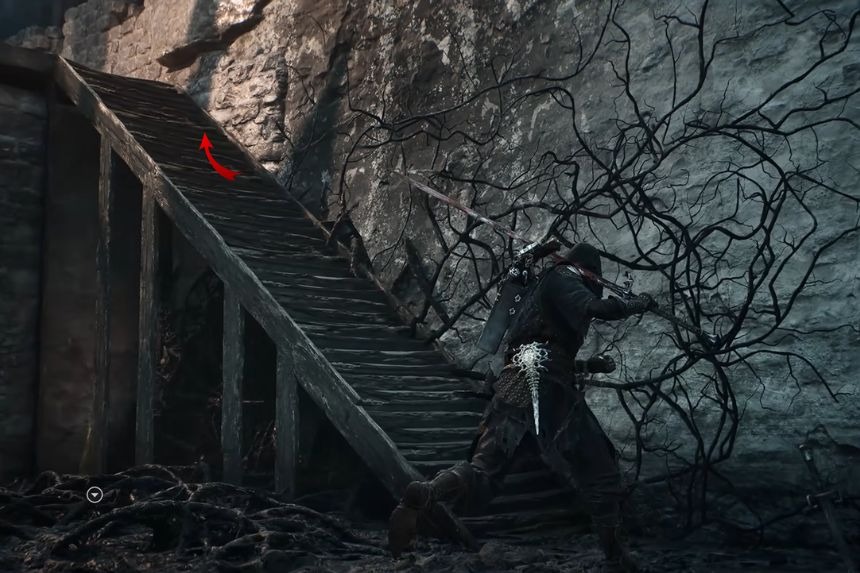
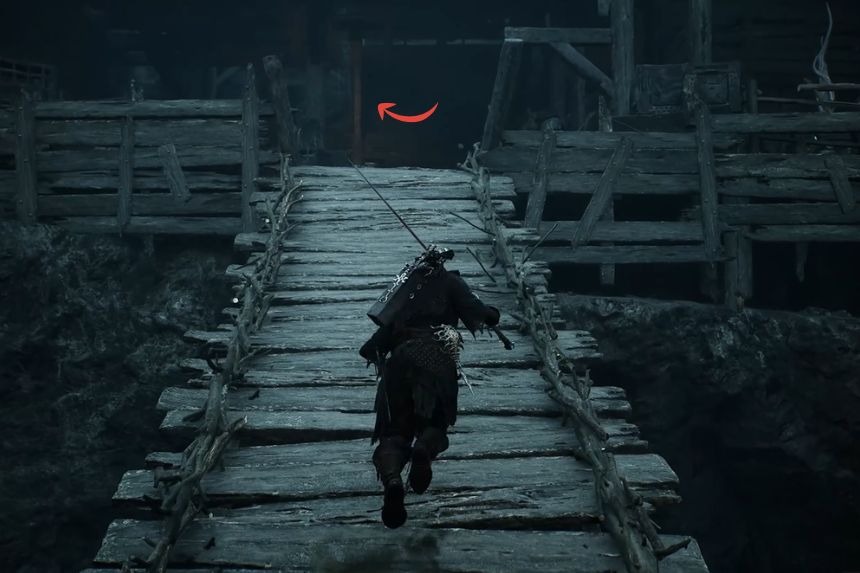
After getting to the second Beacon, ascend the stairs you’ll find on the right, then take another right, and keep following the path until you come across a small bridge. Take left from there and keep going until you reach another set of stairs on the right.
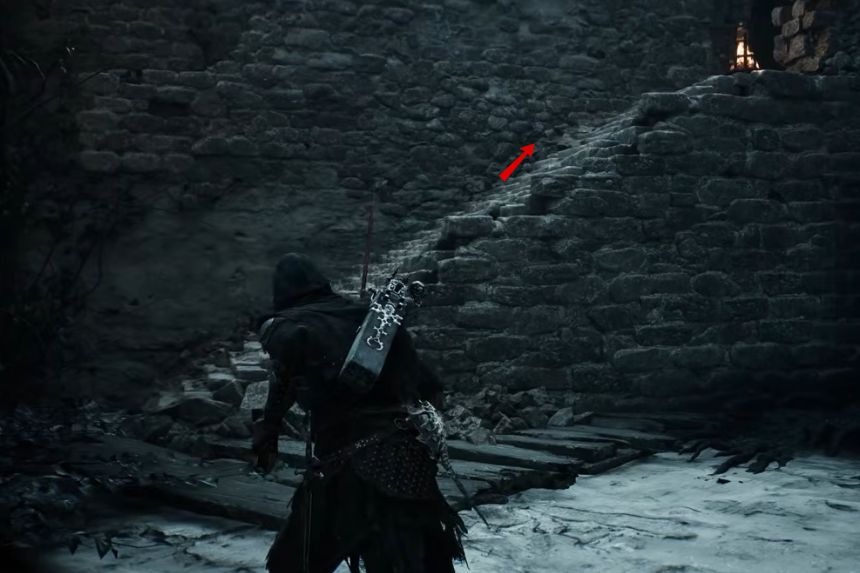
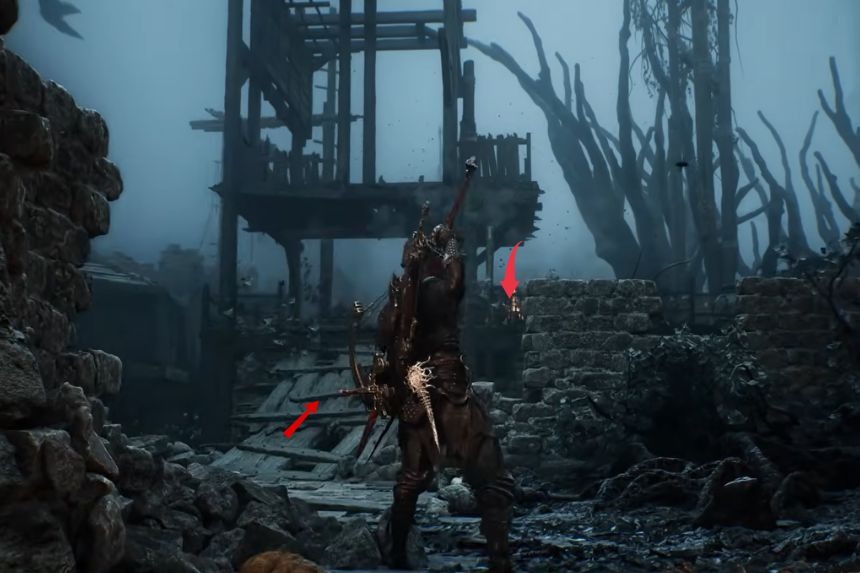
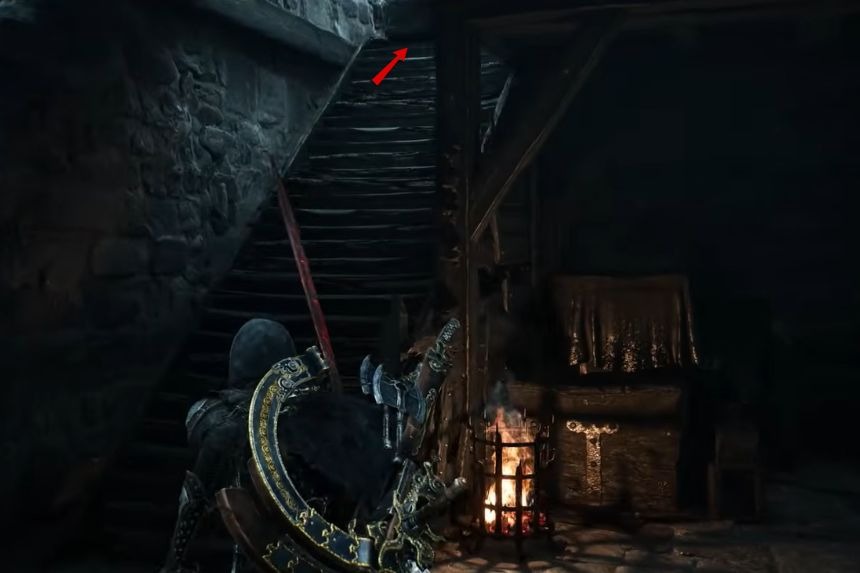
Take the stairs up and you’ll reach an area where you have to shoot a lever to open a small wooden bridge that’ll help you go to the other side. Cross the bridge you’ll find on the right side and keep going on the same path until you come across a set of stairs taking you up and towards an elevator.
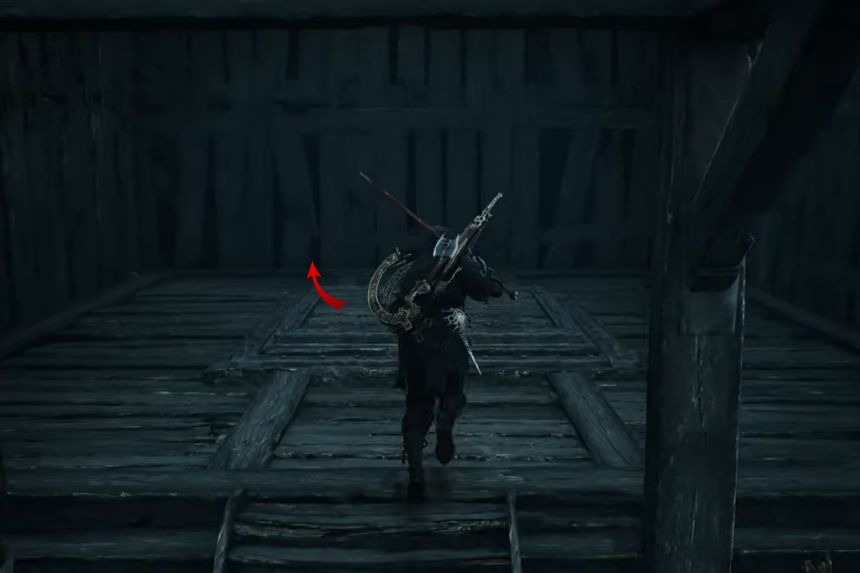
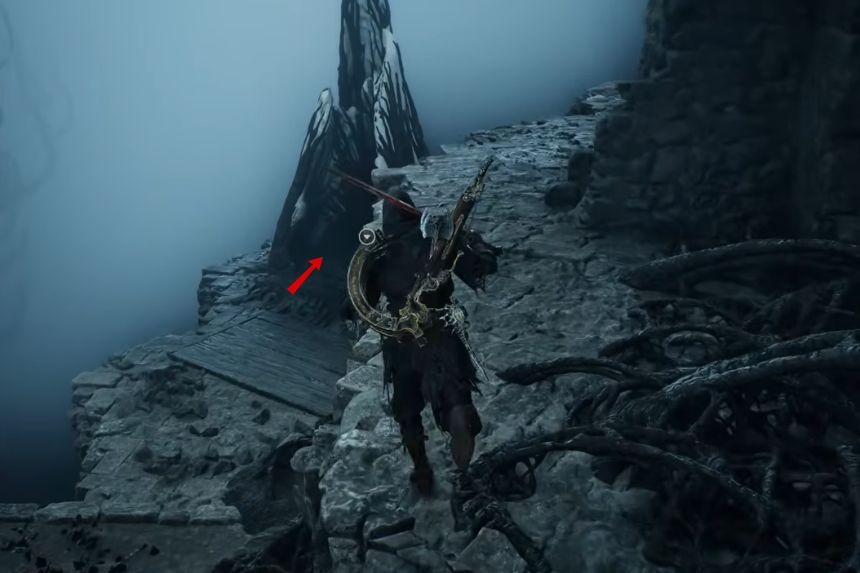
Use the elevator to go up, then follow the path on the right to reach the Executioner’s Pulpit Beacon.
Beacon 4 – Captive’s End
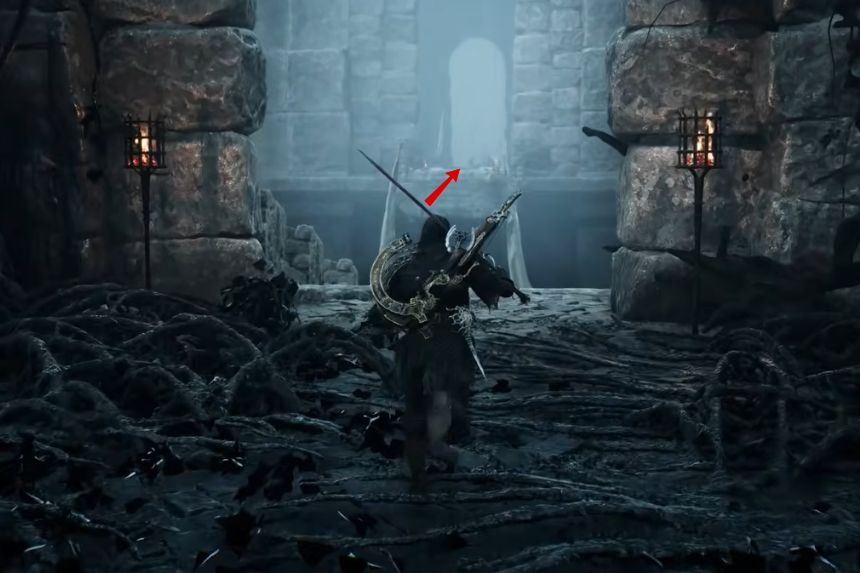
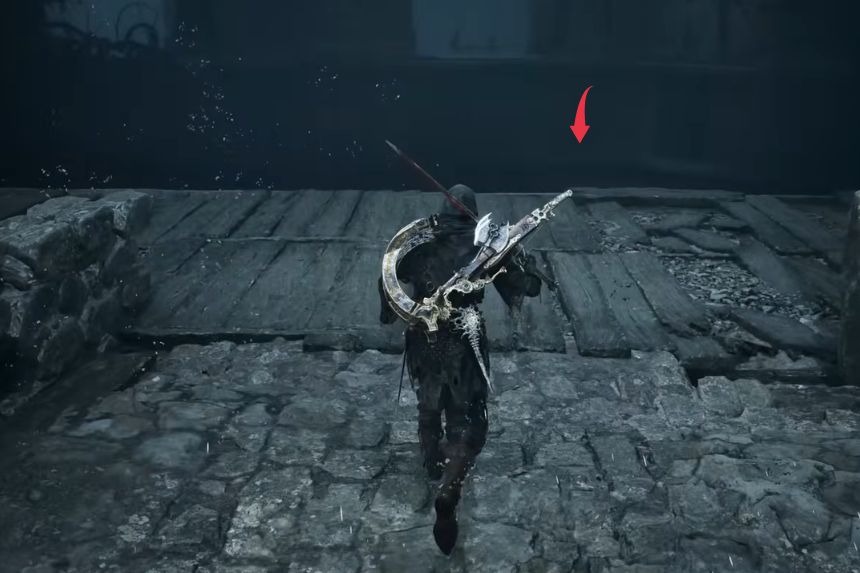
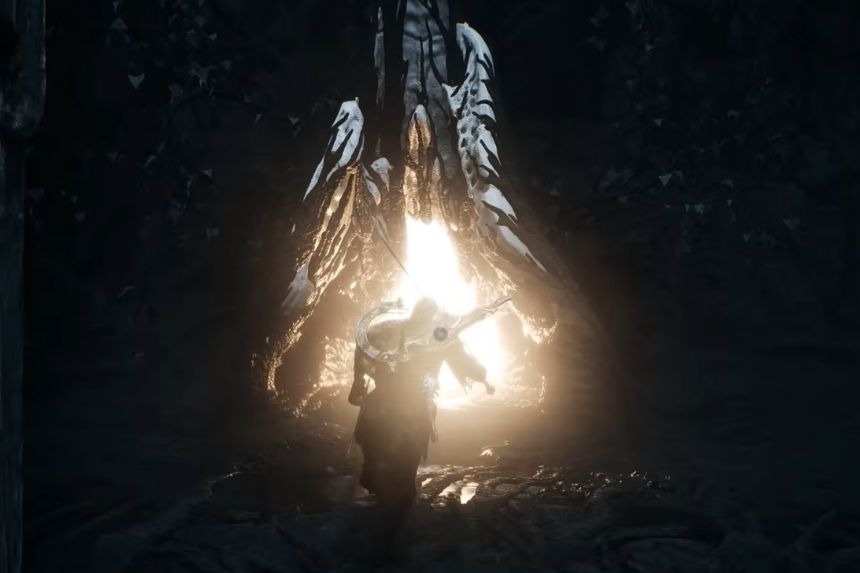
From the third Beacon, you’ll need to go right and jump across to the other side using the Bone Gate. Keep following the path on the right and use the several Bone Gates in the area to get across until you finally reach the spot where the Captive’s End can be found. It is found after jumping down the large hole in the tower.
After that, you are one step closer to fighting the two mini-bosses in the area; The Nameless Captive and Tishina’s Confessor. And with that, you can cleanse the domain and collect the Ova here.




Nice!!