

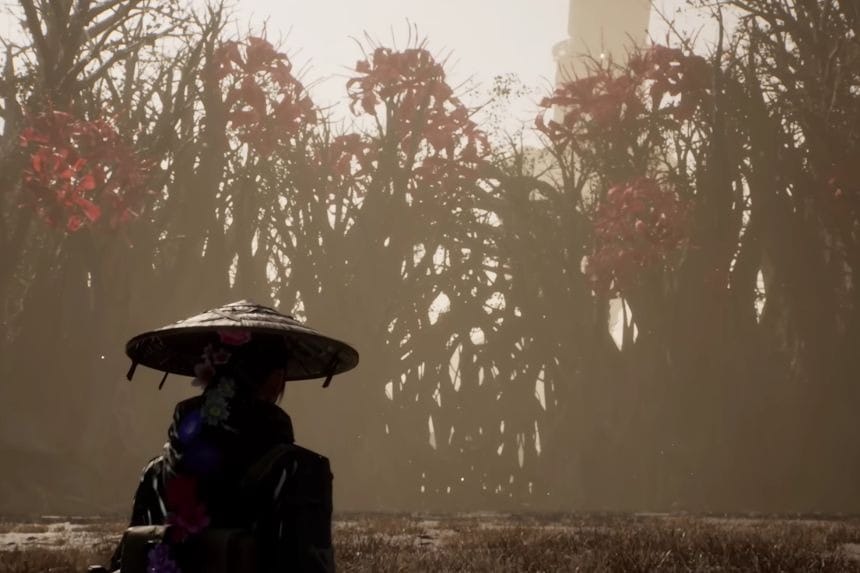
Beast of Reincarnation’s first big boss is the Rangifer boss, and if you are not familiar with the gameplay mechanics, it can be quite difficult. Its powerful attacks, fast movements, and multiple phases can easily catch new players off guard. Nevertheless, if you are well-prepared, have the ability to use Koo’s skills, and know how to counteract the boss, then it should not be very hard for you to beat it.
How to Beat Level 9 Rangifer
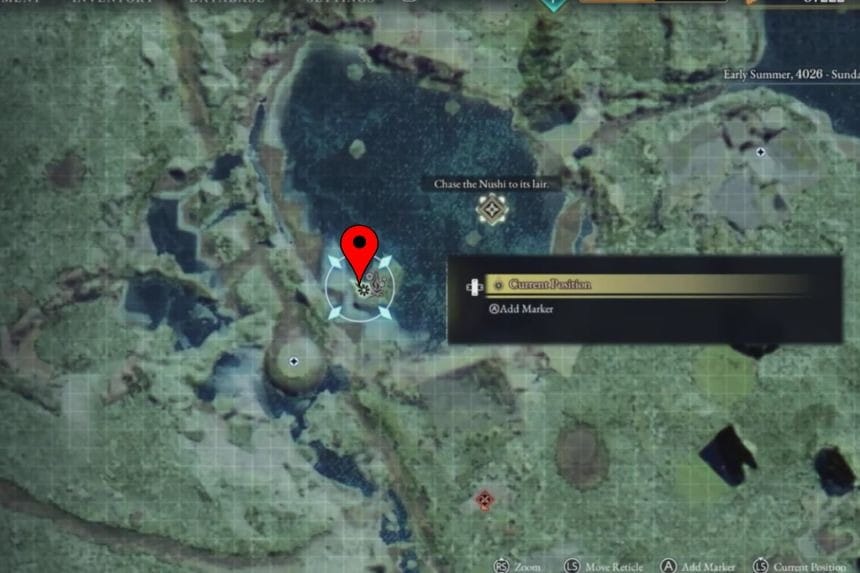
The first boss in the game, Rangifer, is located close to Sub City One. Before going against the boss, there is a Strongbox near the waypoint which will provide a Chain Mail armour piece for you. Also, don’t forget to activate the waypoint to use it as a respawn point later on. This is a level 9 boss, so you need to come prepared with the right gear and equipment to take it on.
How to Beat the Rangifer Boss
If you have already encountered the Rangar boss and are having trouble defeating him, there is no need to worry. Although he is the first boss you encounter in the game, he is not that difficult to beat once you get to know his fighting moves and strategy.
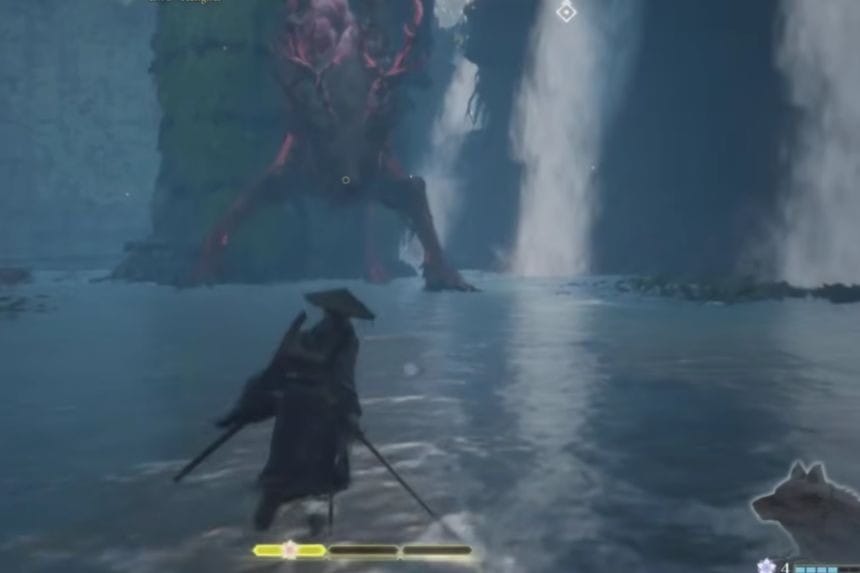
First of all, you should head to the campsite situated above the area where the boss is. You will get a good chance to start the battle with a strong jump attack. Using your moving skill, move up to the place from which you can look down at the boss, then jump and hit him while falling with the heavy attack button pressed.
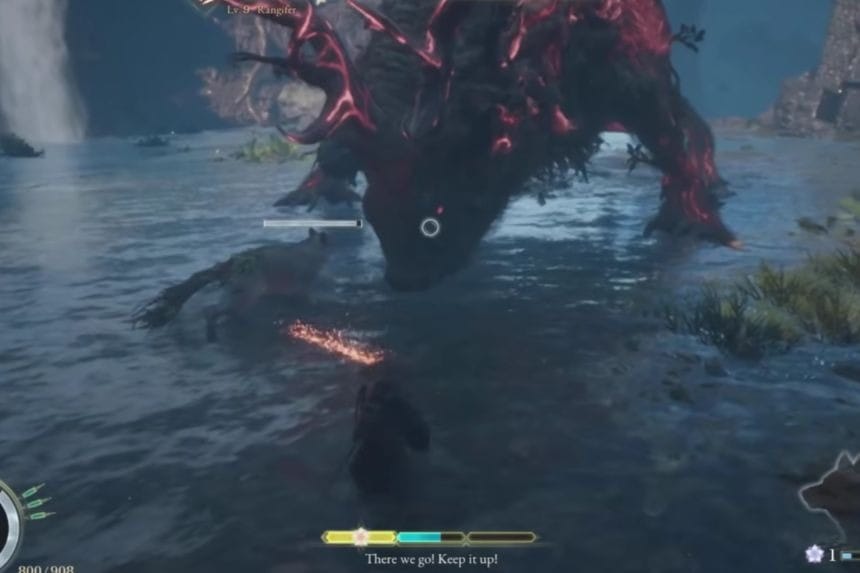
Immediately when the battle starts, use your Crossbow and fire at the boss. Your Crossbow will provide great damage while allowing you to stay at a safe distance until the boss approaches for attacking. This will give you time to deal as many free hits on the boss as possible.
It must be noted that Rangifer is vulnerable to Flame-type attacks, and thus uses Koo’s flame-infused moves while battling against the boss. Not only will they allow you to do extra damage, but they will also speed up the process of filling the meter of the boss’ stagger bar. Whenever a skill check appears, try to complete it successfully, as it applies additional effects that can give you an advantage during the battle.
Use Koo’s Binding Ability
The binding ability of Koo proves to be very helpful in this battle. It can bind the boss for some period of time and thus give you a chance to deliver a few unblocked strikes on him. For maximum efficiency, it is recommended to use the ability when you are near Rangifer. At the same time, using it from a distance will not be as effective.
Dodge More Than You Block
Rangifer mainly attacks with powerful tusk swings and sweeping melee attacks. You can block these attacks, but dodging is usually the safer option. Rolling out of the way keeps you mobile and lets you quickly move back in to continue attacking. If you prefer blocking, it still works, but dodging generally feels more reliable during this fight.
Build the Stun Gauge
When attacking Rangifer, you will see a yellow bar that starts filling up below the health bar of Rangifer. The yellow bar is known as the stun bar. Once the bar is filled up, it will make Rangifer weak to a finishing blow attack. Get near the boss and use the heavy attack.
Second Phase
With the health of Rangifer reduced to about 50%, things become a little difficult. In addition to the melee attacks that the boss uses, it also uses other ranged attacks at this point. You should avoid staying stationary, but instead move around when attacking, and take advantage of gaps between each attack from the boss. It is much safer than dealing continuous damage.
How to Beat the Rangifer Boss in Second Battle
You have to fight Rangifer again in the fifth chapter. Since he is weak to fire damage, you should bring some Fire Arrows and Fire Bolts for the battle, since they will be the most efficient ammo that you can find in the game.
If there is no fire ammo available, then you can use the Spring Thunder Crossbow and Zangetsu Bow along with ordinary arrows. It is a very effective method for damaging Rangifer, since these arrows deal a lot of damage and can be used effectively, especially during situations when Rangifer runs away from melee attacks. Although Rangifer uses many of the same attacks from your first fight, it also learns a few new moves in this battle. Knowing what each attack looks like will make it much easier to react and stay alive.
Koo’s Higanbana Seeds are very useful in taking down Rangifer. The seeds cause fire damage, which is vulnerable to the boss. Moreover, the ability quickly fills the stagger bar of the boss. With each successful application of Higanbana Seeds, you get opportunities to increase the amount of stagger and damage on the boss. Whenever you apply the ability, make sure that you clear the skill check successfully for more effects.
Second Encounter: Rangifer First Phase
One of the new techniques of Rangifer includes slamming its head into the ground. In less than a second, trees start sprouting from the ground around you. This move cannot be avoided, so be careful and pay attention to the ground. When you notice that it glows red, move away because soon there will be trees growing in the spot.
Sometimes, the boss will jump in the air with its hooves glowing red. This is a warning sign of an unblockable slam attack. Just wait until it hits the ground and dodge to not get hurt.
Sometimes, Rangifer will glow red as it prepares itself for a strong combo attack. Then, it will make four antler moves and perform the final unblockable ground slam. Try not to attack at this point.
When you’re fighting up close, Rangifer may swing its antlers at you. Watch the direction it tilts its head before attacking. If it leans to the left, expect a two-hit combo. If it leans to the right, it will only perform a single swipe. You can either parry these attacks or dodge away.
Rangifer digs its antlers into the ground before throwing a group of rocks straight at you. While it’s possible to parry the attack, the timing can be tricky because several rocks are thrown together. The safer option is to sprint to the left or right and avoid the projectiles completely.
The boss can also fire sharp spikes from its antlers at long range. These projectiles travel quickly, so be ready to dodge or deflect them if your timing is good. Staying alert and avoiding them from a distance is usually the safest approach.
Second Encounter: Rangifer Second Phase
After beating Rangifer the first time, however, the battle doesn’t end there because it regains all of its health and moves on to Phase 2. The vast majority of its attacks don’t change from Phase 1, so you should continue your battle tactics as they were before.
However, there is one key difference here, which is that Rangifer can now regenerate itself by spawning multiple trees inside of the battlefield while standing in place. The moment that this happens, immediately grapple towards Rangifer from the trees and start attacking it to interrupt its regeneration process. It’s important that you stop Rangifer from healing itself or else this battle will take much longer than it should. Once you’ve stopped the healing, keep fighting the same way as before.
Rewards
Defeating Rangifer unlocks several powerful rewards as you continue to level up. When you fight at Level 9, you’ll unlock the Nushi Skill: Sakura Storm. At Level 12, you’ll receive Sakura: Javelin along with the Blade Art: Sakura ability. Finally, once you fight at Level 32, you’ll unlock the upgraded Sakura: Javelin II and the powerful Finisher: Sakura, giving you even more combat options for future battles.