If you want to get your hands on the hidden raid chests in Destiny 2, then this guide is perfect for you. Doesn’t matter if you’re playing solo or want to get hold of the chests in an easy manner, we’ve covered everything here so that you can get the three hidden chests as easily as possible.
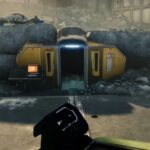
Vow of the Disciple Hidden Chest
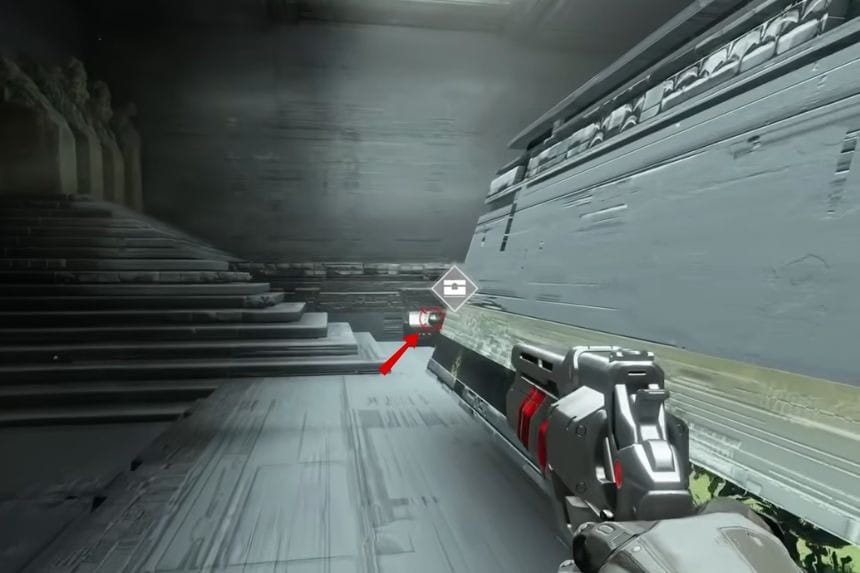
Load into the Vow of the Disciple raid and complete the first encounter, which should only take around 20 to 30 seconds. After going through the doors, continue following the path until you reach the area where three large enemies spawn.
If you die during this section, your progress will remain, so simply defeat all three enemies and continue onward. To unlock the hidden chest, you need to destroy three lights located throughout the area.

The first light can be found near the logs on the left side of the path. After destroying it, climb the rocks and continue toward the large pillars. The second light is located on the left side of the final pillar. For the third light, return and take the left path down the long hallway. Use your Sparrow to reach the bridge with grates underneath, then shoot the light through the wall below it.
After destroying all three lights, continue forward to find the hidden chest.
Deep Stone Crypt Hidden Chest
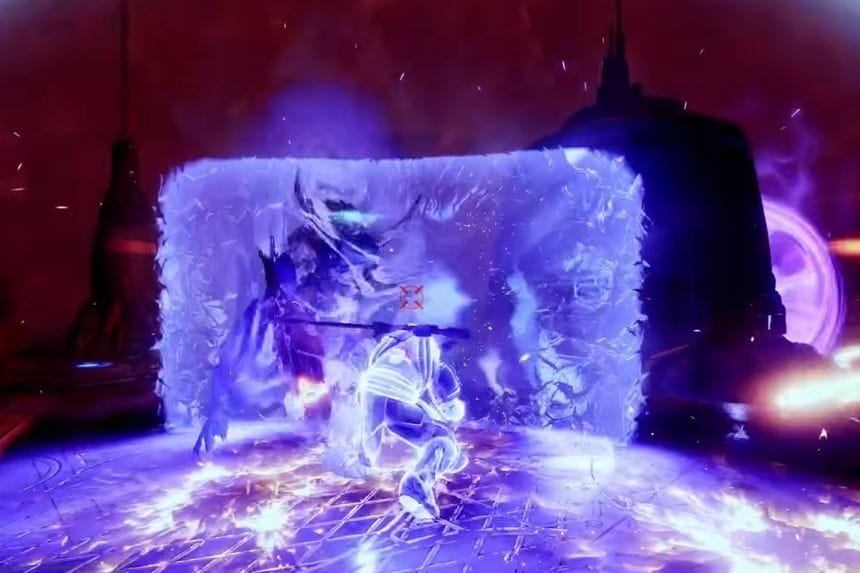
Start the Deep Stone Crypt raid and enter the small side room at the beginning. Defeat the enemies inside to open the hatch at the back and continue along the path until you reach the snowy area with Pikes.
You will begin gaining Frostbite stacks here. If Frostbite reaches 10 stacks, you will need to restart, so move between the warming bubbles to reduce your stacks.
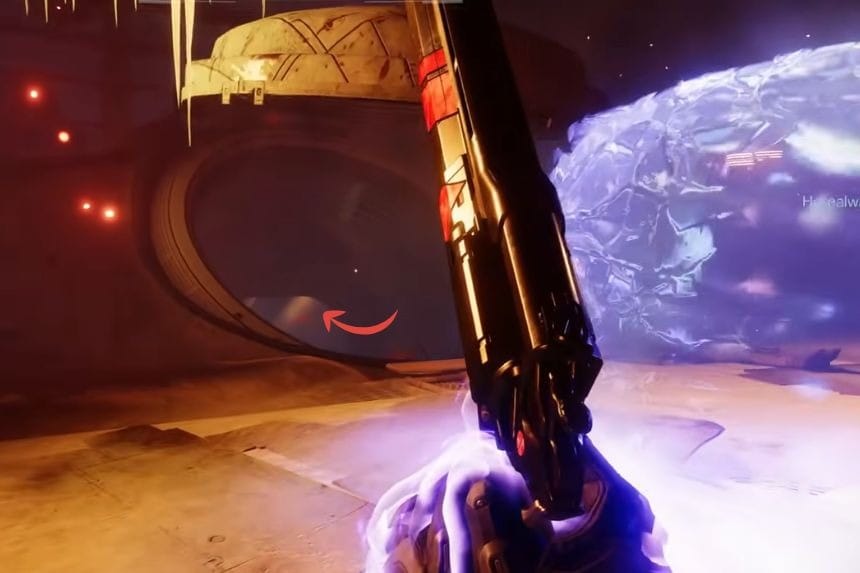

Take the left path and follow the bubbles until you reach the third one, then move slightly left and follow the small lights to reach a tower and the fourth bubble. Continue in the direction the tower points, being careful of areas where you can fall through the ground, and reach the fifth bubble.
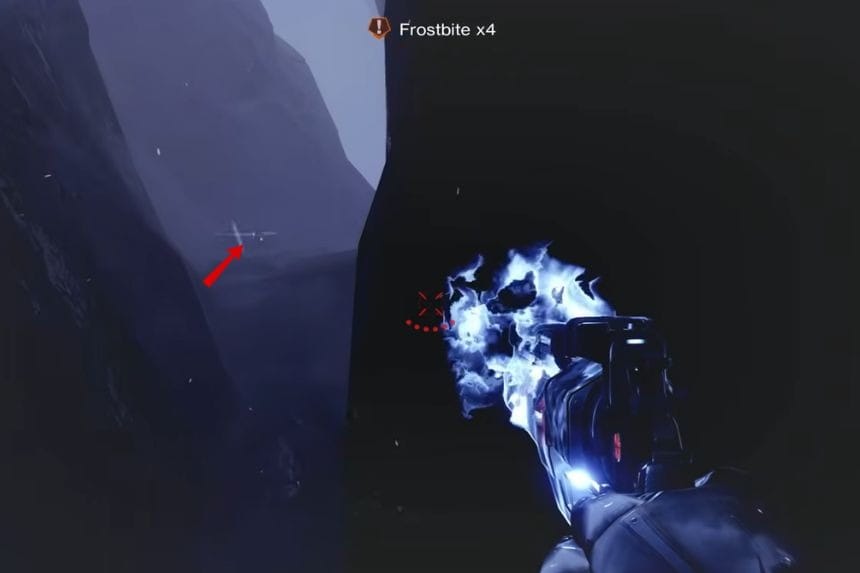
From there, move back slightly and travel in a straight line to the next bubble. Pass between two large objects, follow the rocks, and continue to the final bubble. You will know you are in the right area when you see the Brigs in the distance.
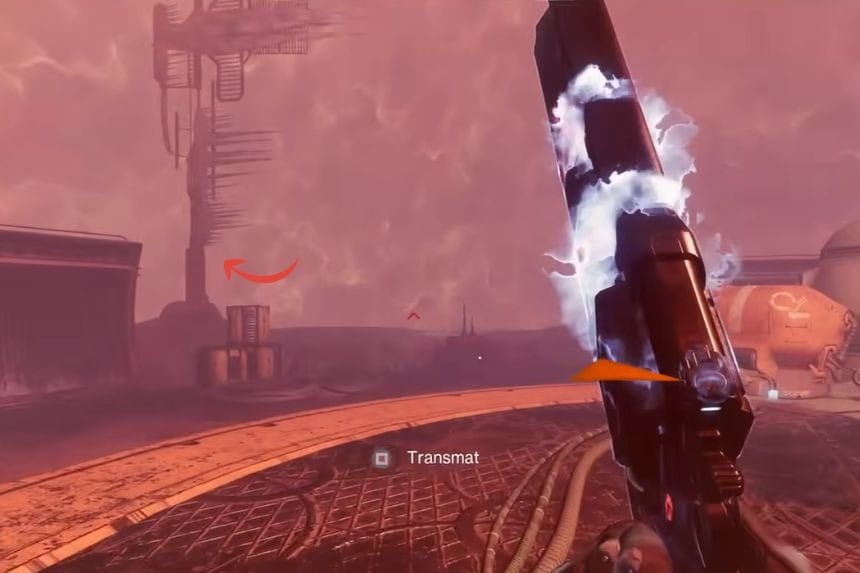
Wait until your Frostbite resets to zero, then move behind the nearby tower. A jumping platform will be on your left, and the hidden chest is located between the two caves nearby.
Garden of Salvation Hidden Chest
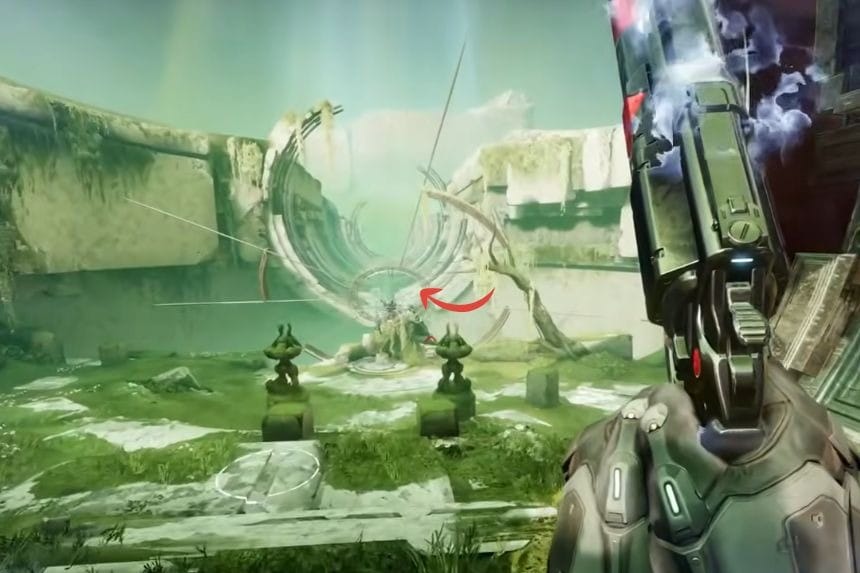
Load into Garden of Salvation and defeat the enemies that emerge from the portal before entering it. Continue to the second encounter and reach the rally banner. A Rocket Launcher can make the next section easier, but it is not an absolute necessity.
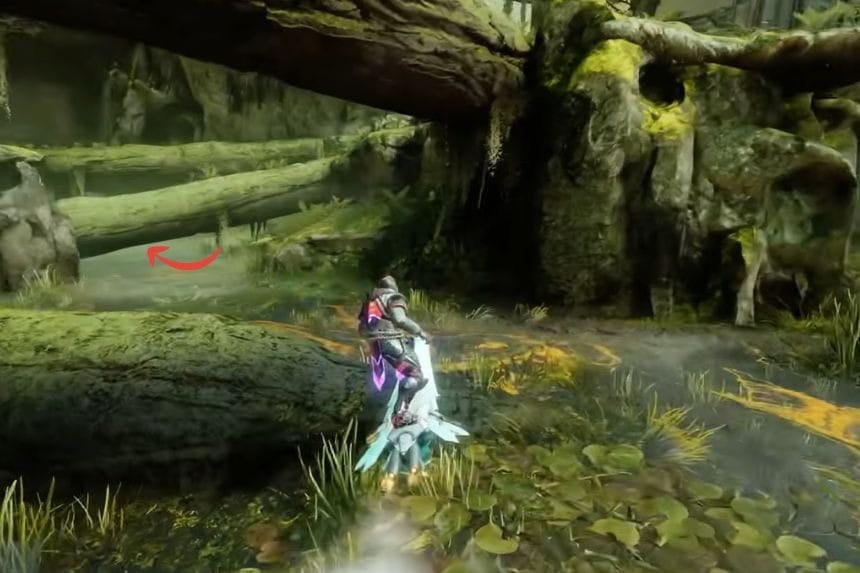
Do not start the encounter. Instead, go behind it and follow the path on the right side, climbing over the garden walls until you reach a tree. Cross the tree and climb the second wall.
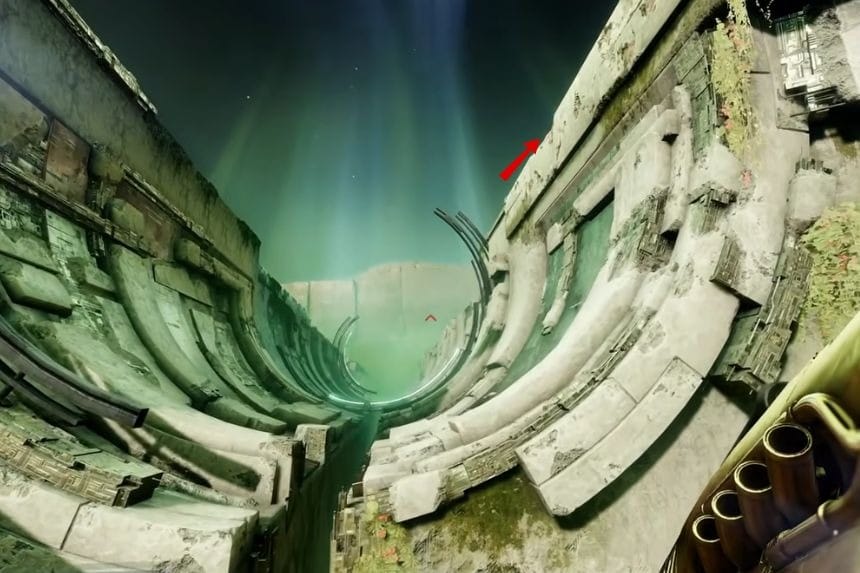
Climb up the right side, jump to the left side, and use the platforms to reach the correct spot. Jump toward the wall and slide immediately after landing to pass through the barrier. It may take several attempts to get the angle right.
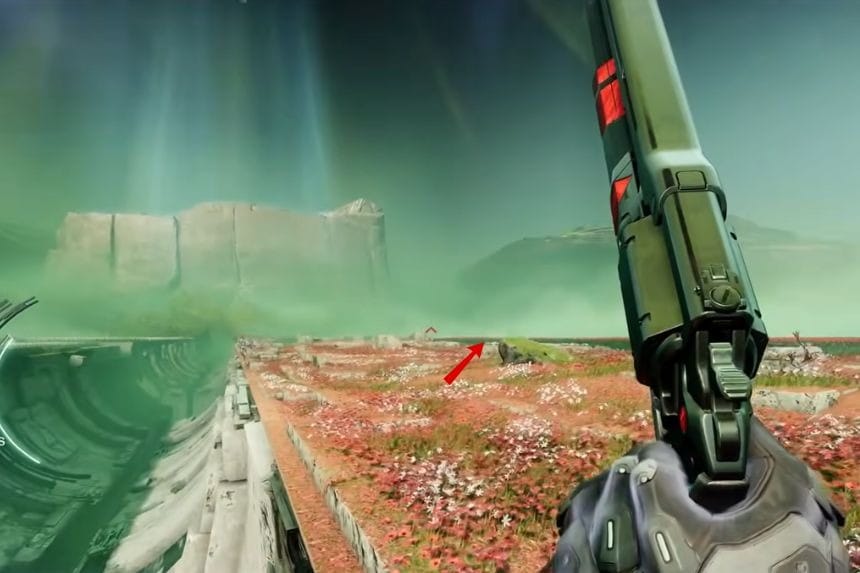

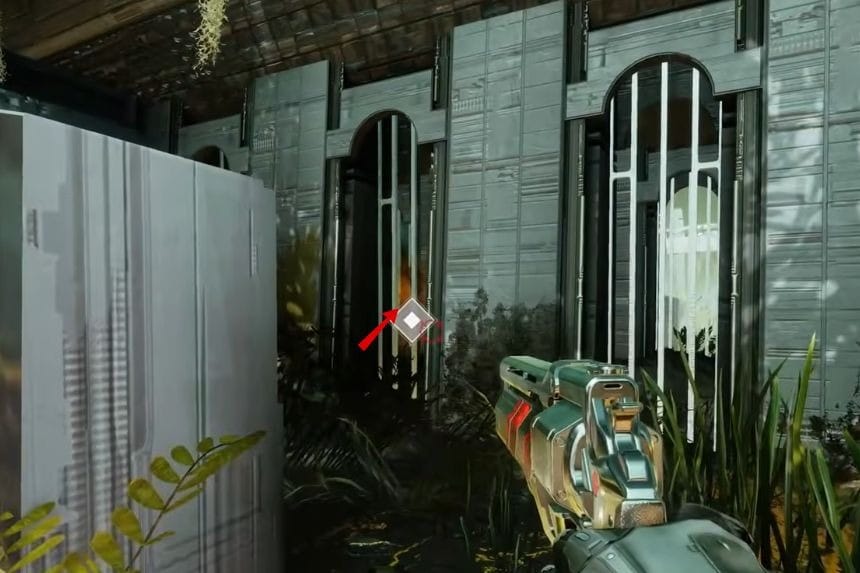
After making it through, land in the far-left corner. Once the new location appears on your screen, use a Rocket Launcher to eliminate yourself or wait for the game to respawn you. You will appear in the next section, where you can follow the left wall to reach the final hidden chest.