
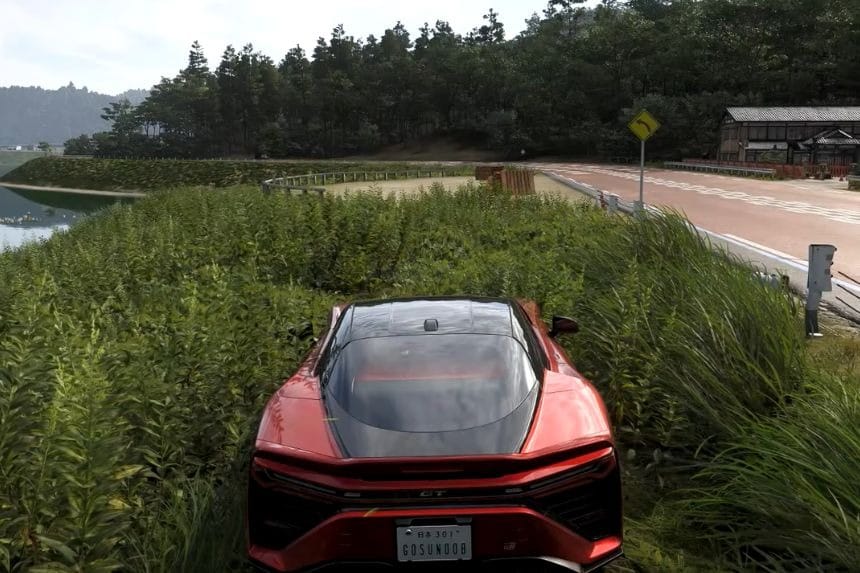
Are you looking for information on how to use the Photo Mode features in Forza Horizon 6? This guide provides detailed instructions on how to access Photo Mode on both PC and with a controller; how to customize the camera in various ways; how to use Effects mode; how to take and save pictures; and how to complete Horizon Promo and Discover Japan photography challenges to earn rewards.
How to Enter Photo Mode
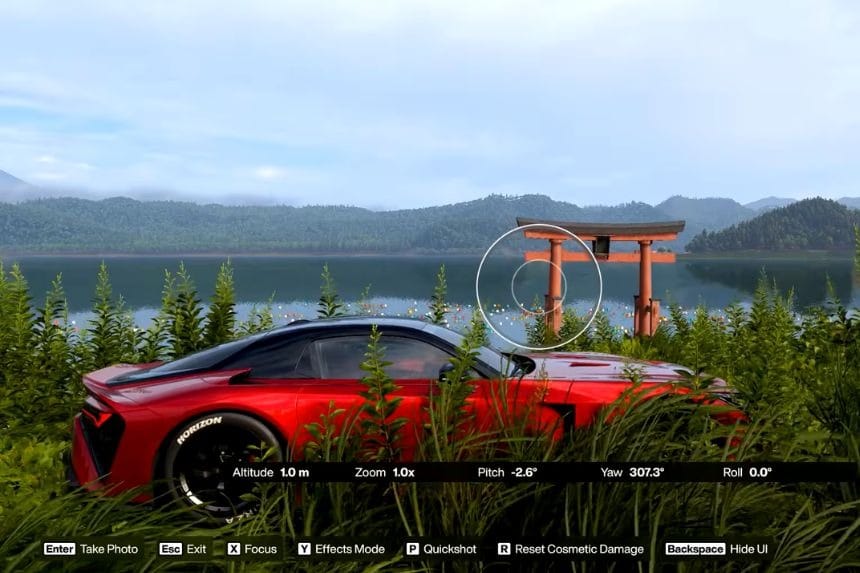
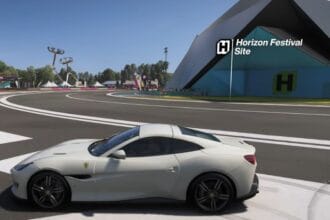
In Forza Horizon 6, you can take photos and customize your screenshots with Photo Mode, while driving around in Japan. To use Photo Mode, press Up on your D-Pad (controller) or P (PC) to enter Photo Mode.
Once in Photo Mode, players can use their controller sticks to control the camera’s position and direction. Players on PC can use the WSAD keys to move around and use the arrow keys to rotate it. The players can also move the camera vertically using Page Up and Page Down on PC while controller users can move vertically with R2 to go up, and L2 to go down.
Taking and Customizing Photos
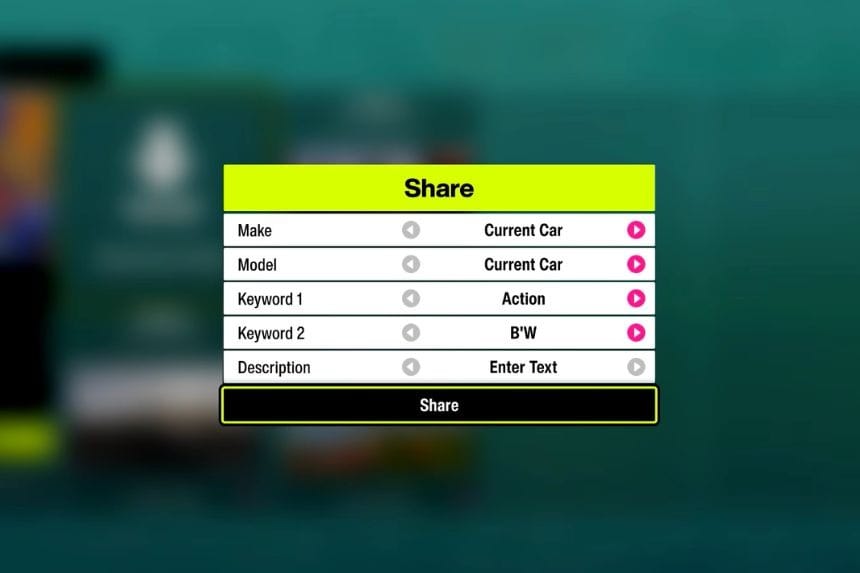
Pressing the button labeled A on Xbox controllers allows you to take a picture. Use X for PlayStation controllers, or Enter for PC. After taking the photo, you can save the photo, add in keywords, provide a description and share with the community. The Forza Horizon team may also feature any of the shared photos like by them.
Pressing the button labeled Y on Xbox controllers, Triangle on PlayStation controllers, or Y on PC opens Effects Mode, which provides various additional settings to customize your photos, including the ability to move your character out of the car.
Photo Mode Rewards and Horizon Promo
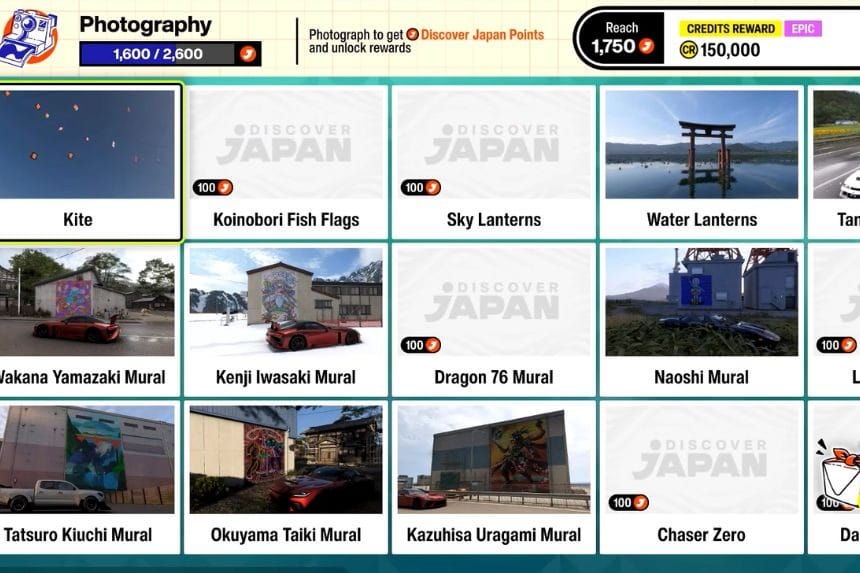
Players can also use Photo Mode for features related to their progression (e.g., Discover Japan photography challenges, as well as Horizon Promo), where players have to take pictures of different locations and vehicles in the game. With Quick Shot, players can capture a car for Horizon Promo in seconds without having to manually save the photograph.