To unlock the Jotunn Star wonder weapon, you need to mix progression with exploring to complete a few different tasks: activating the core systems to track down key items and completing objectives that are unique for each weapon. From activating core systems to tracking down key items and completing unique objectives, each step builds toward a powerful reward. Here is a step-by-step guide to help you navigate the entire process effectively so that you can efficiently acquire the Jotunn Star Wonder Weapon.
Power, Pack-a-Punch, and Opening the Tomb
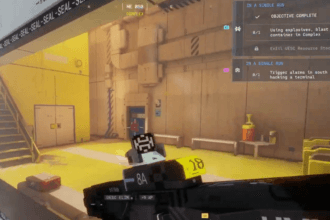
To power-up and unlock Pack-a-Punch, you first need to turn the power on, which is a longer activation than most times; however, this is clearly indicated via the on-screen guide displaying active objectives for you to follow.
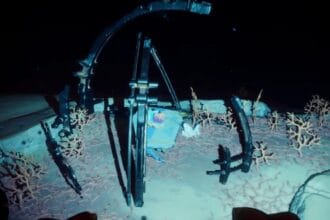
When both systems at the same time work together, the next step for you is to look for the wonder weapon. The first key item is a chain located at the dry docks. You will need to activate a crane to lower a large wood panel in front of a boat, which allows you a small window of opportunity to run on the wall across the panel and jump toward the bow of the boat to acquire the chain. If you miss the timing, you can activate the crane again within this round.
After acquiring the chain, you will have to go to the burial grounds to interact with the large door to repair it, which will allow you access to the tomb in order to progress further to complete the rest of your quest line.
Zersa and the Lantern
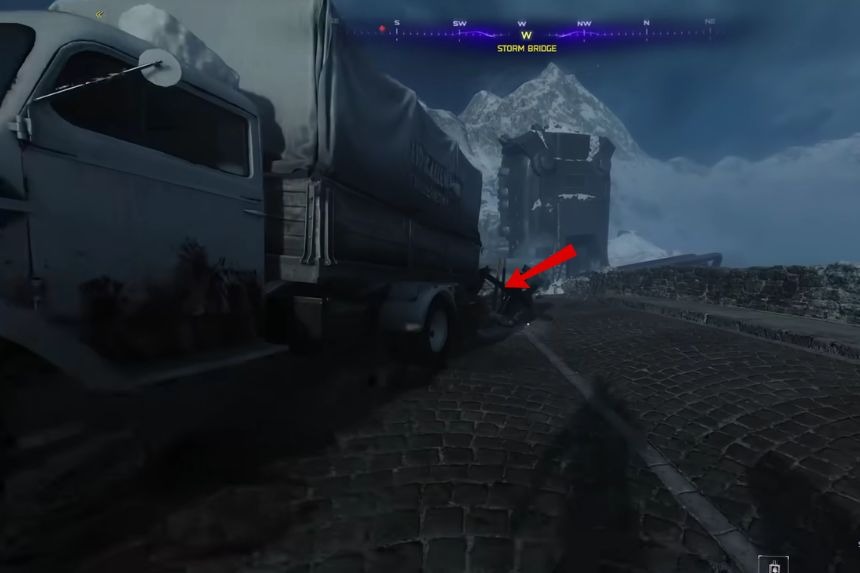
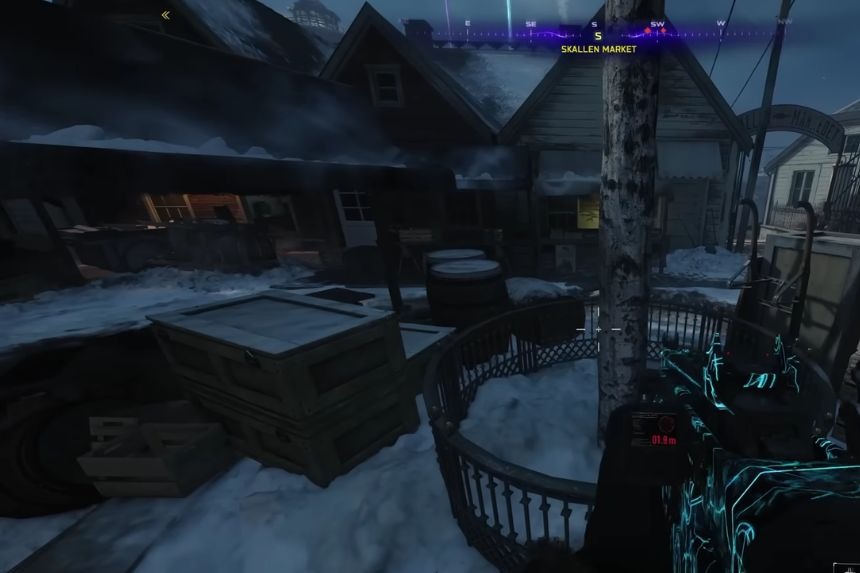
The next step will lead you to the storm bridge near Deadshot. In that area, there is a truck with a pallet on it. Between the truck and pallet, you will find a can of chili to collect. After collecting the can of chili, take it back to the Skalinn Market and place it on the central table by Mule Kick.
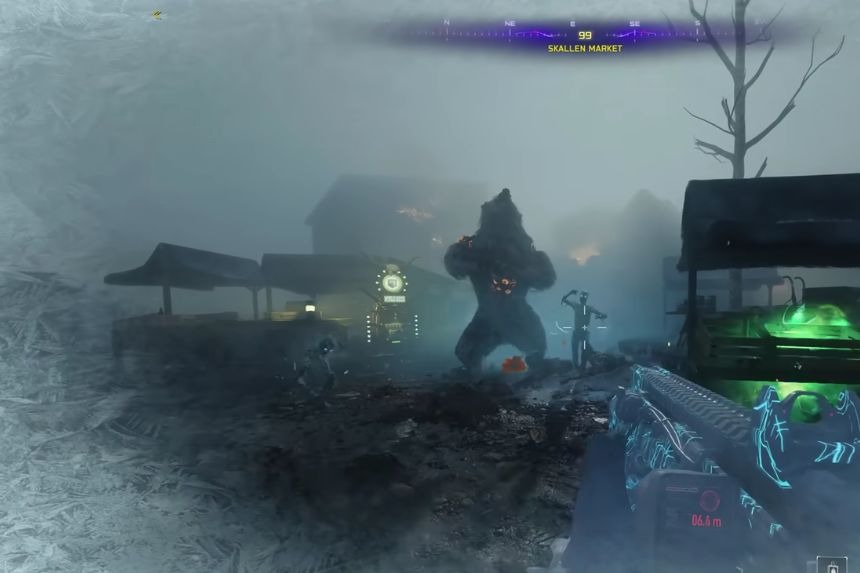
You’ll be waiting a bit for a special round; the Zersa will spawn when enough frozen zombies. You will need to stay close to the table to increase your chances of having the Zersa spawn in a favorable spot drawn in by the chili. After you kill the Zersa, it will drop a lantern, which you must then pick up.
You will need to go back to the tomb you opened and put the lantern in that tomb for the next step.
Solving the Constellation Puzzle
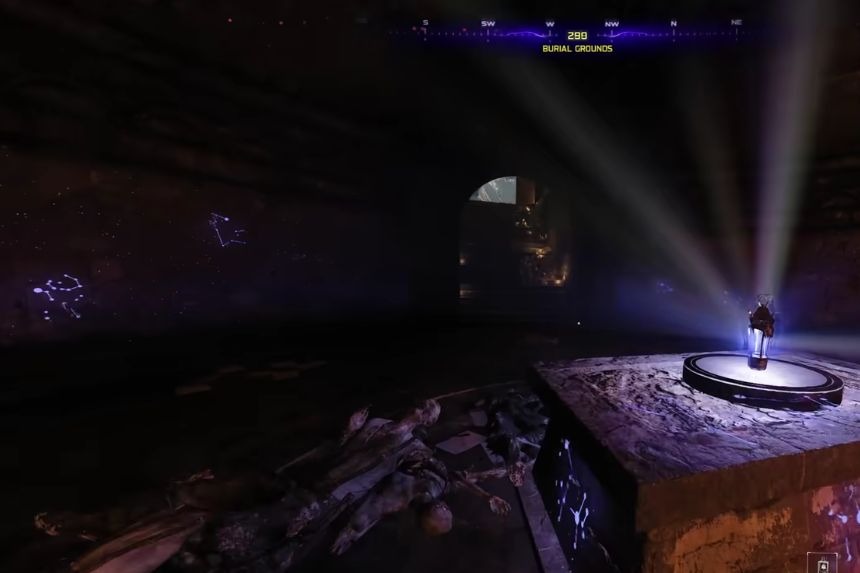
Placing the lantern will begin a constellation puzzle in the tomb. Symbols will show up on the walls, and you’ll need to determine which symbols match what appears on the central podium. The constellations differ between games, but you’ll need to use the same sequence to identify the symbols on the wall every time you play.
When looking at the podium from the stairs, the sequence is left, right, back, and then front. In that order, you will have to look for the matching symbols on the walls. If you make a mistake, there’s no limit to how many times you can continue attempting in that round, so you’ll have time to figure it out with no penalty for making a mistake.
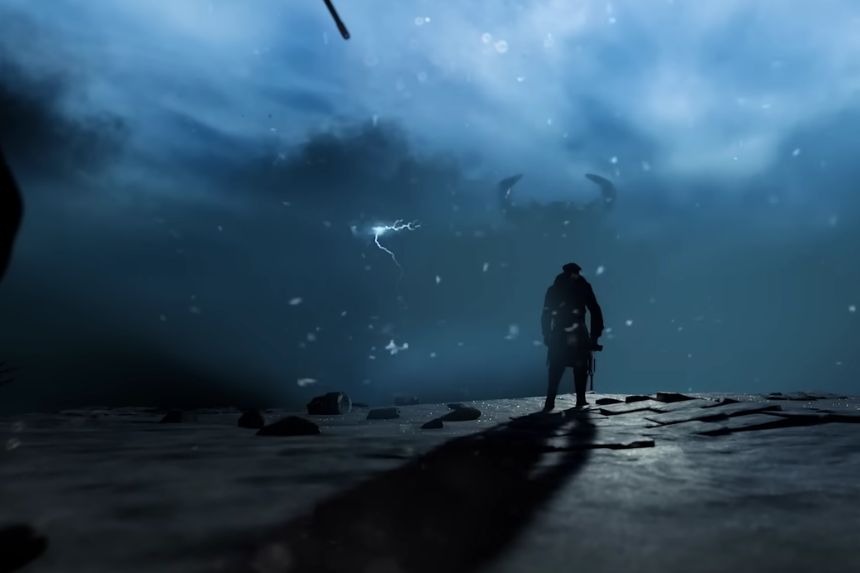
Following the Ghost and Reaching the Lighthouse
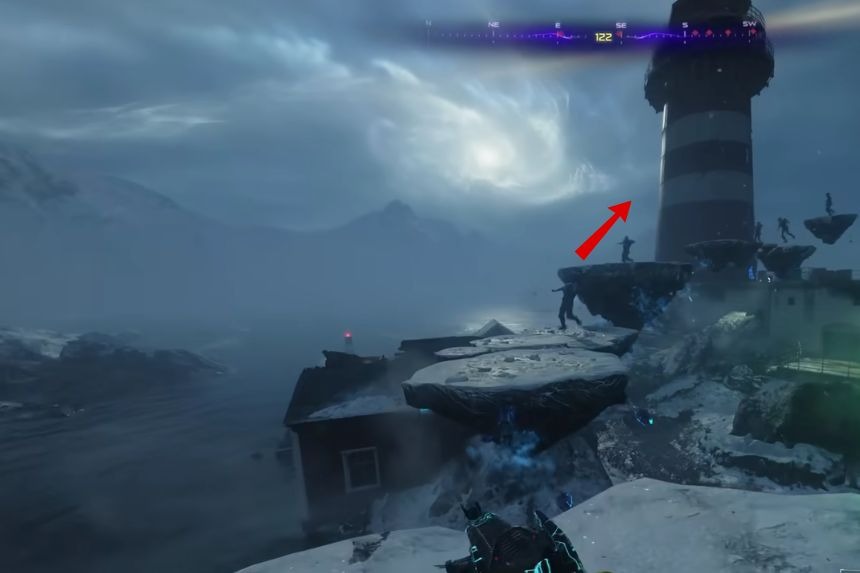
Once you have completed the puzzle, a ghost will appear and move toward the lighthouse. Your job is to stay close behind the ghost. When it stops moving at certain times you will need to eliminate frozen zombies around it to charge the ghost and allow it to keep moving.
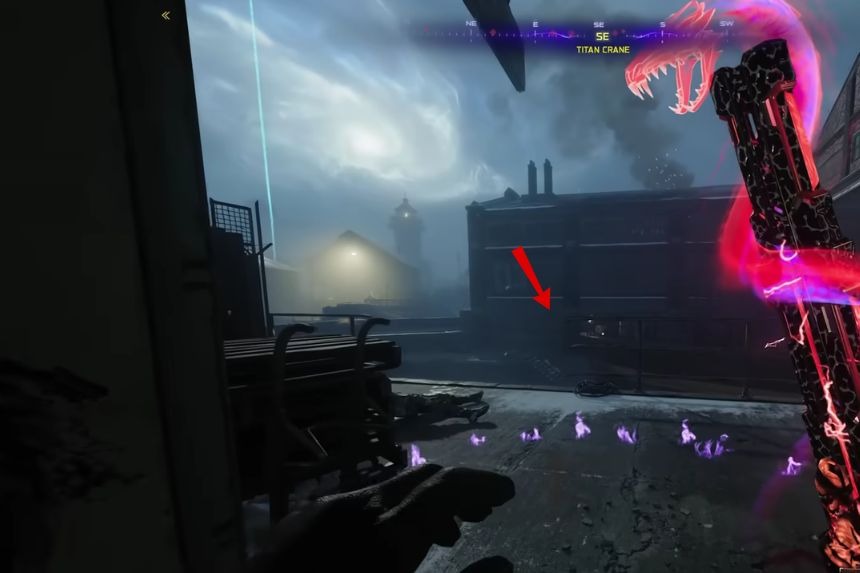
When the ghost reaches the zipline at the lighthouse, the path to the next section will shift into parkour. Rocks will rise out of the water so that you can jump over to them and get onto the base of the lighthouse. Once there, more of the same types of rocks will be available around the outside which will allow you to climb up until you reach the very top. Once you do this, the Jotunn Star will be waiting for you to pick up.
Jotunn Star Capabilities
The Jotunn Star stands out as a powerful addition to your loadout. It can be Pack-a-Punched immediately and occupies a dedicated melee slot, which means you can still carry three weapons if you have Mule Kick.
As you use it, melee kills will charge up the lantern using zombie souls. Once fully charged, it unleashes a powerful blast, making it highly effective in combat.