Star Wars Jedi: Survivor has a bunch of puzzles that you need to solve and gain access to new areas. There are three puzzles that you need to solve to unlock the map upgrades: treasure in Wayfinder’s Tomb. All three are quite easy to solve, but if you are stuck, we got you covered. In this guide, we will see how to solve the Wayfinder’s Tomb puzzle in Star Wars Jedi: Survivor.
Star Wars Jedi: Survivor – How to Solve All 3 Wayfinder’s Tomb Puzzles
Here we will see how to solve all three puzzles in the Wayfinder’s Tomb in Star Wars Jedi: Survivor.
Read More: Fix Star Wars Jedi: Survivor Blurry Graphics Issue
The Wayfinder’s Tomb is located in Arid Flats, Jedha. There are three puzzles that you need to solve first before you can enter it. All three of them can be found while exploring the Arid Flats. Below is a map location of all three puzzles,
Path of Conviction Puzzle Solution in Star Wars Jedi: Survivor
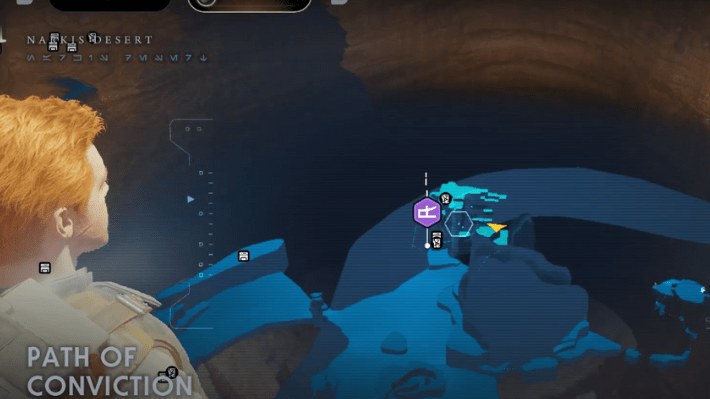
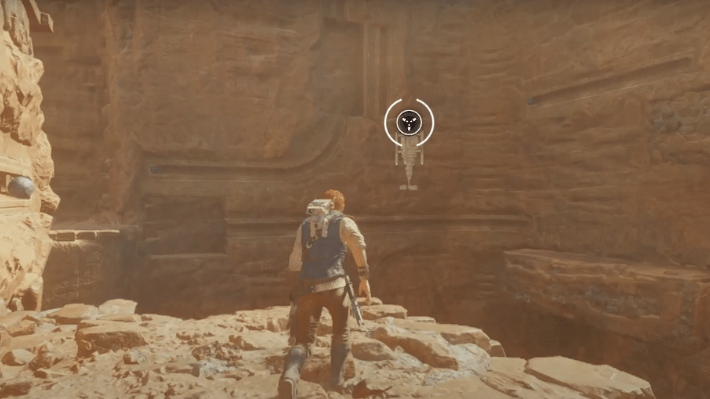
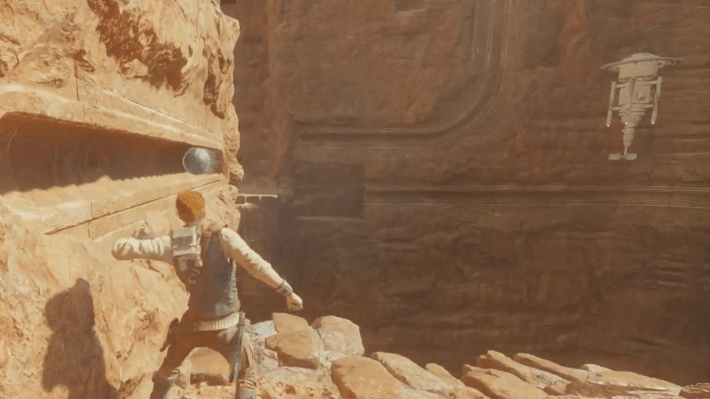
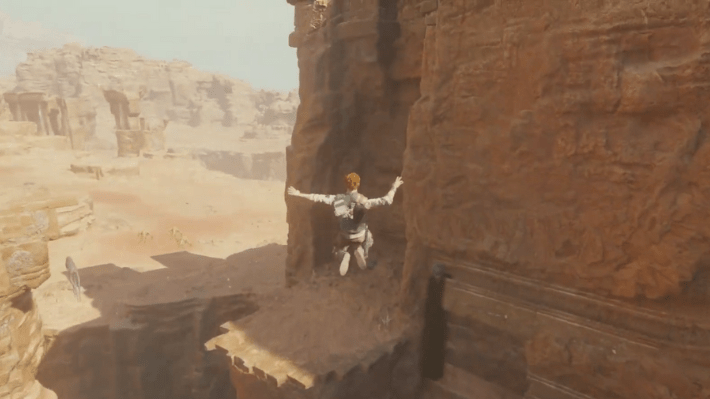
- Use the grapple hook to go to the other side, then pull the magnetic ball on the left towards you. Use the grapple point in front to jump to the left platform.
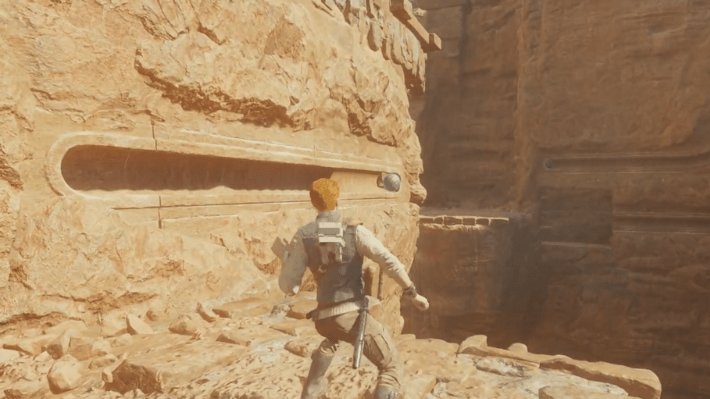
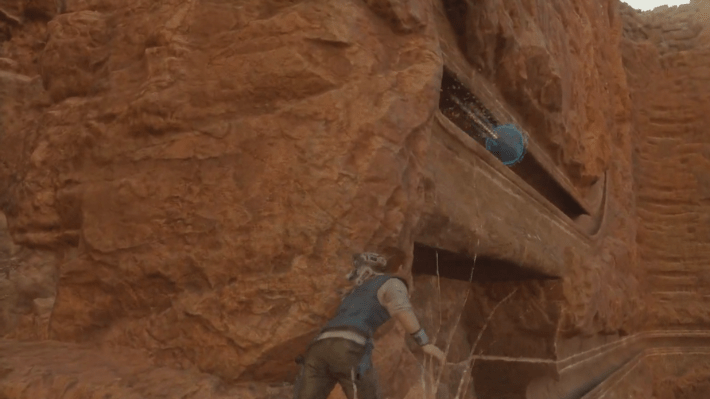
- Push the magnetic ball away from you to activate the platform on the cliff wall.
- Go back to the starting platform and pull the marble towards you again.
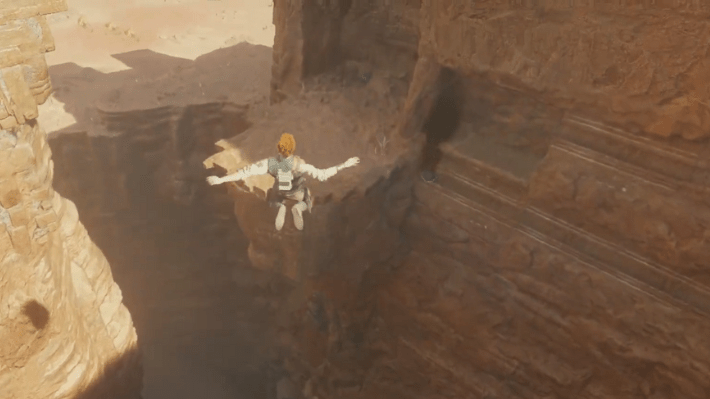
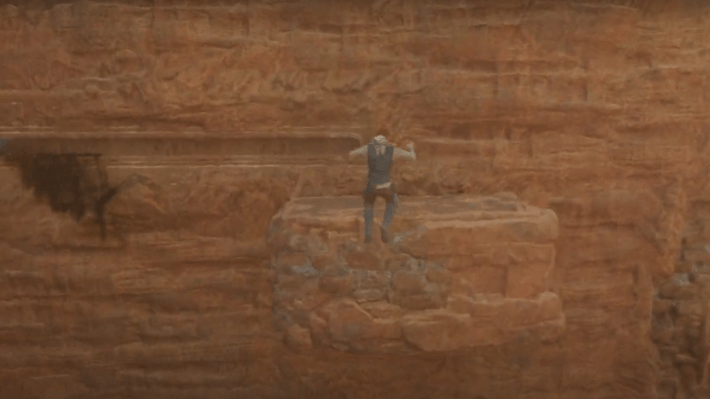
- Grapple and jump to the right side, towards the platform jutting out from the cliff.
- Pull the marble towards you, jump down, then force push the marble in front away from you.
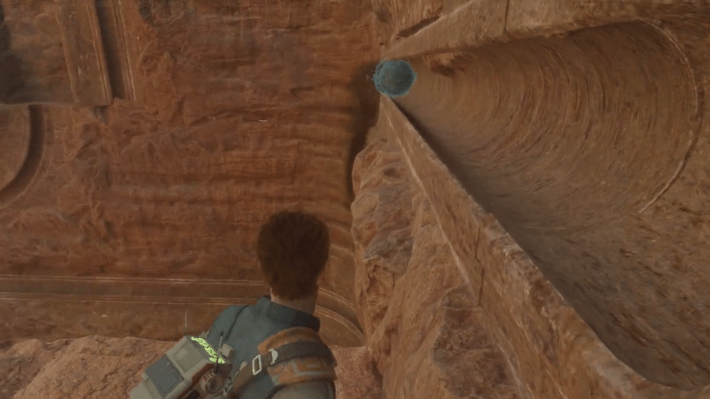
- Grapple and jump to the furthest left platform again and force-push the marble to make it go up.
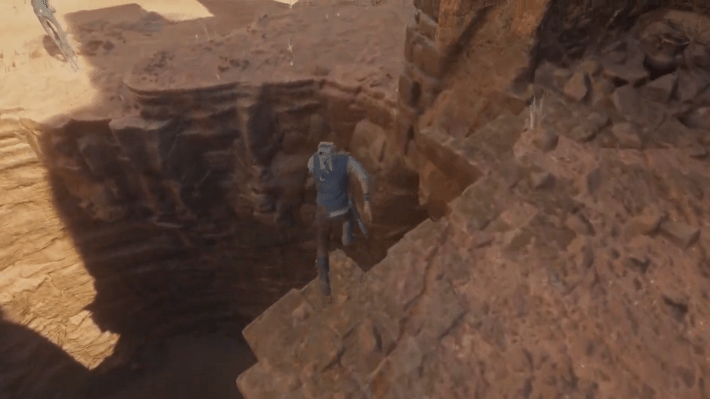
- Jump further left, past the gap till you can spot Arid Flags on your right. There is a grapple point ahead you can use to go right
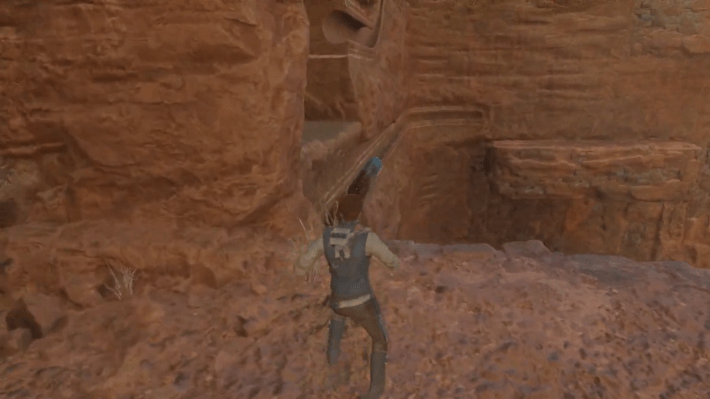
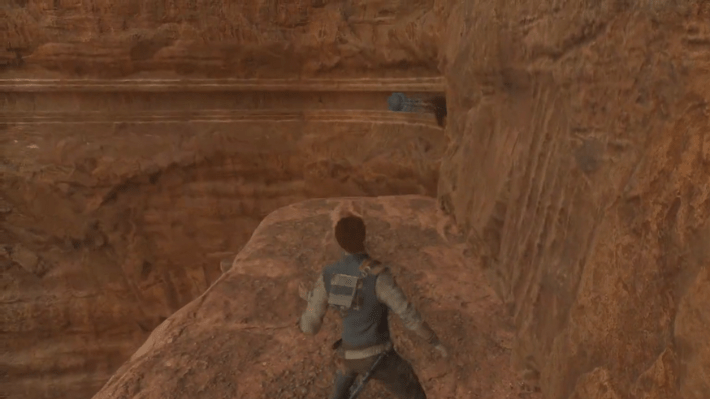
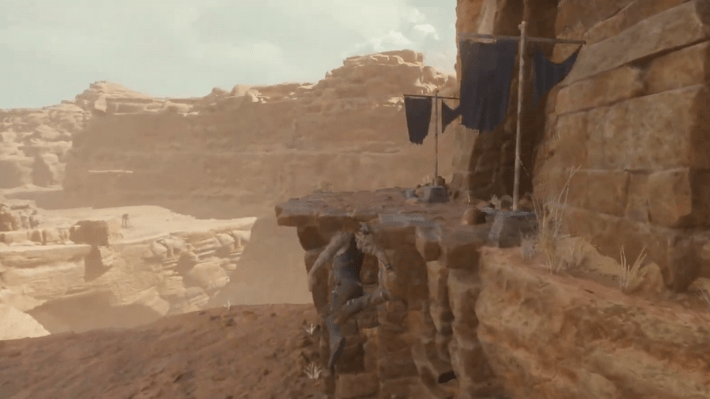
- Hop on the right-side grapple point, jump on the right-side platform, latch onto the cliff wall ahead, and scale it.
- Run up the stairs, push the marble, then check out the platform on the right side to see some stairs appear.
Path of Persistence Puzzle Solution in Star Wars Jedi: Survivor
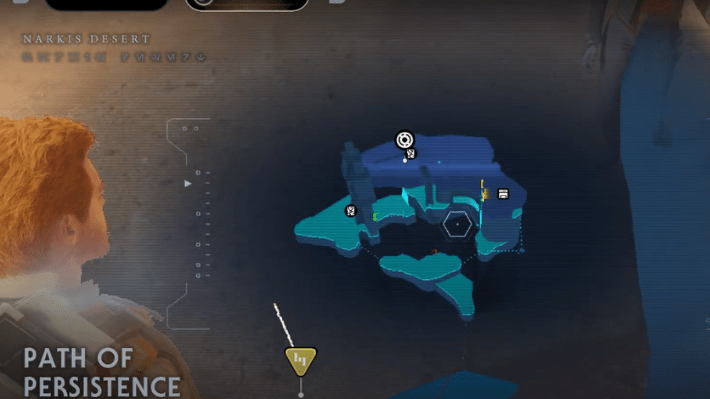
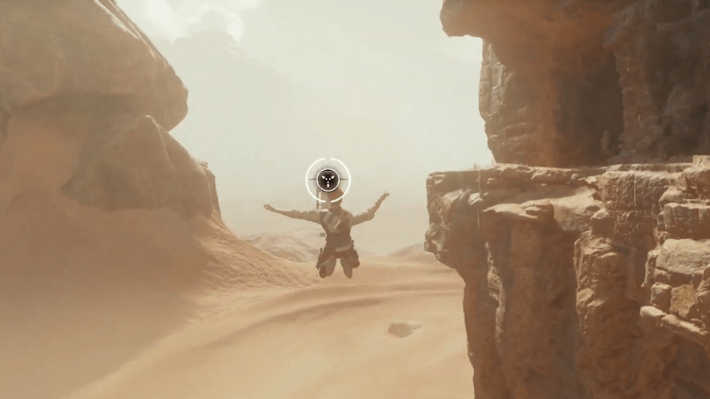
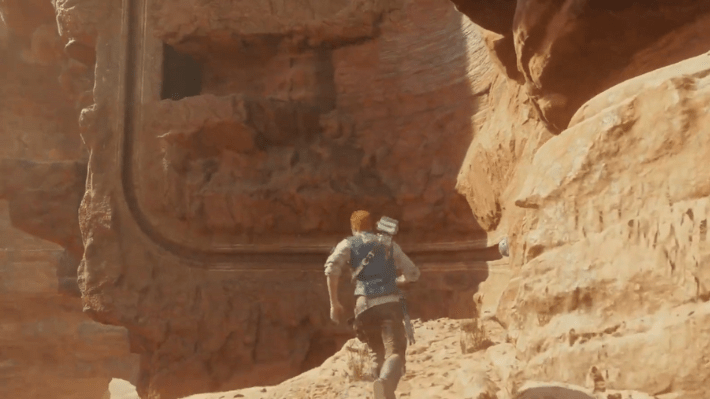
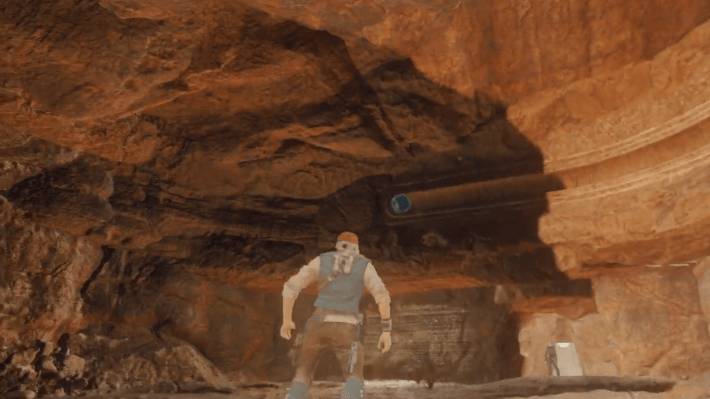
- Climb up the cliffs till you can find a zipline. Use it to glide your way through to the other side
- Use the grapple point on the right to hoist yourself up, then jump to the left platform.
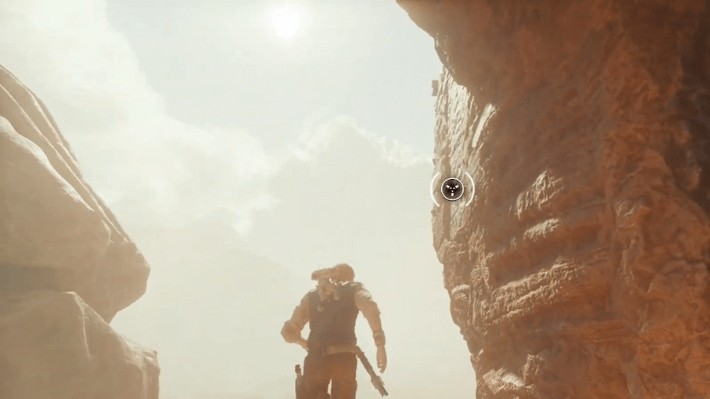
- Run left a bit more till you can spot another grapple point on the cliff wall. Hoist yourself up
- Run ahead and when you cross the Arid flag, take a sharp right
- Go straight, on your right is a grapple point. Go left and pull the marble on the wall towards you
- Jump down, use the right side grapple again, then use that to jump down to the right side platform
- Up ahead is a grapple point, hoist yourself up and push the marble ball
- Go back to the area where the Arid flag was and go to the marble ball spot that you pushed earlier. This time pull the marble toward you
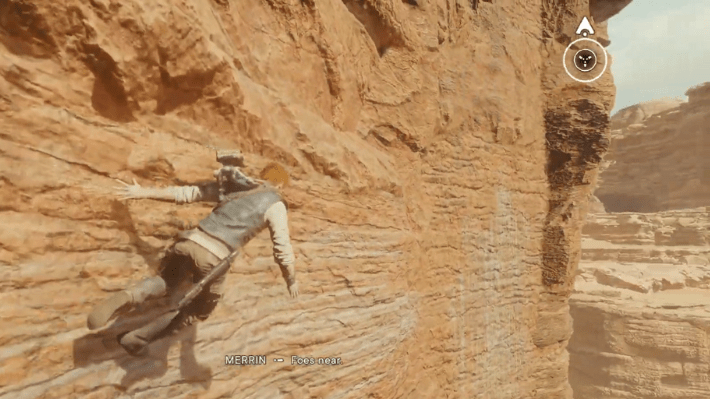
- The stone wall will shift, and you can run across the cliff wall to climb up to the top
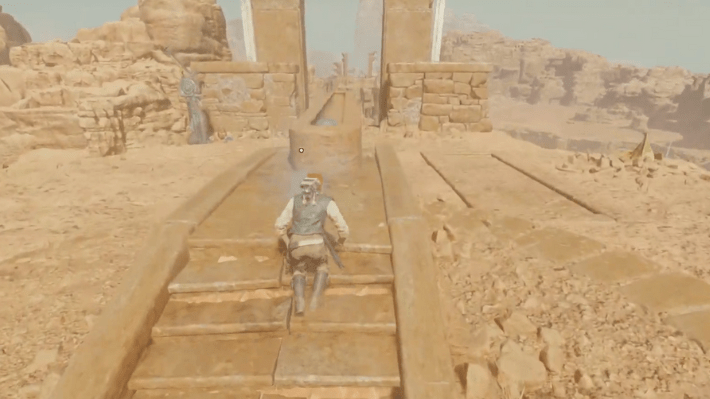
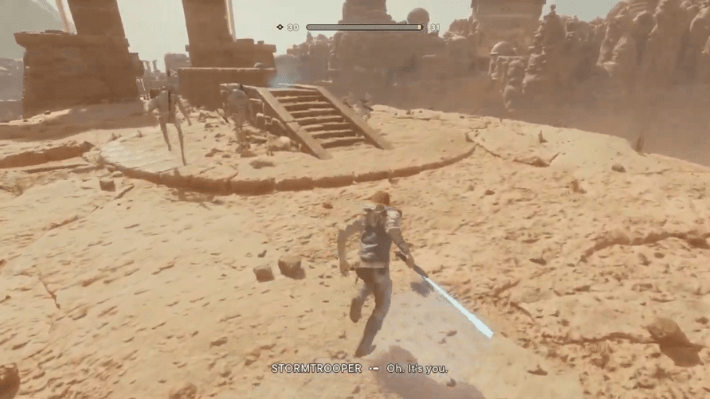
- There are some enemies here once you reach the top. Defeat them, then go to the stairs and push the marble. The platform on the right will open up.
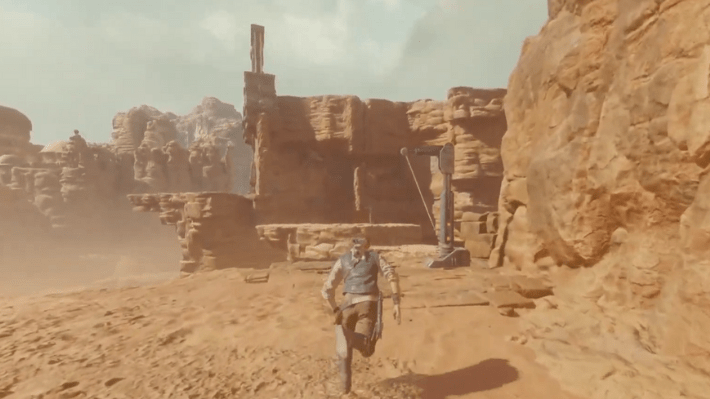
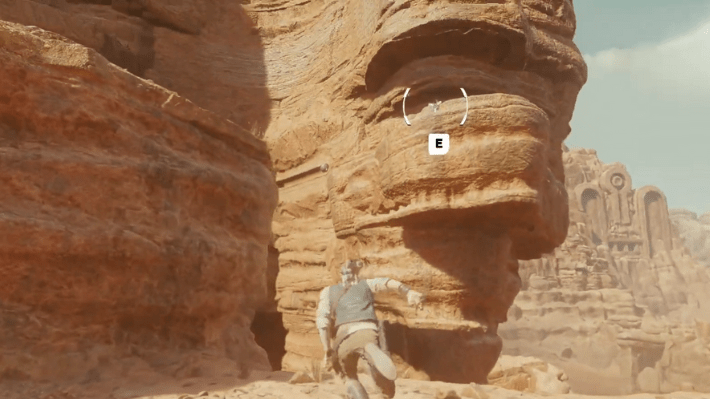
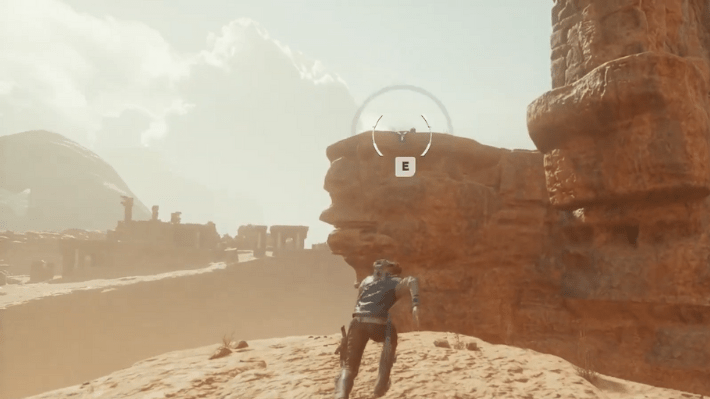
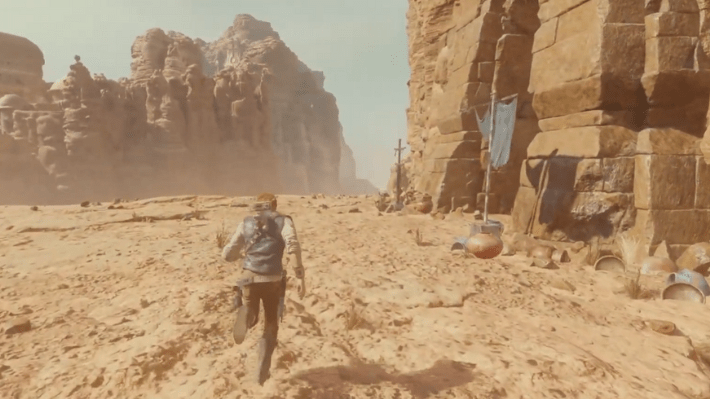
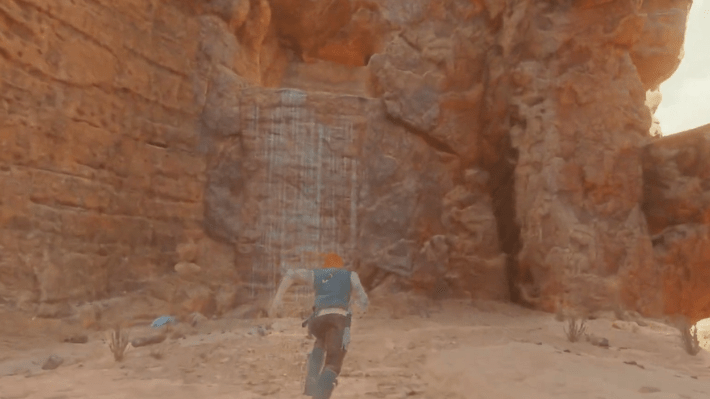
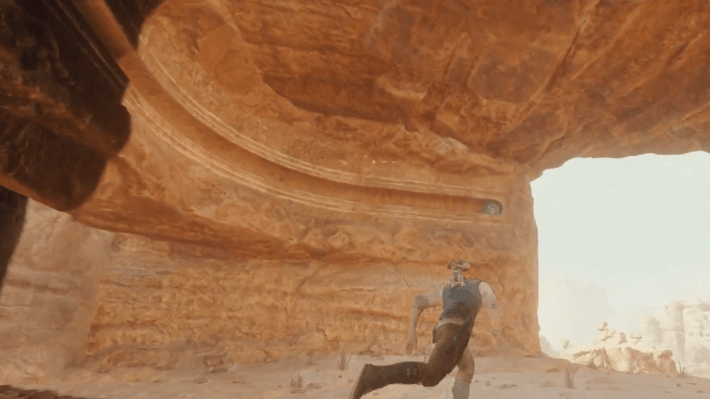
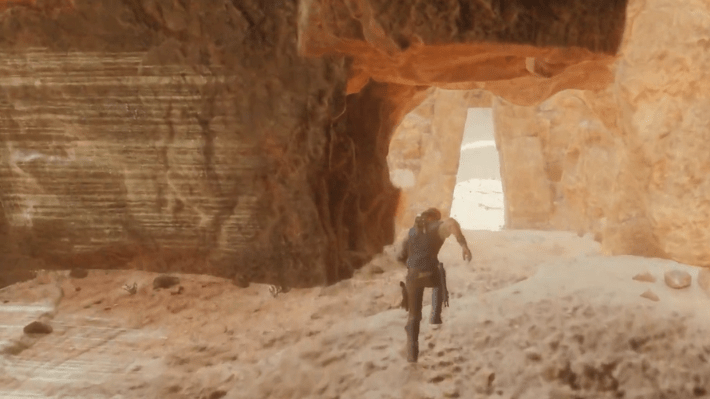
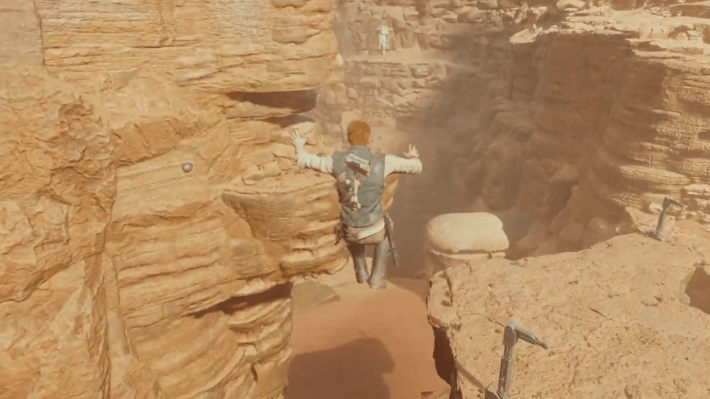
Path of Restoration Puzzle Solution in Star Wars Jedi: Survivor
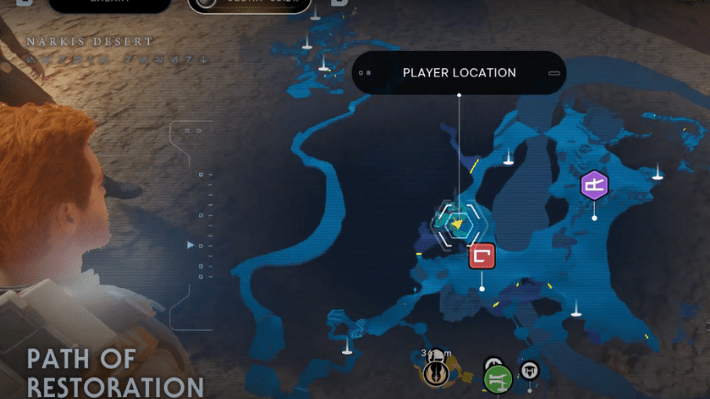
- Climb up the cliff wall and make your way to the furthest left side of the area. You have to jump across gaps and get to the leftmost platforms
- You will soon spot a marble against the wall. Use force push to push the ball
- You will see the walls shifting in front. Make your way over there, then push the marble on your left side
- Make your way towards where the marble lands, then scale the wall beside it to go to the top.
- Go to the right side and push the marble.
- Climb down and push away the marble on your left
- Go back to where the first marble was and push it. The walls will shift again
- Now push the marble on the left side to make it go up
- There is a zipline on the platform above where the first marble you encountered is. Use it to go up
- Push the marble on top of the stairs and take a look at the platform next to you
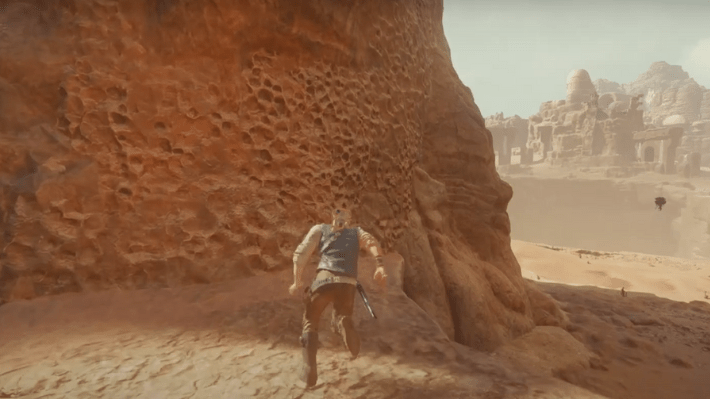
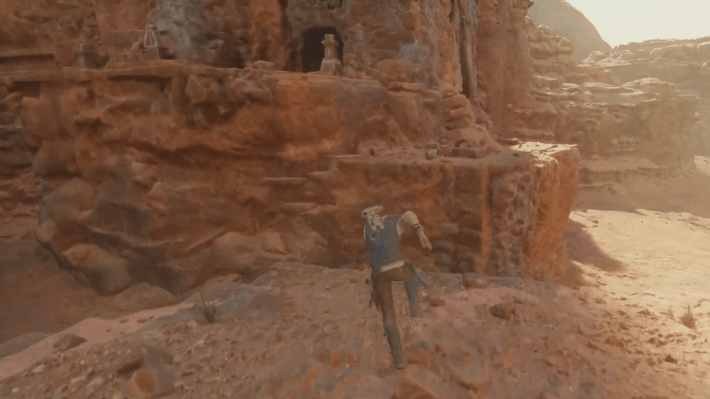
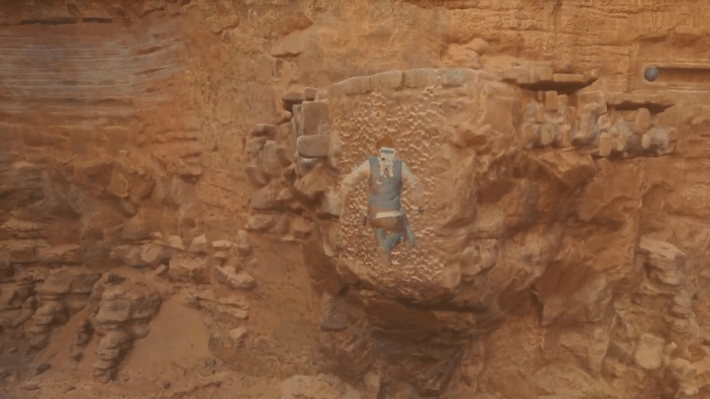
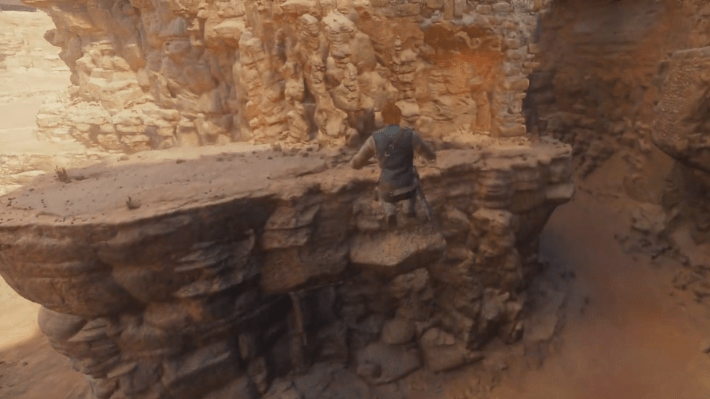
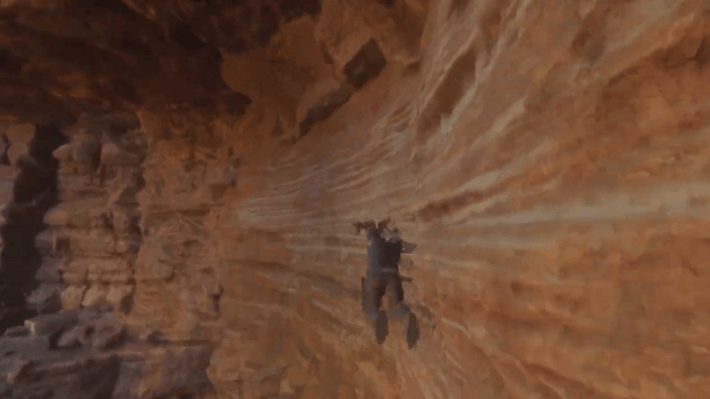
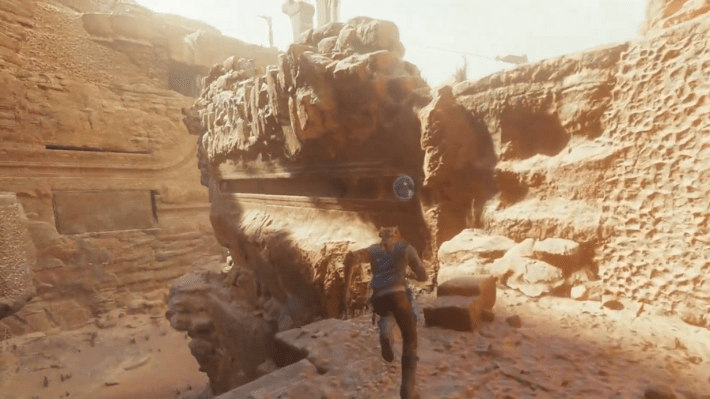
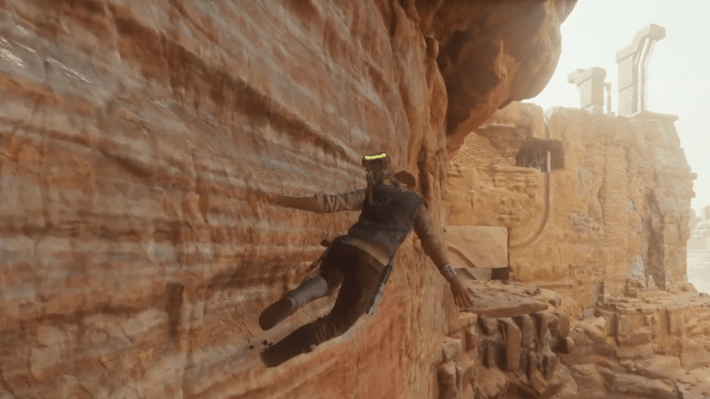
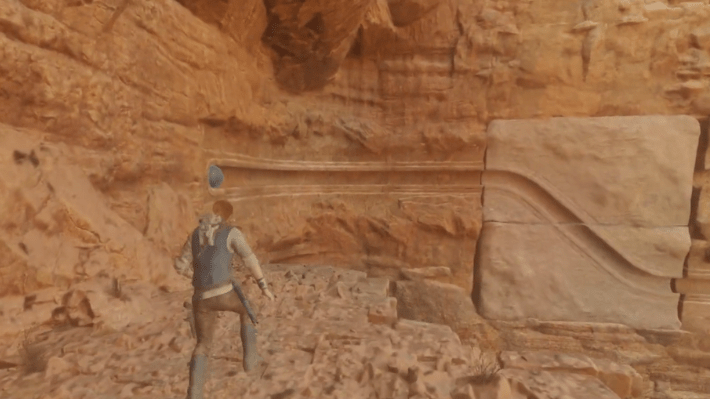
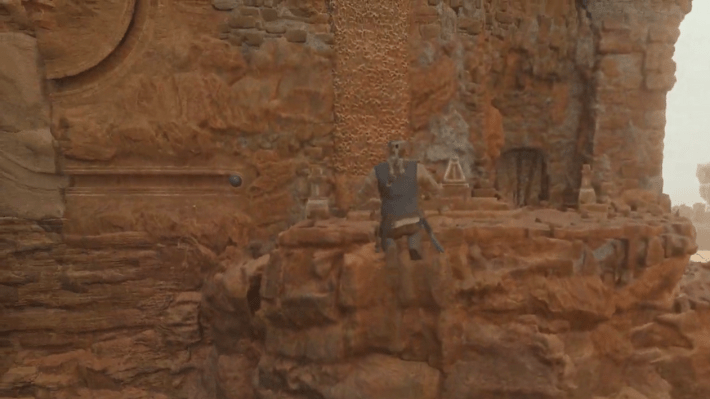
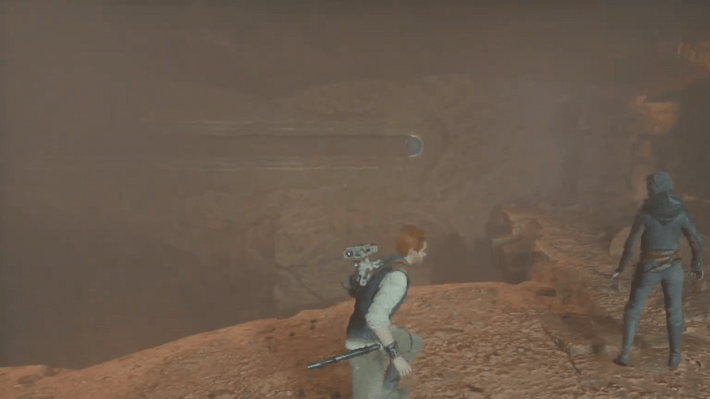
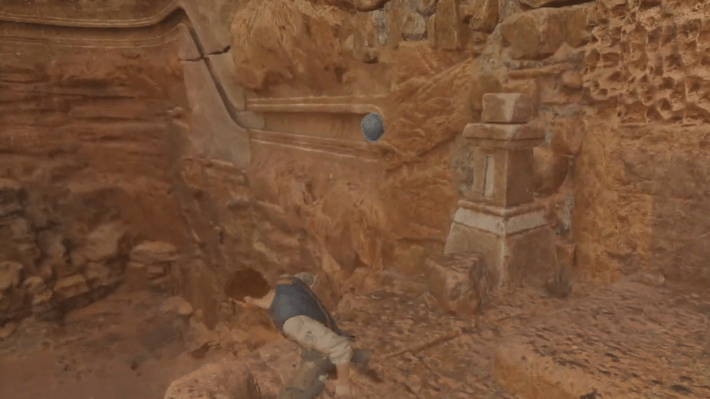
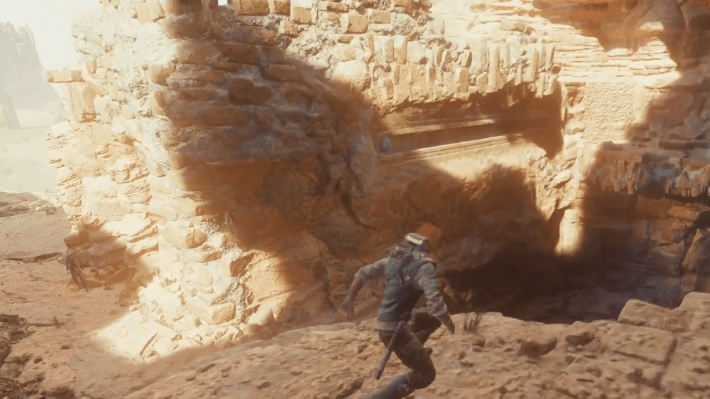
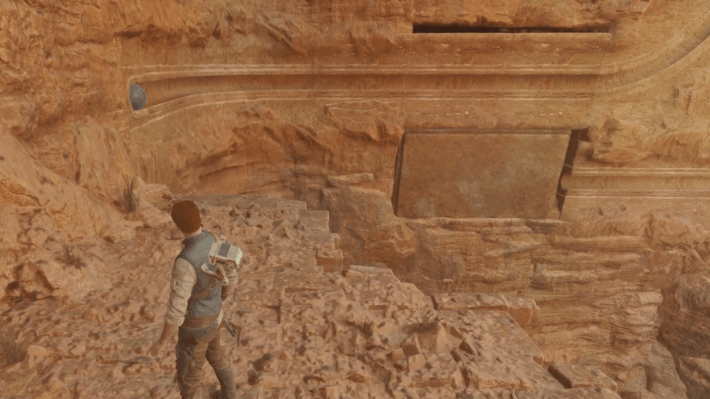
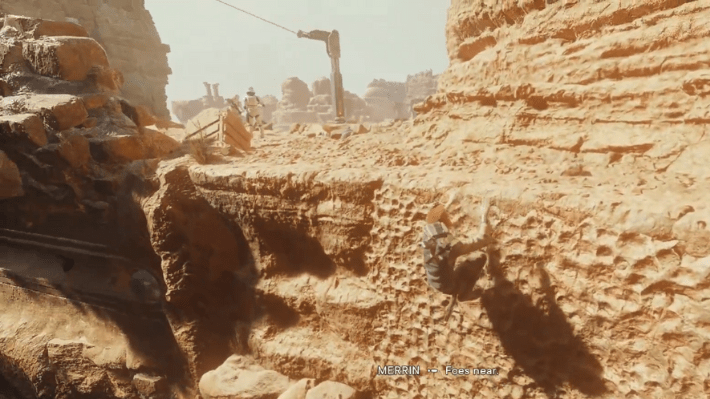
Wayfinder’s Tomb location in Star Wars Jedi Survivor
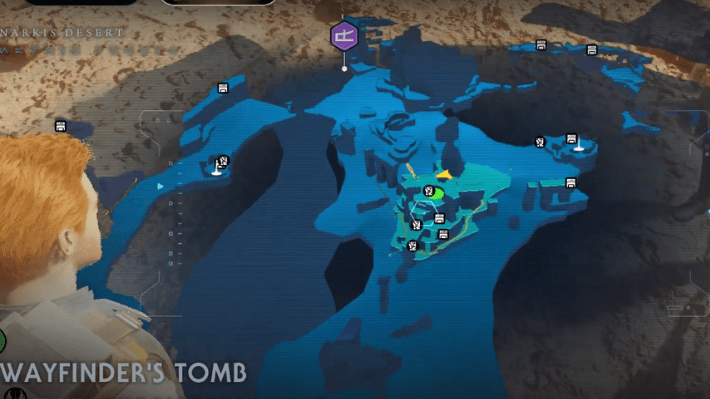
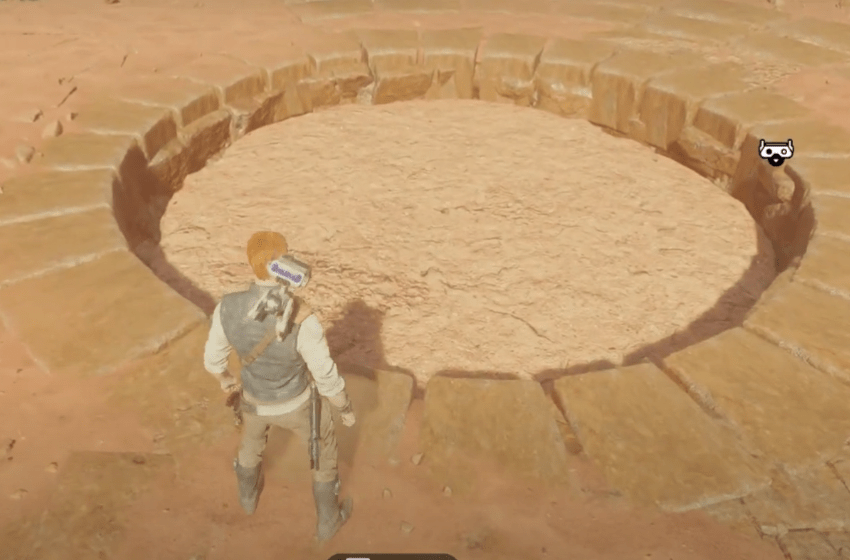
After completing all three puzzles, the tomb entrance will be unlocked. Use the grapple point to hoist yourself up, then scale the walls to go all the way up. You will find a circular entrance on the floor. Step on it to go down to get the Treasures Map Upgrade and Eno Cordova Lightsaber.
