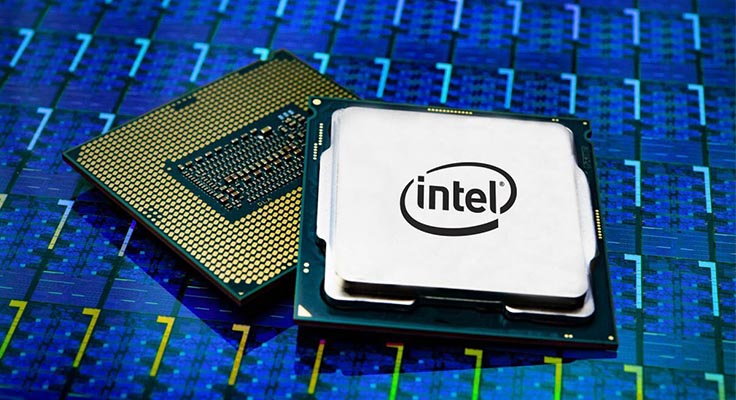
AVX stands for Advanced Vector Extensions. Although this technology was a breakthrough in computing history, its implementation is quite uncommon in the everyday computing space for a layman. So, for most consumer-grade processors and systems, AVX is more of a marketing term than an actual feature. The full potential of the AVX instruction set can be fully utilized in high-performance workstations which involve large-scale mathematically complex and heavy applications. AVX significantly speeds up these processes without any additional computational power.
A Short History of AVX
AVX was introduced with Intel’s Sandy Bridge lineup of processors and AMD’s Bulldozer lineup. Sandy Bridge processors rolled out to the market in Quarter 1 2011, and AMD launched the Bulldozer lineup in Quarter 3 of that year.
The AVX instruction set was improved upon in 2013 and AVX2 was released. They were released with Intel’s Haswell lineup of processors and AMD’s Excavator lineup.
Further down the line, in 2016, the AVX instruction set was expanded to support up to 512-bit SIMD registers. However, support was only brought to the high-performance Xeon Phi “Knights Landing” processors back in 2016.
Most consumer-grade processors these days come with support for both AVX and AVX2, with only high-performance processors supporting AVX 512.
List of Processors Supporting AVX and AVX2
Below is a list of all lineups of processors that came with support AVX and/or AVX2. If the particular processor you are searching for does not belong to any of the lists below, AVX cannot be enabled for it.
AVX Support:
- AMD:
A. AMD Jaguar Family 16h (2013)
B. AMD Puma Family 16h (2014)
C. AMD Bulldozer (2011)
D. AMD Piledriver (2012)
E. AMD Steamroller (2014)
F. AMD Excavator (2015)
G. AMD Zen (2017)
H. AMD Zen+ (2018)
I. AMD Zen 2 (2019)
J. AMD Zen 3 (2020) - Intel:
A. Intel Sandy Bridge (2011)
B. Intel Sandy Bridge E (2011)
C. Intel Ivy Bridge (2012)
D. Intel Ivy Bridge E (2012)
E. Intel Haswell (2013)
F. Intel Haswell E (2014)
G. Intel Broadwell (2013)
H. Intel Skylake (2015)
I. Intel Broadwell E (2016)
J. Intel Kaby Lake (2017)
K. Intel Skylake-X (2017)
L. Intel Coffee Lake (2017)
M. Intel Cannon lake (2017)
N. Intel Whiskey lake (2018)
O. Intel Cascade lake (2018)
P. Intel Ice Lake (2019)
Q. Intel Comet lake (2019) [AVX support only seen in Core and Xeon SKUs]
R. Intel Tiger Lake (2020) [AVX support only seen in Core, Pentium, and Celeron SKUs]
S. Intel Rocket Lake (2021)
T. Intel Alder lake (2021)
U. Intel Gracemont (2021) - VIA:
A. VIA Eden X4
B. VIA Nano QuadCore - Zhaoxin:
A. WuDaoKou (KX-5000 and KH-20000 SKUs)
How to Check Whether Your Processor Supports AVX/AVX2/SSE4
Any hardware monitor program should tell whether your system supports the AVX/AVX2 instruction set. In case you are on a high-performance server-grade system, your system should also support the AVX-512 instruction set.
HWiNFO-64 is the easiest way to check whether your system supports AVX or not. You can download the software by following this link: https://www.hwinfo.com/download/
Once you have downloaded and installed the software, launch it. You will be greeted with a screen like this. Leave “Sensors-Only” and “Summary-Only” unchecked and hit run.
HWiNFO will detect your system configuration. Let it do its thing.
After HWiNFO has finished gathering information about your system, it will greet you with a system summary window.
Look out for the features panel. You will see a bunch of features listed here. In the case of my processor, which is a good old Ryzen 5 3600, you can see that it supports both AVX and AVX2, but it does not support AVX-512. it also supports SSE4, SSE4.1, and SSE4.2
The supported features will be highlighted in green, and the ones that are not supported will be greyed out. So, you can quickly check out what features are supported by your particular processor using this software.
However, in case you do not have the processor on hand, you will have to rely on the product information page. There is no other test in that scenario.
Check AVX on Windows
To check if your CPU has AVX capabilities, start by hitting the Windows button on your computer. Then, type “System information“. Locate your CPU model number there. Copy the model number and search on as Google. From there, you can visit the website of the CPU manufacturer to determine if it has AVX capabilities.
How to Enable AVX on Windows
If your CPU does support AVX If your CPU does support AVX
- Press the Windows button and type “cmd” in the search bar
- Right-click on the Command Prompt and select “Run as administrator“
- In the Command Prompt, type “bcdedit/set xsavedisable 0” and press enter
- You will see a confirmation message that AVX is now enabled on your Windows system.
How to Enable AVX on Linux
To check and enable AVX on Linux, follow these simple steps:
- Launch the root terminal by pressing Ctrl + T
- Update your packages by running the command “sudo apt-get update“
- Install the MKL package with this command: “sudo apt-get install libmkl-dev libmkl-avx“
AVX is very important feature as core count and clock speeds. But, it is a nice-to-have. Hope this article cleared all your doubts surrounding it.


Great article! I found the steps you provided really helpful for checking AVX support on my CPU. I appreciate the clear explanations and examples. It made the process much easier for someone like me who’s not very tech-savvy. Thanks for sharing!
Thanks for the post! I was wondering how to check if my CPU supports AVX instructions and this guide was super helpful. I’ll definitely be checking my CPU now.