Beating Dravakar in Black Ops 7 Zombies may seem challenging at first, but after understanding the boss battle strategy, you will find that the battle gets easy. The challenge is not just about inflicting damage but requires patience and evading attacks from Dravakar. The best thing about having the correct loadout is that you will have total control over the battle. In this guide, we will show you the best setup and simple strategies to help you beat Dravakar.
Best Loadout in Black Ops 7 Zombies
Upgrading Mustang & Sally to Tier 3 Pack-a-Punch will make these weapons extremely dangerous up close and will allow them to easily kill both zombies and Gjallafrosts. Good options for the Ammo Mods would be Napalm Burst and Shatter Blast.
The MP40 or M34 Novaline, upgraded to Tier 3 Pack-a-Punch, would be ideal weapons for damaging the Dravakar. These two weapons are your main choice during this battle with the boss. Good Ammo Mods for them would be Napalm Burst or Shatter Blast.
- Tactical: Stim shots (solo) or Monkey Bombs/Casimir Grenades (co-op)
- Lethal: Molotovs
- Field Upgrade: Aether Shroud (this one works great for surviving)
- Gobblegums: Shields Up (you’ll need it because armor won’t be plentiful)
Jotunn Star is essential for the boss fight. The trick here is that you’ll have to shoot your charged shot using the L2/LT button at the Gjallafrost at the moment when its eyes turn red and it opens its mouth.
How to Beat Dravakar
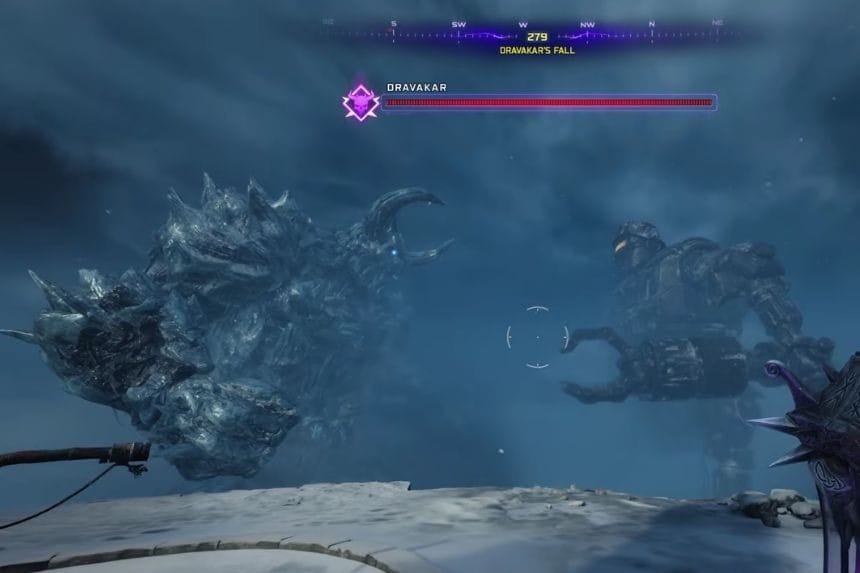
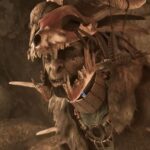
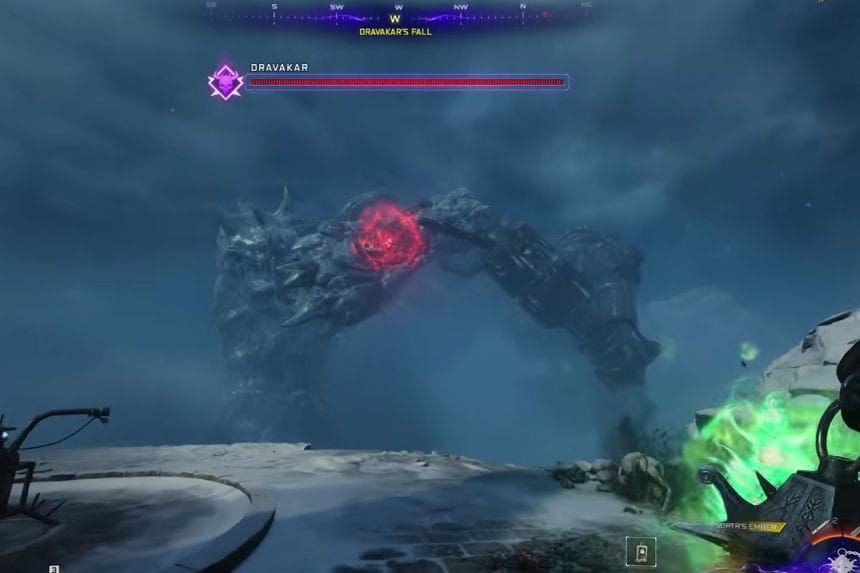
This fight starts with Tyer and Dravakar fighting one another, while the zombies attempt to attack you. This is easy since your only task is to look for Dravakar’s red weak points and deal as much damage as possible on him whenever they are exposed. When you successfully do this:
- Tyer defeats Dravakar
- You receive ammunition, armor pieces, and supporting rewards
However, when you fail to do this:
- Dravakar defeats Tyer
- The arena becomes partially frozen, making it difficult for you to move around and injuring you in the process
If the arena freezes, just move to a safe area and wait it out. Once Tyer gets back up, repeat the process. Eventually, you’ll reach a point where multiple weak spots appear focus them down quickly.
Floating Heads Phase
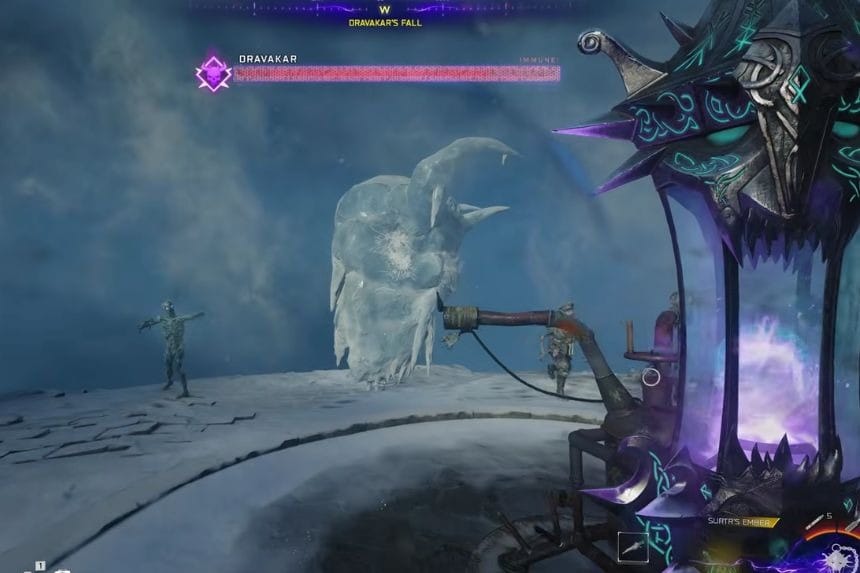
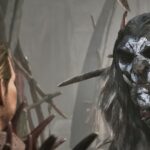
After enough damage, Dravakar becomes immune, and Tyer is knocked out. Now, a floating head appears in the arena.
- Get close to the head
- Charge your wonder weapon
- Throw the attack directly at the head to freeze it
The tricky part is that the head will attack you with ice blocks, trying to block your shot. Just dodge left or right quickly and try again. Once it’s frozen:
- Switch to your main gun
- Deal as much damage as possible
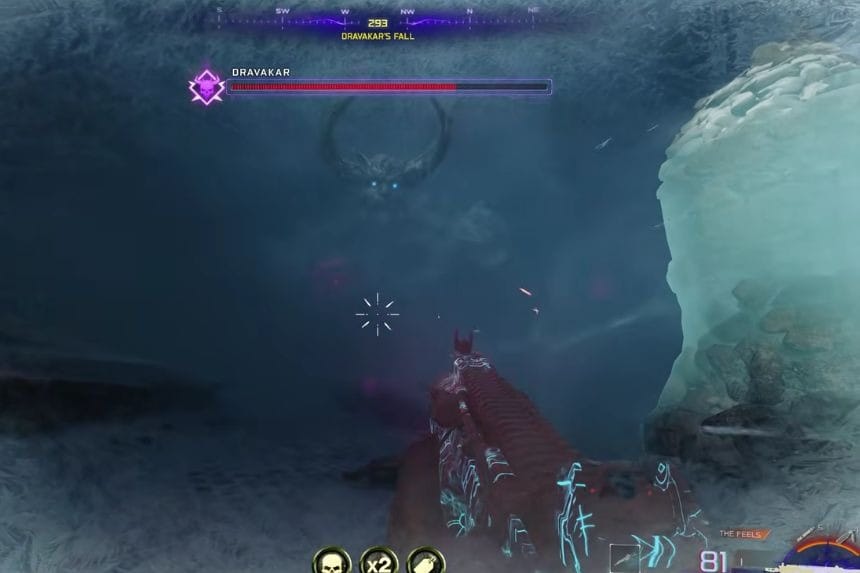
After destroying the head, the fight continues. When Dravakar comes back, things get more dangerous. He’ll freeze parts of the arena and start throwing powerful rune attacks at you.
- Stay out of frozen zones
- Use rock pillars as cover
- Peek out, shoot weak spots, then go back into cover
You’ll repeat this cycle:
- Damage Dravakar
- Fight floating heads
- Survive rune phases
Each time, it gets a bit more intense, especially when larger sections of the arena freeze.
Final Phase
In the final stage, Dravakar pulls you to the centre and locks down the rest of the arena. Then he unleashes a nonstop barrage of rune attacks. To survive:
- Move left and right to dodge incoming attacks
- If attacks come from everywhere, go prone, they’ll pass over you
- Keep shooting his weak spots whenever you can
If you’re struggling:
- Use Aether Shroud to avoid damage
- Focus more on dodging than attacking
Once you deal enough damage, Dravakar drops to very low health. Tyer gets back up and finishes him off, ending the fight.