A Blade’s Weight is an important main story quest in Diablo 4: Lord of Hatred that takes you into the mysteries surrounding Rathma and Lilith’s Blade. During this quest, you’ll explore the Archive of the Makers, solve a statue puzzle, and fight through several waves of enemies inside the Temple of Life in Skovos. In this guide, we’ll tell you how to complete the A Blade’s Weight quest in Diablo 4: Lord of Hatred.
A Blade’s Weight Quest
The mission is situated in the Temple of Life, found in the Skovos zone. You don’t have to go looking for it because it starts immediately after completing a previous mission known as Those Who Remain.
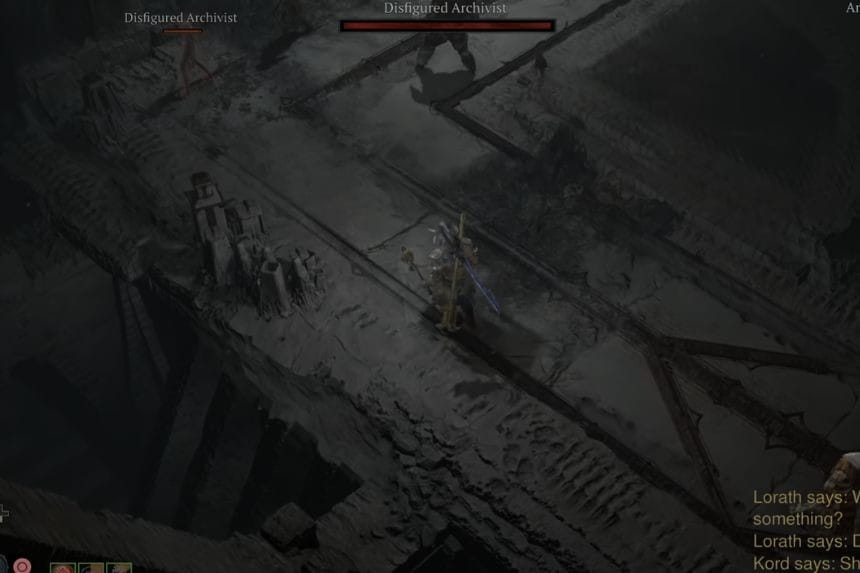
Once you have opened the doors leading to the Archive of the Makers while completing Those Who Remain, enter it to start A Blade’s Weight. Follow the route to the northwest, defeating the Archivist enemies that will cross your way.
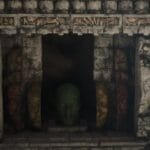
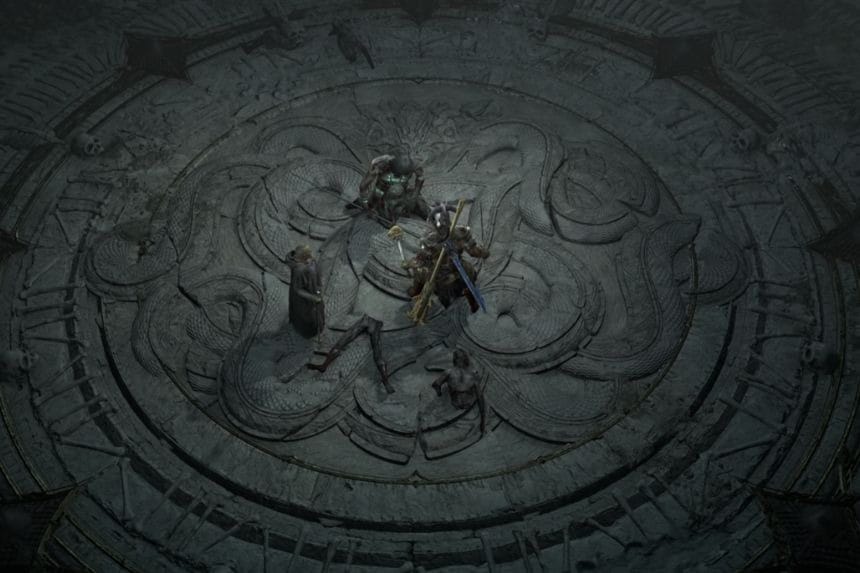
Move on until you get to a point where there will be a crossroad and a big statue at the middle of it. Move behind the statue and examine what is written on it. Interacting with it will advance the quest and start the next objective.
Solving the Puzzle
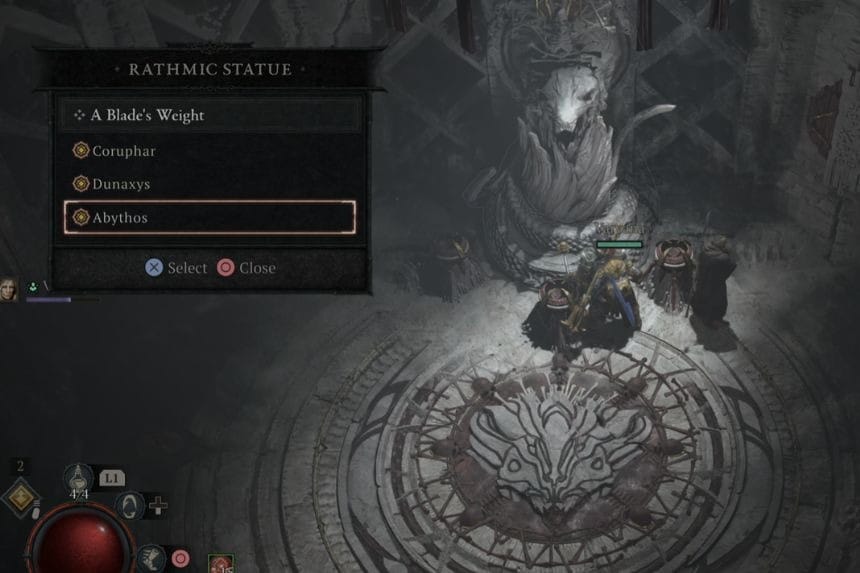
Follow any one of the two paths from the monument room that lead you northward; you’ll end up at the same place where you will find more hints about the presence of Rathma. When you come to the room, examine the Time-Worn Inscription on the walls; after that, talk to Lorath Nahr for its meaning. Next, examine the nearby Rathmic Statue to solve the puzzle. Select the following names in this exact order:
- Dunaxys
- Abythos
- Coruphar
When you enter the code correctly, an entrance will appear to your left within the room, leading you further into the archive. Enter The Closed Way and continue along the path, dealing with the enemies you encounter as you move forward. Proceed towards the northeast and look for the Scrawled Note. You may read the note if you want, but continue past it, moving forward until you reach the Golem Chamber.
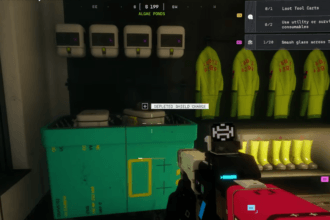
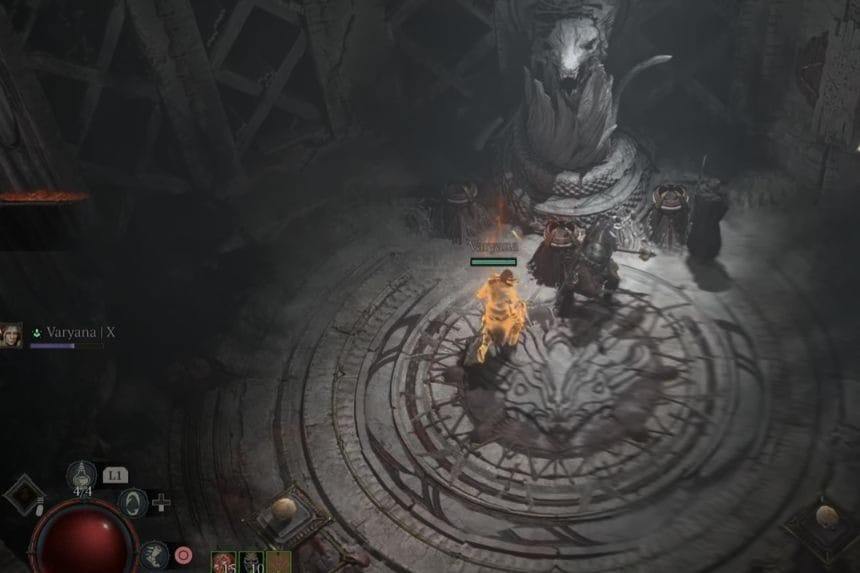
Lighting the Braziers

To light the braziers, approach them from inside the chamber. There are three such braziers around the central structure. Lighting these braziers will summon the Rathma’s Golem. Talk to this golem and inquire about the Blade. Upon finishing the dialogue, speak to Lorath Nahr for the next step.
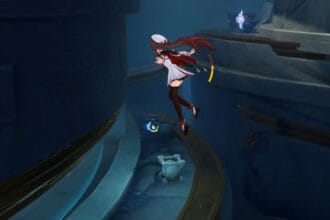
Once the brazier is lit, another door will open to the northeast. Approach it and reach the end of this passage to find the Flame of Dunaxys. Light this flame and move it to the Chamber of the Golem by standing near the glowing circle of the flame.
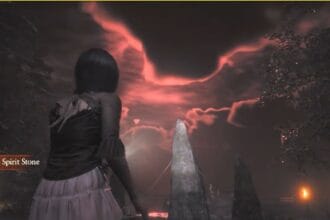
Escorting the Flames
While guiding the flame, you will face a number of enemy waves, which you need to defeat while ensuring the flame reaches the brazier. After completing the task for bringing back the Flame of Dunaxys, do the same for both of the remaining essences. After retrieving all three flames, it will take you some time to defeat more enemy waves before receiving a new quest objective.
Upon defeating all the waves, Rathma’s Golem will become your enemy and force you into a boss battle. Defeat the golem and start a conversation with him to find out where Lilith’s Blade can be found. After finishing your conversation, speak to Lorath Nahr to complete the quest, A Blade’s Weight.