
In Modern Warfare 4 DMZ’s Citadel Prison, you can find several loot rooms, as well as weapon lockers and puzzles that reward those who go exploring. There are many tasks to finish, such as collecting the K9 battery cores, acquiring keycards, and solving the South Wing code. Here is how you can get access to the loot rooms in the prison while making it safely out with your rewards.
How to Get to the Citadel
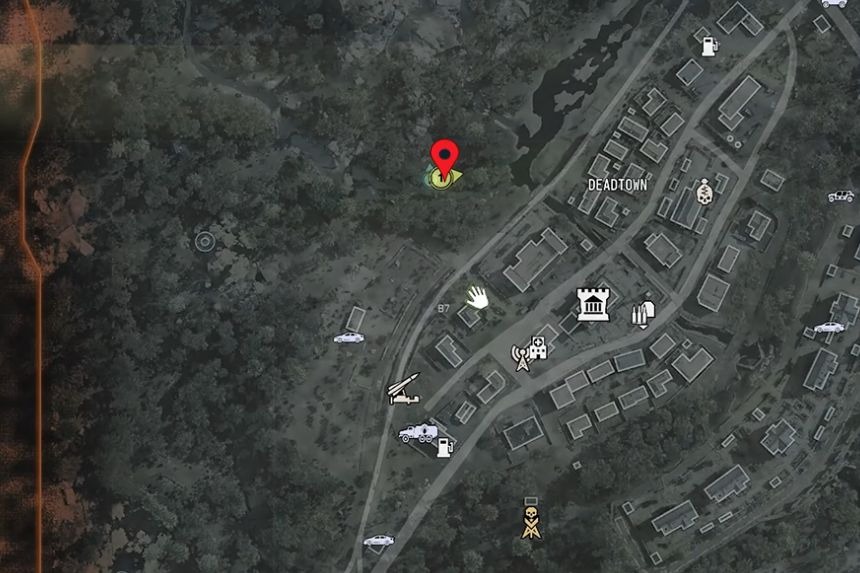
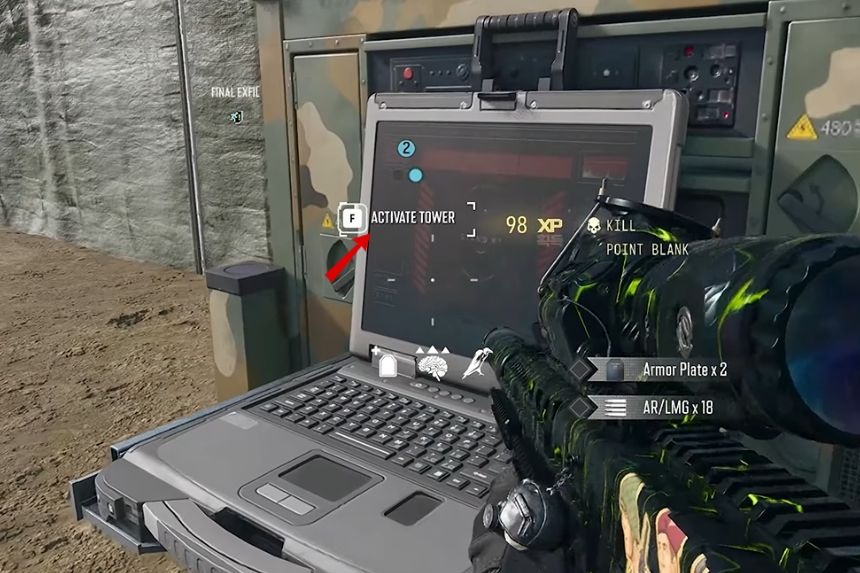
Deploy through the Operation Iron Citadel story mission to spawn south of the air base, near the prison. Once this is done, go to Deadtown and find a vehicle to drive north to the location of the Citadel. Upon arrival at the site of the prison, make sure to turn on the UAV tower so that you can see every other player nearby. When you are ready to access the main Y-shaped structure, you can either go down the roof using ziplines along the edge or enter from one of the free buildings next to the main building.
East Wing K9 Puzzle and Loot Room
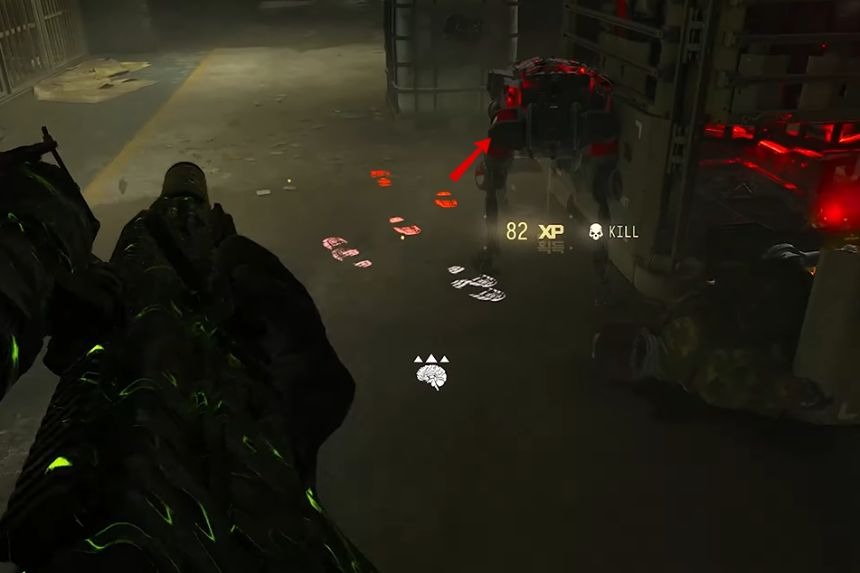
To unlock the side loot room and reach the prison cells, you are required to gather blue K9 battery cores in the East Wing K9 puzzle. To do this, you should look for the box that produces explosive robot dogs in the East Wing.
Allow the dogs to spawn before shooting them down and retrieving the blue K9 battery cores they drop before they explode since the cores will become unusable after they turn gray. Collect four cores to open the side loot room or gather 12 to unlock both puzzle doors.
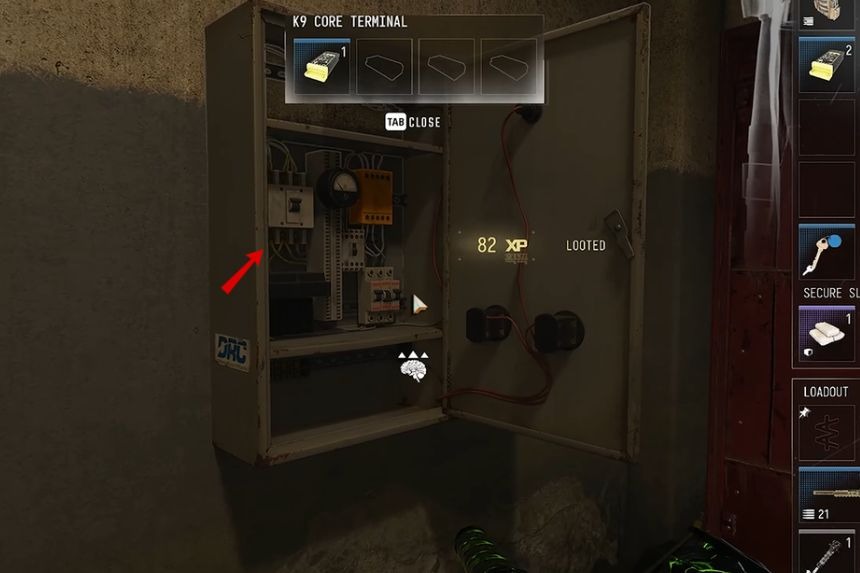
In order to unlock the red door, you need to insert four cores in the module beside the stairs on the outer edge of the building. Once inside, gather any loose loot and crates lying around, and remember to grab the green key for the Citadel Main Control Room from the table.
With all twelve cores, you can use the remaining eight to unlock the east wing prison cells at all three floors. You can search these cells for additional loot, although the rewards are generally poor.
Citadel Main Control Room
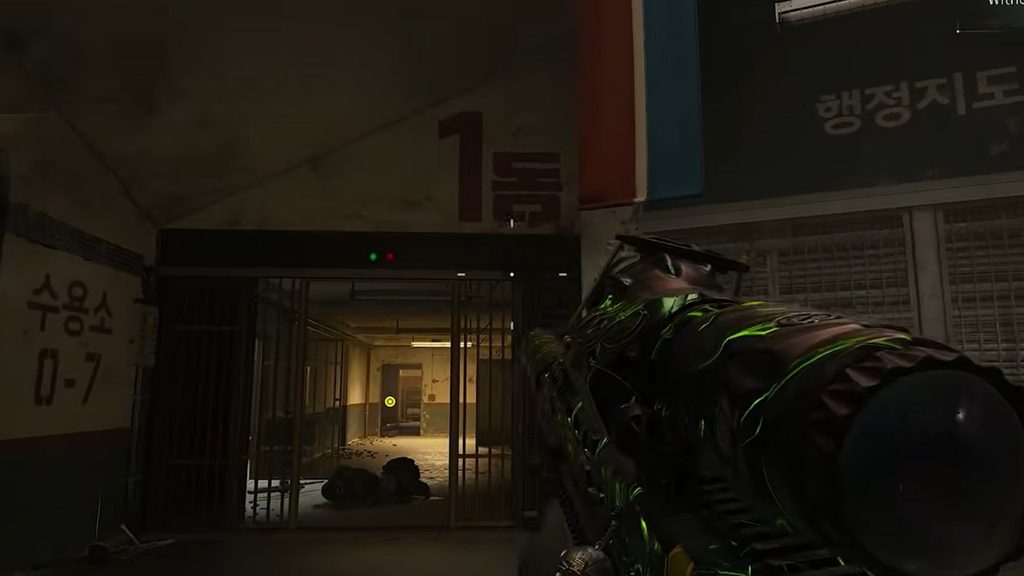
The green key acquired from the East Wing K9 puzzle opens up the doors to the Citadel’s Main Control Room. Head back to the main entrance and make your way down the corridor labeled Wing 1. Once you reach the red-colored door, use the key to access the area.
Be ready for enemy attacks and make sure to clear the room before you go looking for the key to the South Block Armory, which is found either on or behind the desk. Since there isn’t much loot in the room, your main priority should be securing access to the key, as it will be needed to open the South Block Armory.
South Block Armory Loot Room
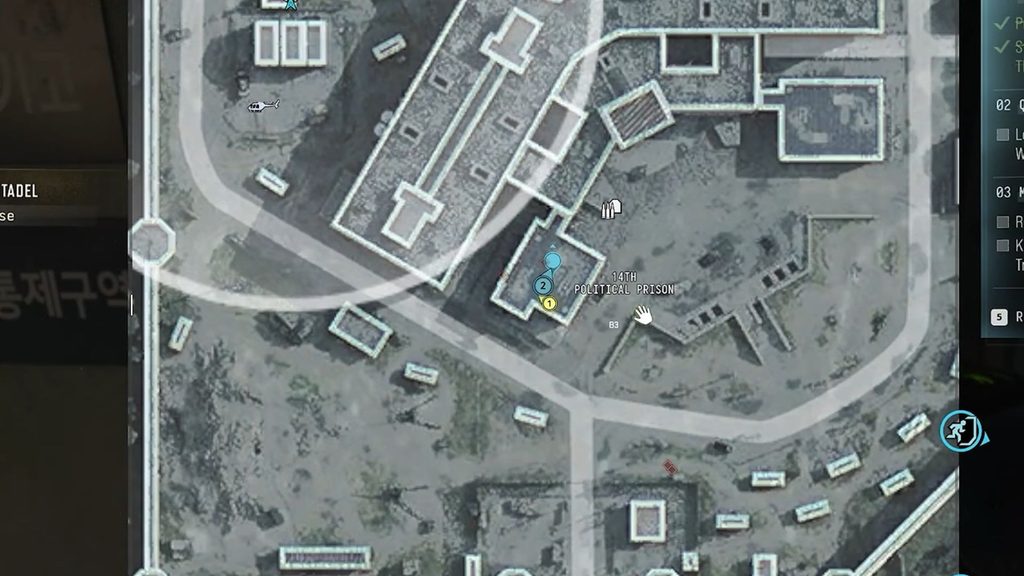
The South Block Armory is located in a small section extending from the south wing, just north of the south gate entrance. Unlock the door using the South Block Armory key to gain access to the loot room. Before going in, search the floor above for a possible side operation that involves cracking a safe. This mission may yield some valuables, e.g. gold skulls and gold bars. Nevertheless, the safe doesn’t always spawn.
Once inside, search the bags, military boxes, scattered loot, and two weapon lockers. These lockers may include blue and purple weapons as well as recipes for weapons. As the loot is randomly produced, the results may vary depending on whether it is generated at the moment during the run. Still, it is advisable to pay a visit to the armory if one needs weapons or other useful items.
South Wing Code Puzzle
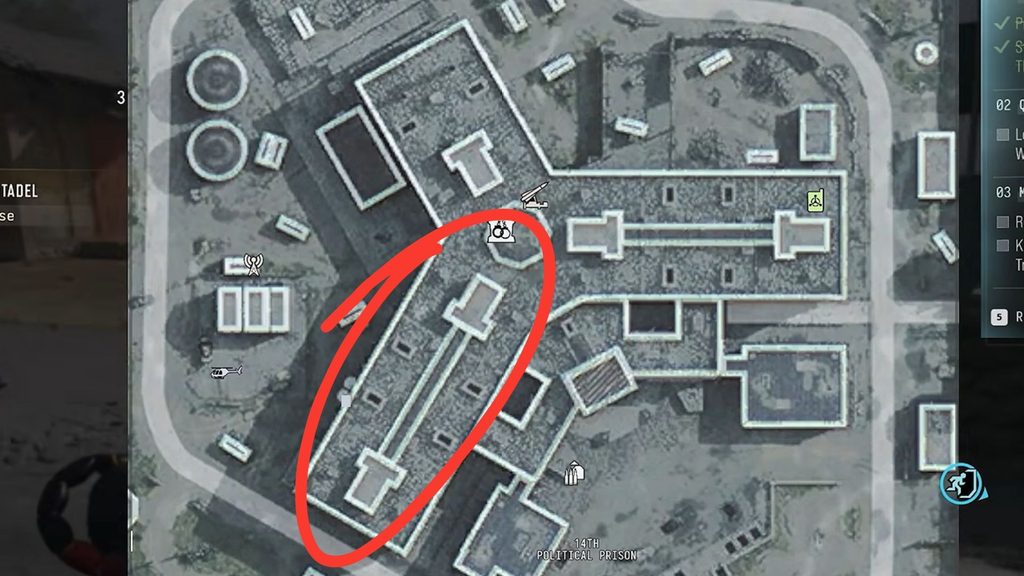
The South Wing puzzle requires you to find two notes containing the digits for a four-digit code. Locate the note containing the first two numbers downstairs in the prison cells and then climb upstairs to find the following document containing the rest of the numbers. Once you have the four digits, go to the end of the South Wing where there is a control panel under the stairs next to the door that says Officer’s Only.
You will have to use the necessary code to break into the prison cells and search them for additional loot. However, the biggest gain from this task is the lever opening the red side door. You can enter the room and find the necessary items including the Citadel Secondary Control Room key, which you will need to access the next area.
Citadel Secondary Control Room
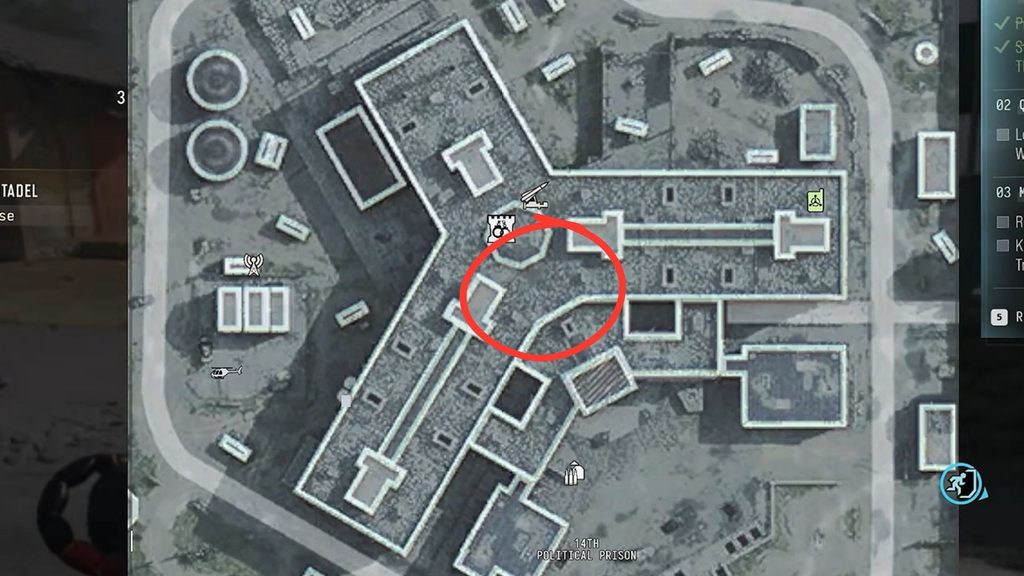
The South Wing puzzle chamber offers a means of accessing the Citadel’s Secondary Control Room. From there, go to the center staircase to go up two sets of stairs to reach an elevated balcony. Use the key collected earlier to unlock the door leading to the control room.
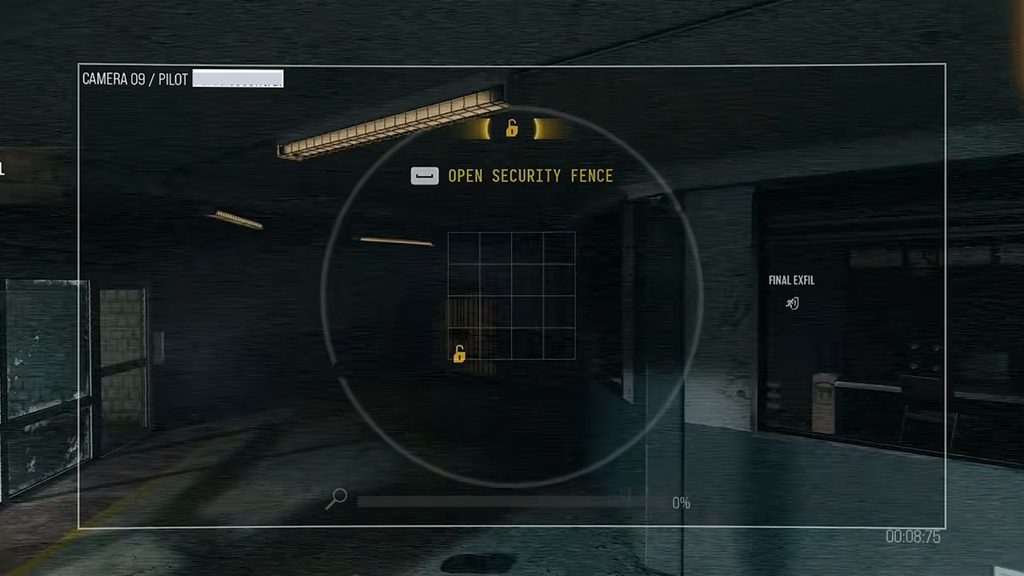
Now, operate the camera system on the computer to navigate through the list of available integrations to find the camera that depicts yellow lock symbols. Now, hold the interaction button to unlock the chosen doors. Moreover, the control room does not yield anything, as it was made to create a way to access the security fence and loot rooms located in the northern part of the prison.
Security Fence Loot Room
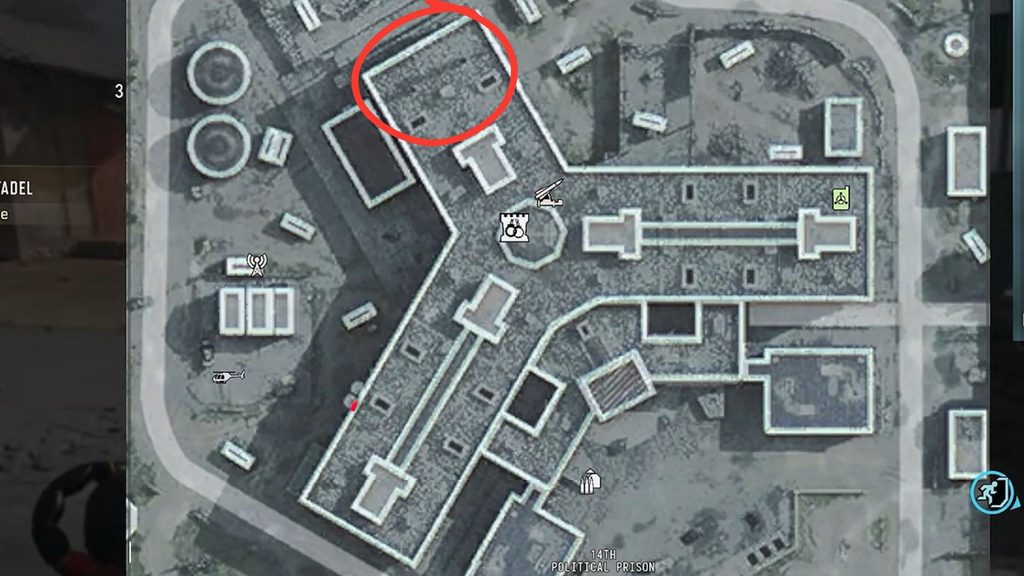
Once you have solved the puzzles located in the East and the South Wing, you can now access the final loot room. Go to the northern area of the prison and go up the stairs from the second command room. Move along the balcony and kill all the armored enemies who are present there.
Soon, you will get to numerous loot rooms made of glass, so make sure you inspect the items in them before you choose one. Concentrate on the loot room with two weapon lockers in it, as the other rooms do not have such an advantage. Keep in mind that you can open only one room.
Once you activate a button, the other buttons will jam, preventing you from accessing additional rooms. The room you choose can contain purple weapons and other valuable items, with a chance of finding orange or red-tier loot depending on random drops.
Extraction Tips
Once you are done with the raid, exit the prison and look for the nearby helicopter spawn. Helicopters do not spawn every time, but when they do, they can facilitate your escape and help you stay away from other players. Be careful when leaving the prison, as the nearby air base has sentry towers that can shoot at you.