
You have to locate six Testing Facilities in Control Resonant, each with its own puzzle that you need to complete to turn it off. The Testing Facilities are located in various regions such as Downtown, Central, Evacuation Zone, and Unknown. By completing all six Testing Facilities, you will get several rewards along with progressing the Unsupervised Science quest. Here are all the Testing Facility locations and puzzle solutions to help you find and clear each one.
Testing Facility All Locations & Puzzle Solutions
Unsupervised Science is one of the side missions in Control Resonant. It requires you to disable six experimental facilities located in different parts of Manhattan. When you complete these missions, a Threshold will open within the Unknown facility near the place where you got the Firebreaker Goggles.
In the Threshold, there will be the name Janson written on the floor on your left and Puchalski on your front. Do not take either of those routes; taking a left will turn you into a chair, and walking straight will turn you into a phone booth.
Instead, head right and hit the board at the end of the road. After that, go through the left road and get to the Power Core, where you will need to get the electric charge from it. Move straight on, and when you get to the fork, follow the left road to transfer the charge to the dead Power Core. Collect all the materials from the room and then get back to the fork and move forward. You will soon find a corpse that you can talk to.
Interacting with the corpse will complete the mission and will reward you with Dr Grant’s Final Report file, Untapped Scrunchie Artefact Recipe, and the Threshold Researcher Achievement/Trophy.
Downtown
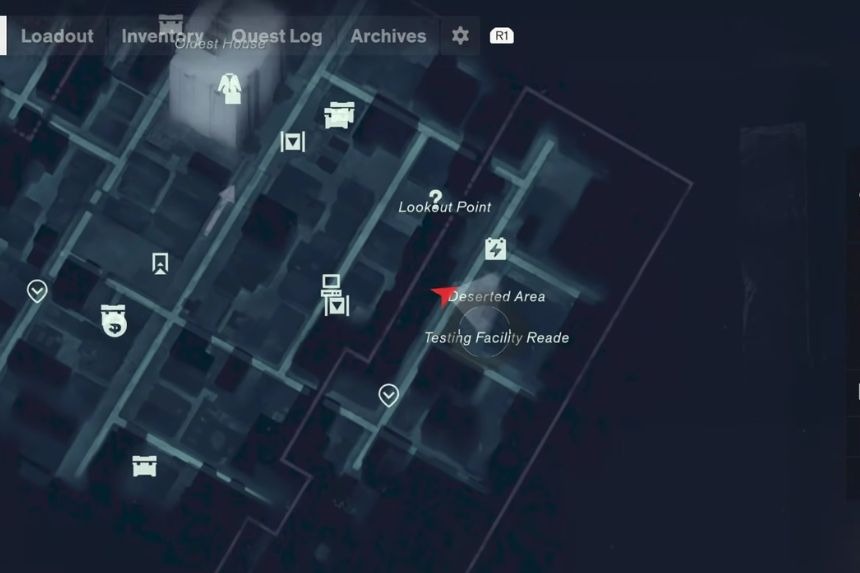
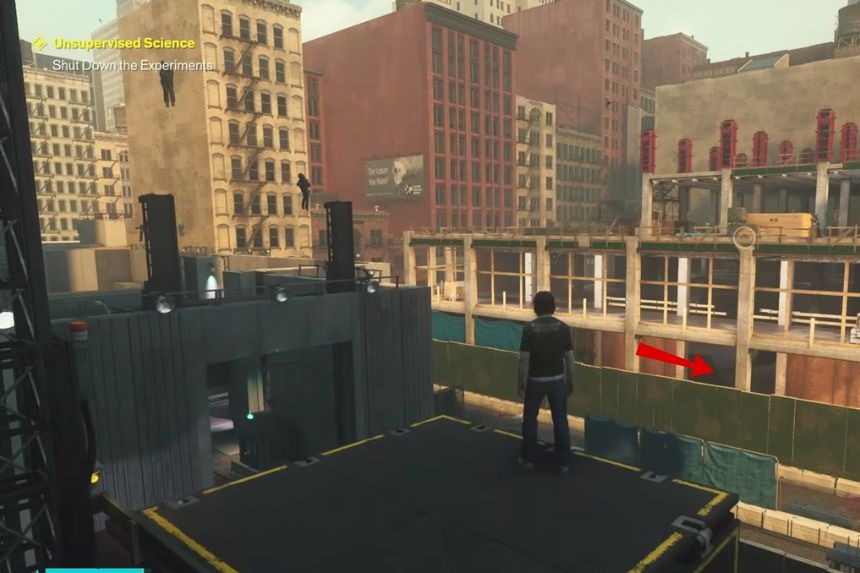
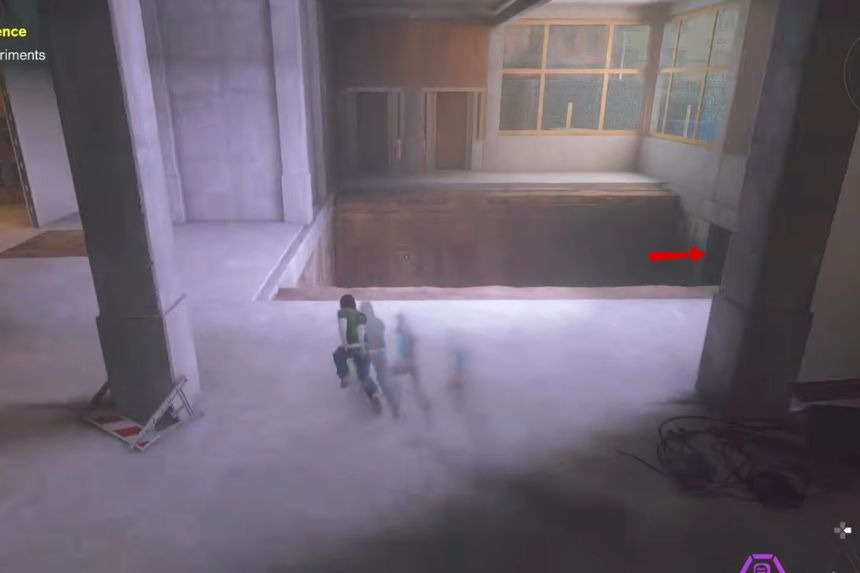
Downtown – secret base is located in the Testing Facility Reade building, situated on the eastern side of the territory. In order to gain access, you will have to solve the Soda Dispenser challenge. Inside, you will find a Power Upgrade and the message from Dr Milbeck’s Cardiologist.
Soda Dispenser puzzle
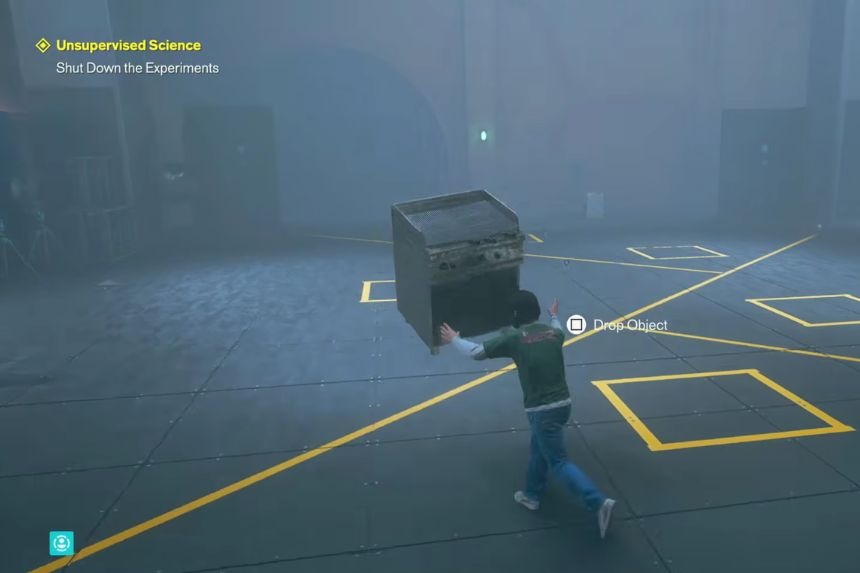
In fact, there is a clue in the terminal that states that the Soda Dispenser is the default condition of the puzzle. There are a few items in the room that you are able to carry and take to the centre of the room, which is a box.
However, before you put anything in the box, you should make sure that it has transformed into a Soda Dispenser. You will be able to change the state of your item if you carry it from one end of the yellow line to the other. After that, your item will transform into another object. In case you need to check how the objects change, you may use the whiteboard that is situated next to the terminal.
In any case, a simple solution to this problem is to carry your item from one yellow line to the other with the jump. This lets you change the item without following the lines in order and can help you turn it into a Soda Dispenser faster.
Central
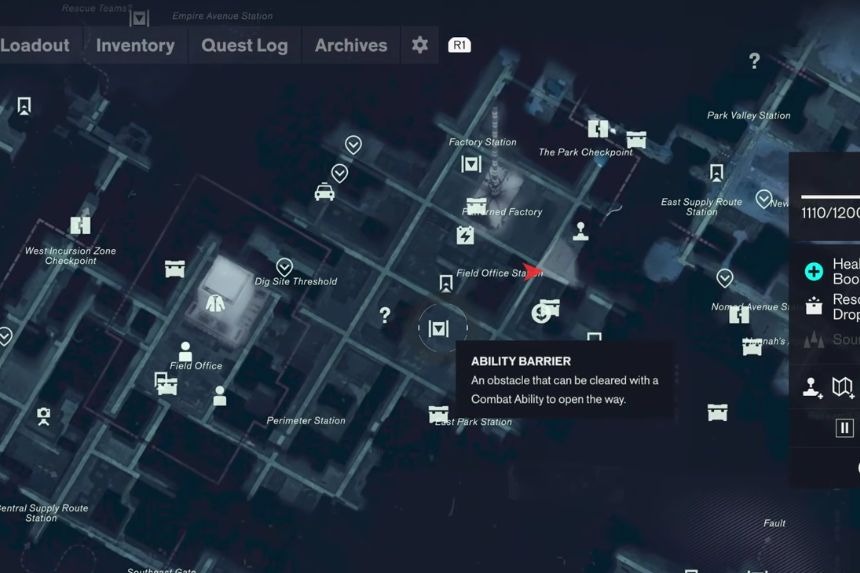
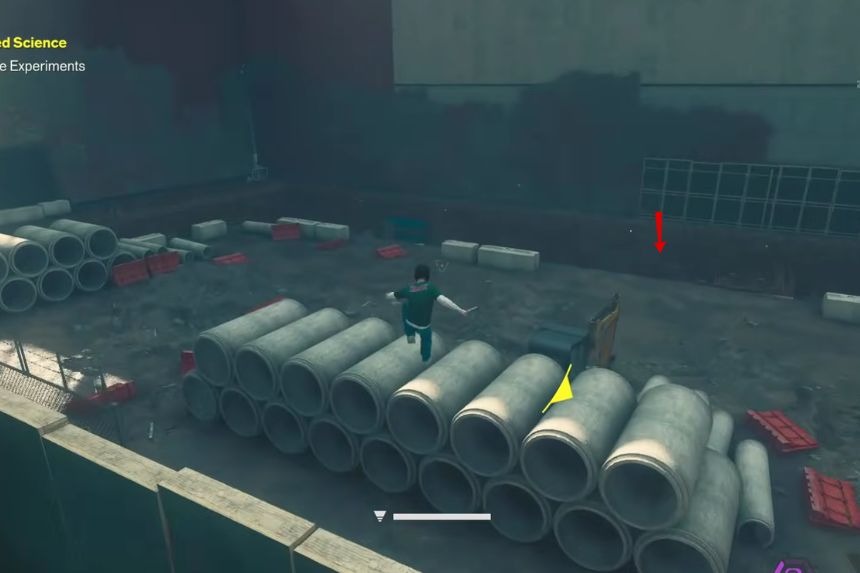
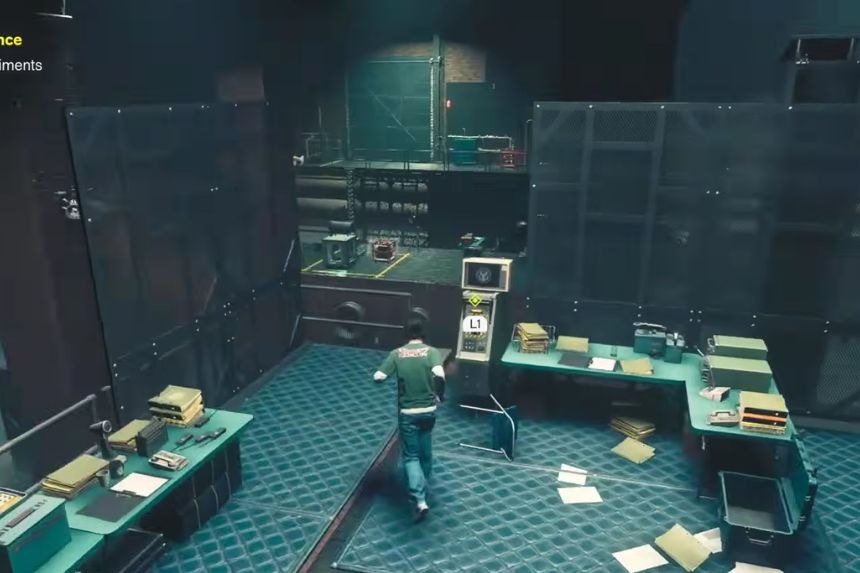
At Central, go to the construction site that is located to the east of the Patterned Factory. The entrance to this place is blocked by a Power Cores puzzle. Solve it and then get the Power Upgrade and Puchalski’s notes.
Power Cores puzzle
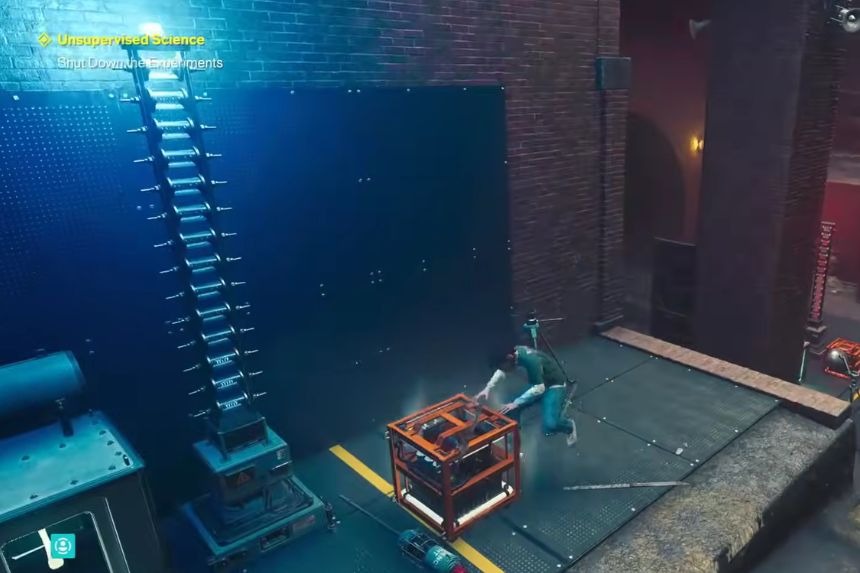
The solution to this riddle lies in the Power Core Servicing Diagram, which is available at the beginning point. The diagram indicates the positions of the Power Cores on the route which runs from your current location to the Central Checkpoint. These Power Cores function like stepping stones which help in transporting the charge.
Alternatively, you may refer to the Control Resonant map, where the Power Cores of the downtown region can be seen in the form of box icons with an electrical symbol inside them. The Power Cores can be used to create a path and pass the charge from one Core to another.
You will need to hurry because you do not have much traversing skill yet. Sprint between Cores, trying to avoid combat with enemies since you do not need to defeat them to solve the puzzle. Some Cores are located on the rooftops, so try to anticipate the path ahead and the fastest way to ascend/descend.
When you encounter another Power Core, remember to recharge it. The time counter will be reset, and you will be able to recharge from this particular core and proceed to the next one. Continue solving the map until you get to the Central Checkpoint.
Evacuation Zone
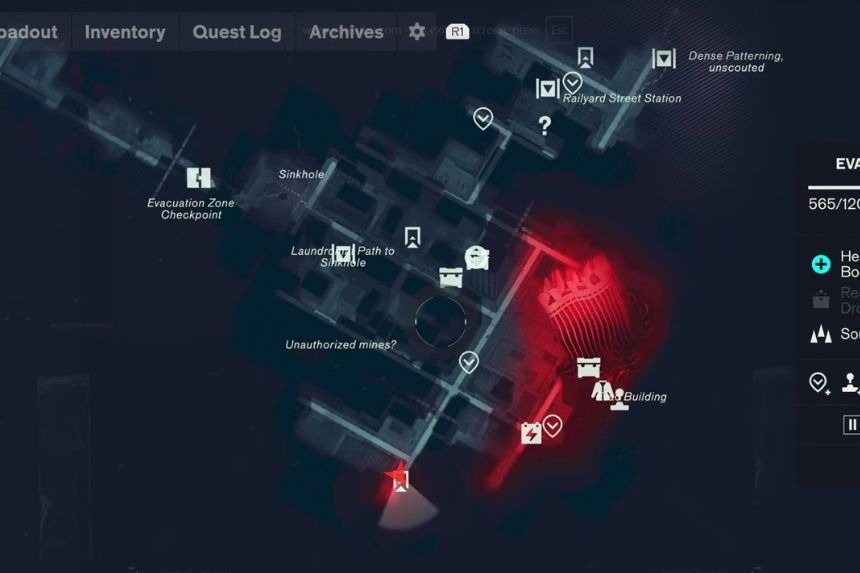
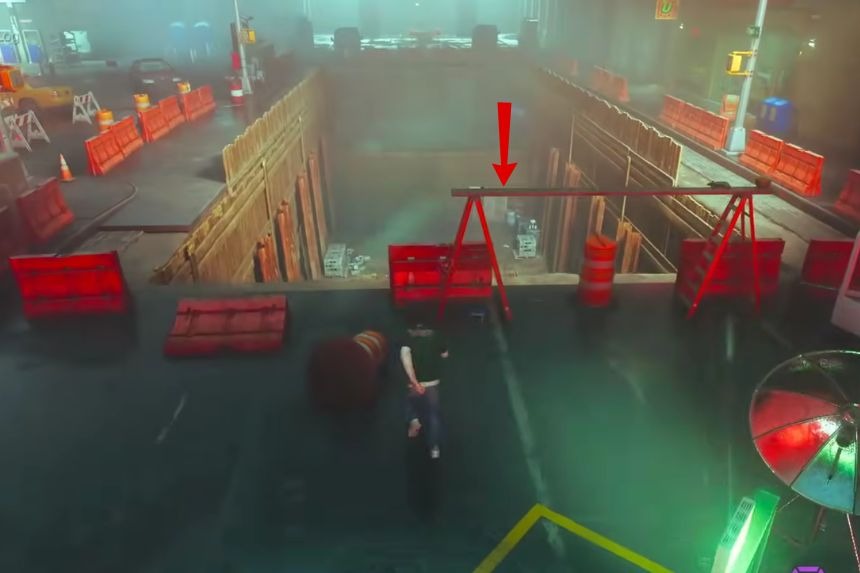
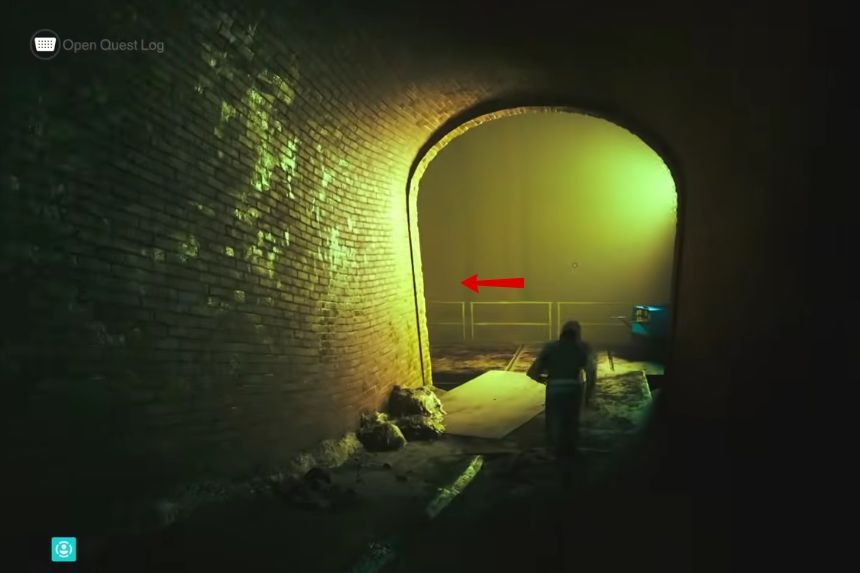
The location of the secret base within the Evacuation Zone can be found in the southern part of the map, near the fast travel point to the Survivalist’s Bunker, where another Soda Dispenser puzzle awaits. The rewards for completing the mission are Power Upgrade and Testing Facility Coordinates.
Soda Dispenser puzzle
There is a similar challenge for objects in this room like the one in Downtown. Move the objects through the yellow lines to turn them into Soda Dispensers. After an object has been transformed, put it inside one of the boxes within the yellow lines to save your effort from carrying it back.
West Incursion Zone
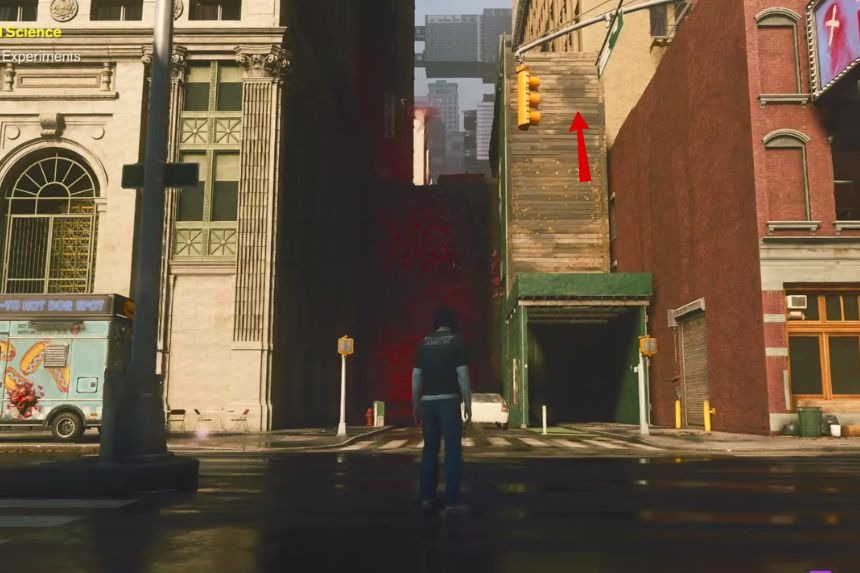
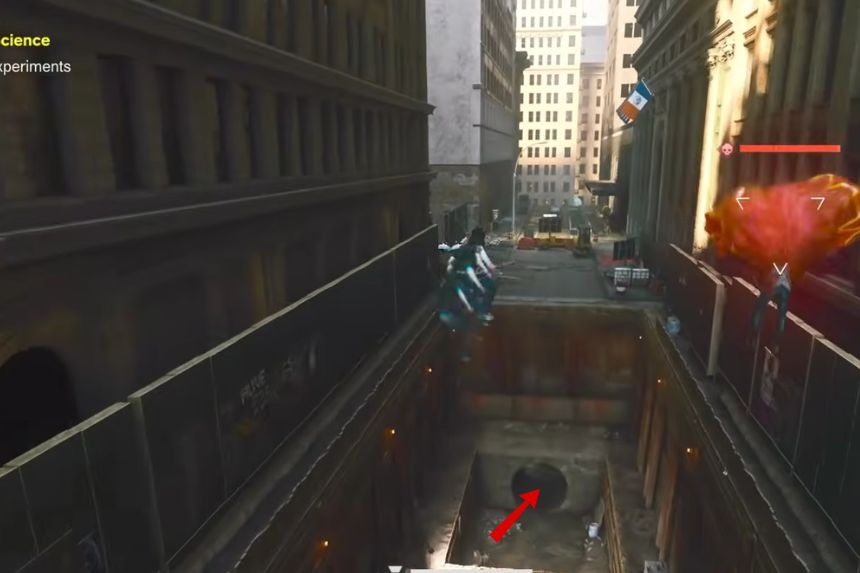
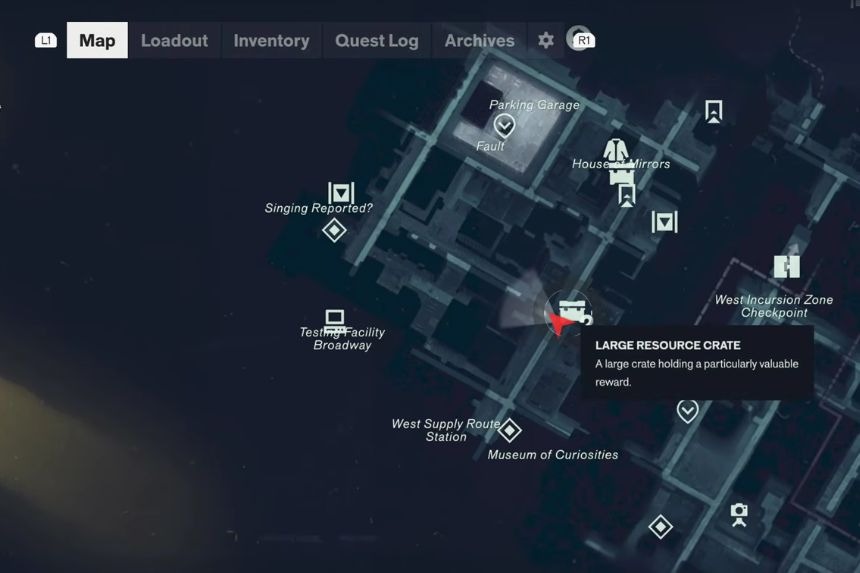
In the West Incursion Zone, go south from the House of Mirrors and find the second lane from the bottom. The puzzle in this level is that of the Soda Dispenser, which rewards you with a Power Upgrade and messages from Dr. Janson.
Soda Dispenser puzzle
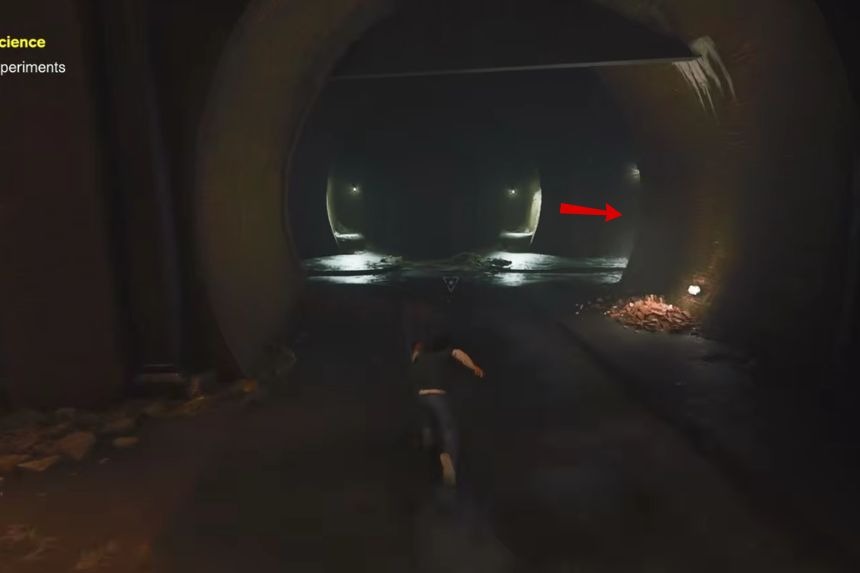
As mentioned above, this lab features the Soda Dispenser puzzle. Replace everything you see with Soda Dispensers and then shut down. After solving the puzzle, make sure to take the Power Upgrade and Notes from Dr. Janson before exiting the level.
The Park
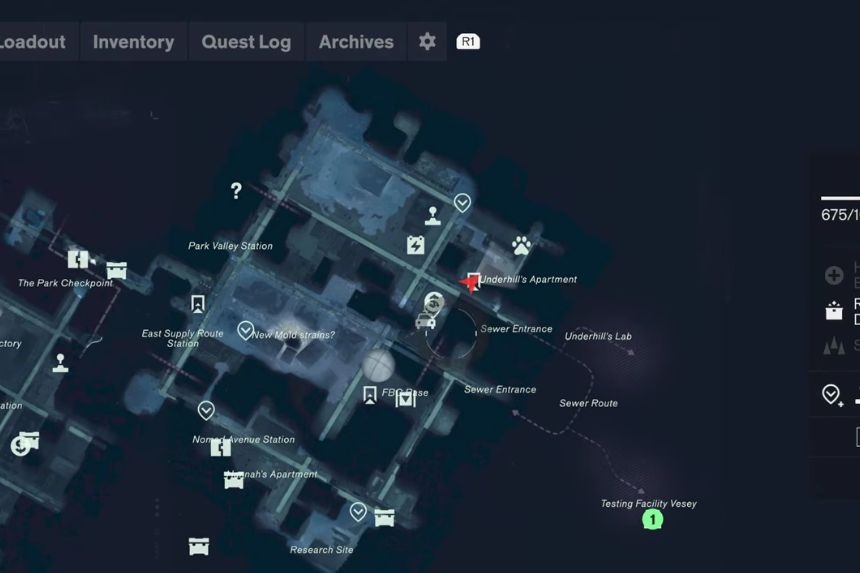
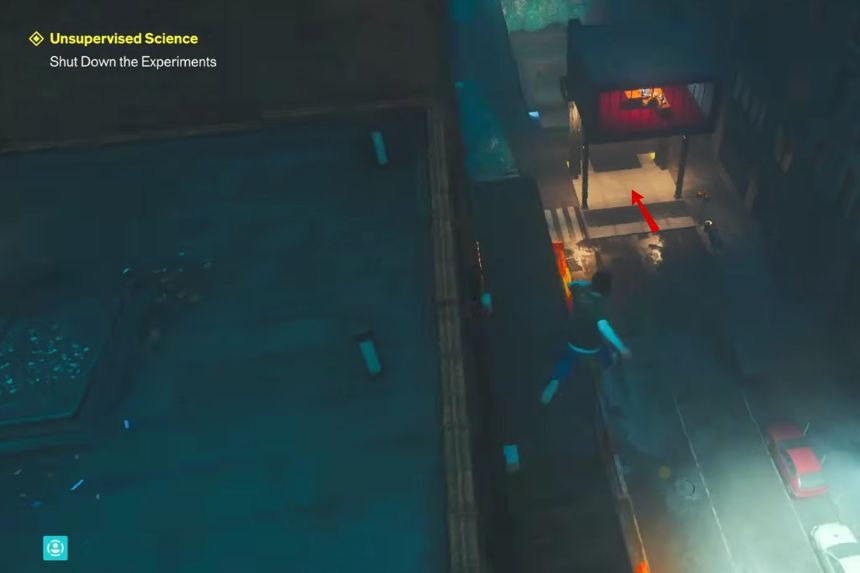
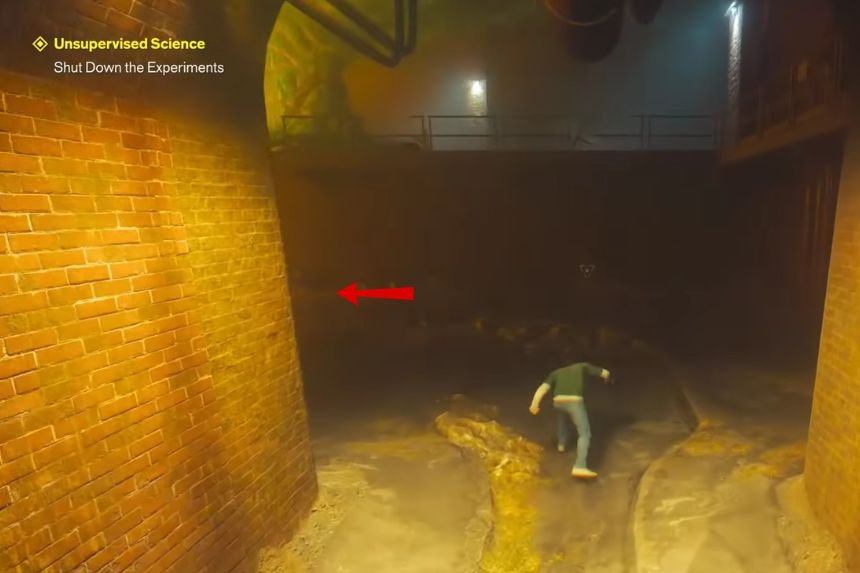
A hidden base in The Park is located in the northeast section of the area. To gain access to it, you will have to solve a puzzle involving Power Cores. In the hidden base, there is an Emergency Hood and Dr. Roth’s notes.
Power Cores puzzle
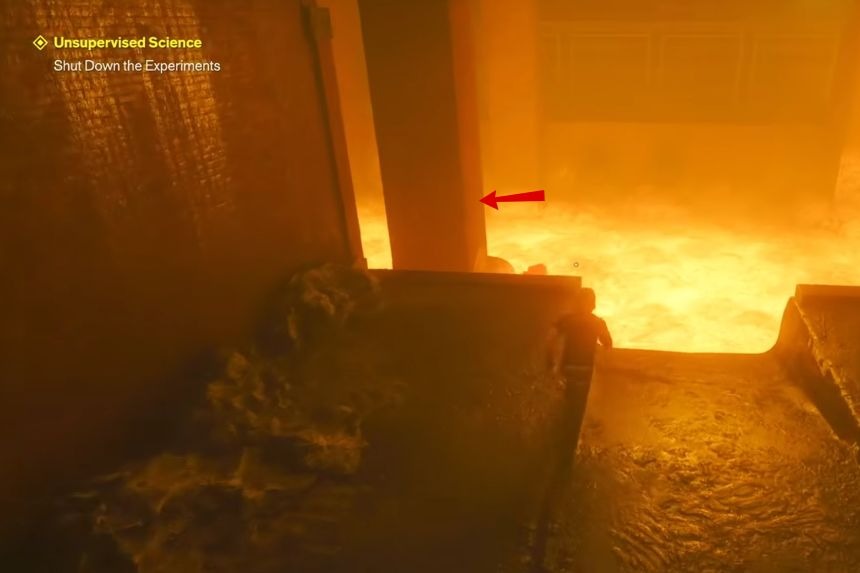
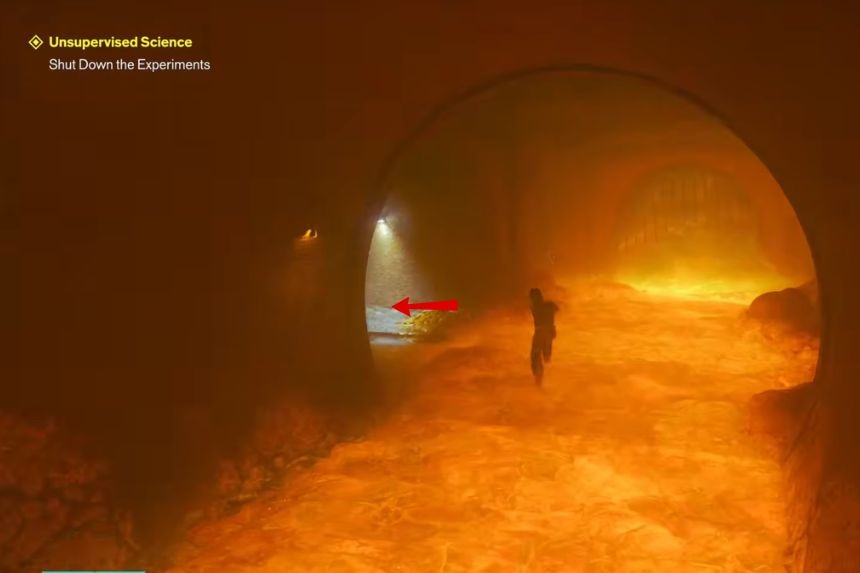
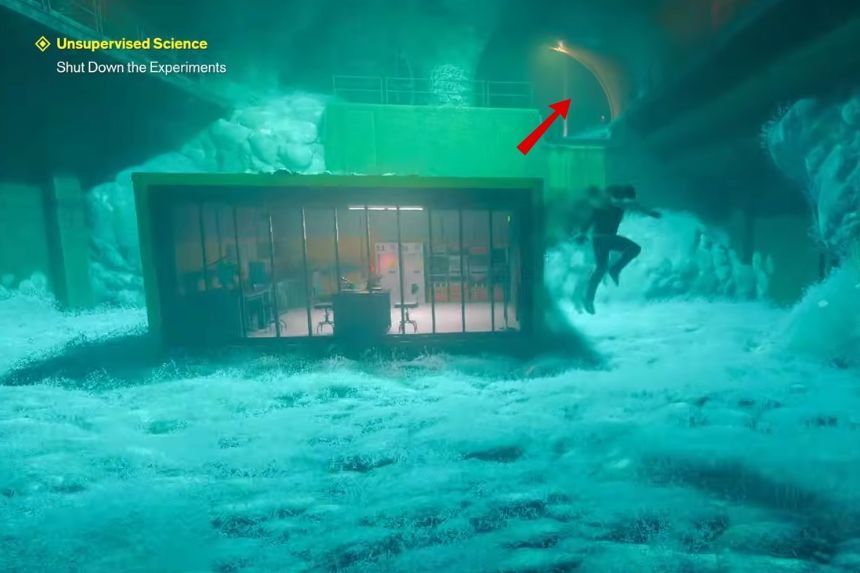
In here, there is again a Power Core puzzle just like Central. Just balance the load for 60 seconds and then hit the button to turn off the power. Once done, grab the Emergency Hood accessory and Notes from Dr Roth.
Unknown
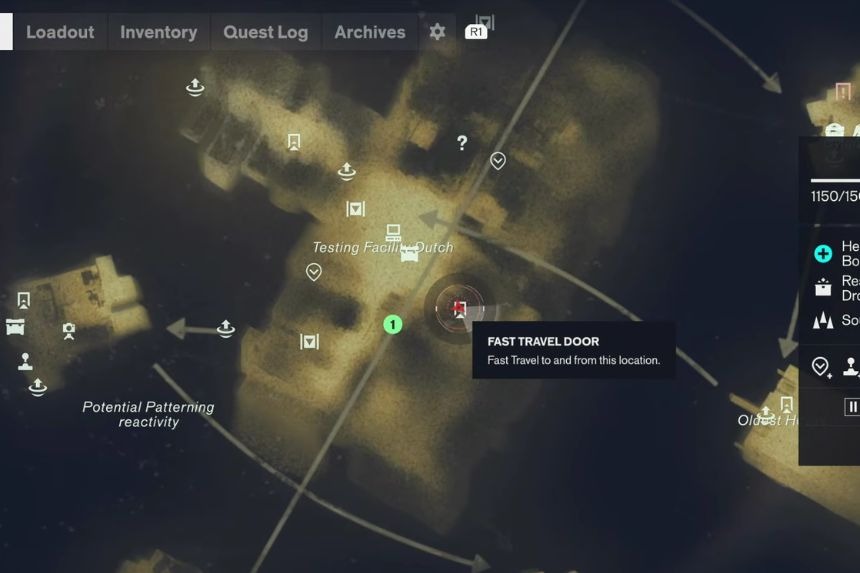
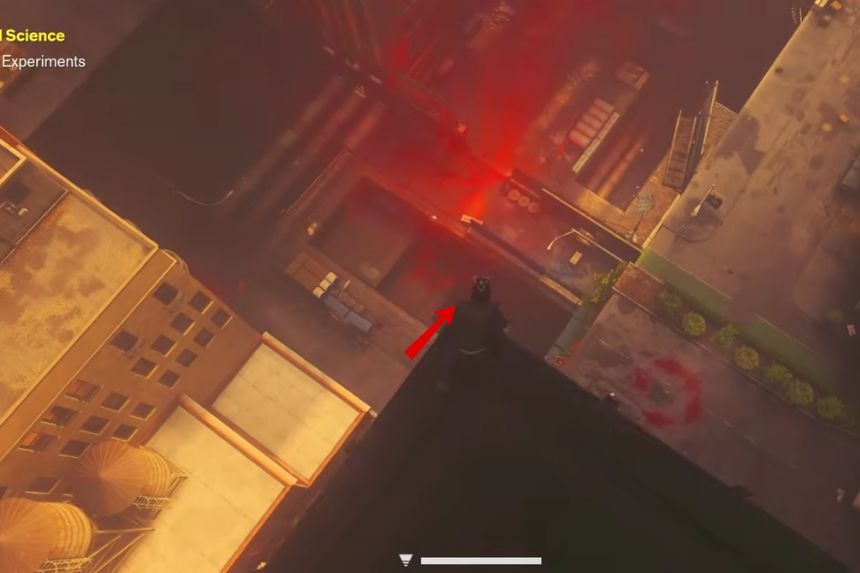
The last secret base is located in the Unknown region, near the middle-west fast travel location. This secret base will require you to complete a five Power Cores challenge. After entering the base, you will be able to obtain the Firebreaker Goggles and Dr Grant’s notes.
Power Cores puzzle
Go inside the building to see another puzzle with Power Cores. This puzzle will have five Power Cores that you will have to use to solve the power transfer. After successfully completing the Shutdown phase, take the Firebreaker Goggles and Notes from Dr Grant’s documents.