
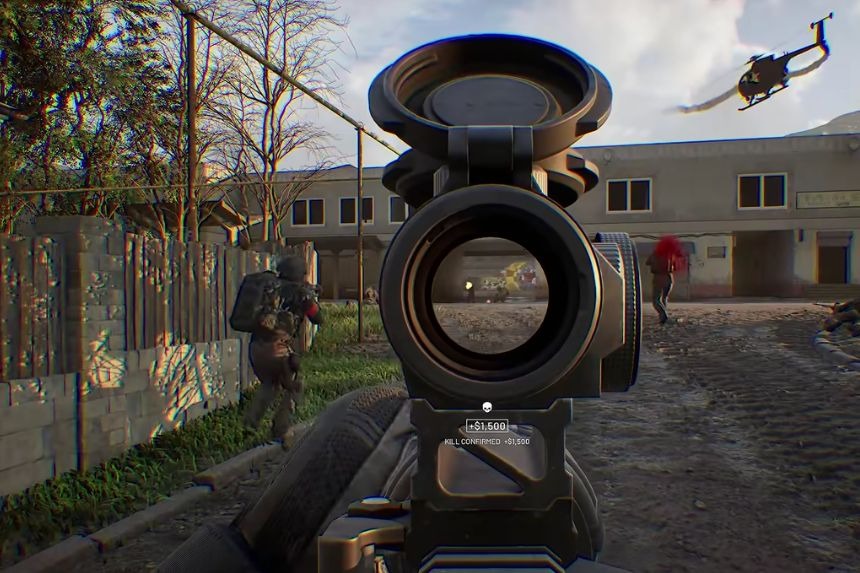
Mortars have great use in War Dogs when trying to strike targets that are far from where you are located. Nevertheless, the proper use of mortars is not as easy as just aiming and shooting. It involves knowing how to construct the mortar, aim it, estimate distance, and conserve ammunition. In this guide, we will tell you how to use and control Mortars in Wardogs and how to get your shots as close to the target as possible.
Building a Mortar
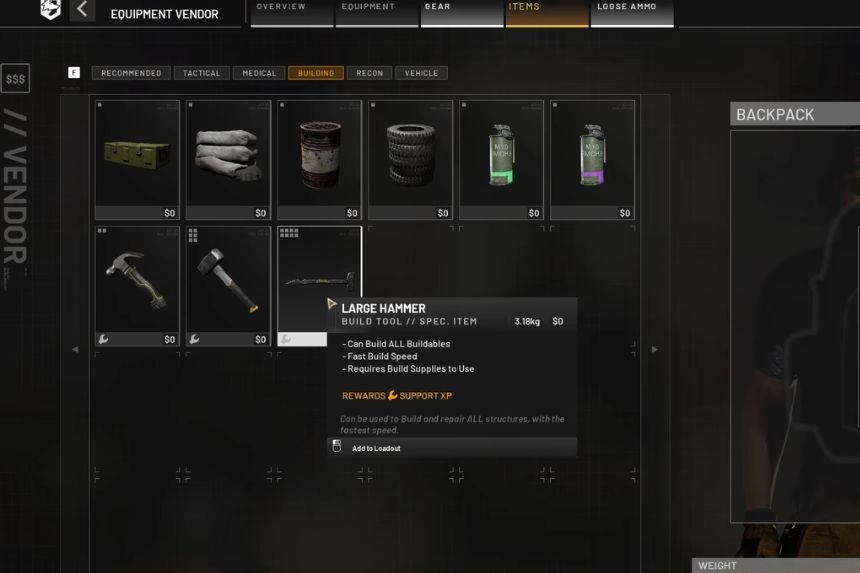
In order to build a mortar in Wardogs, you need to have the Level 3 hammer. You can only use the large hammer if you have Support Level 7. From the building menu, you should head towards the third page located on the left side. The L81 Mortar is found on that particular page. Also purchase the mortar ammo and building supplies before you leave.
First, scout the land and pick your spot to place an FOB. Then, select the motor from the radial wheel to begin building it. While doing so, you will realise that there are a few yellow X signs on the mortar. Point at those marks and use your hammer to turn them white by hitting them. This method makes the construction process faster.
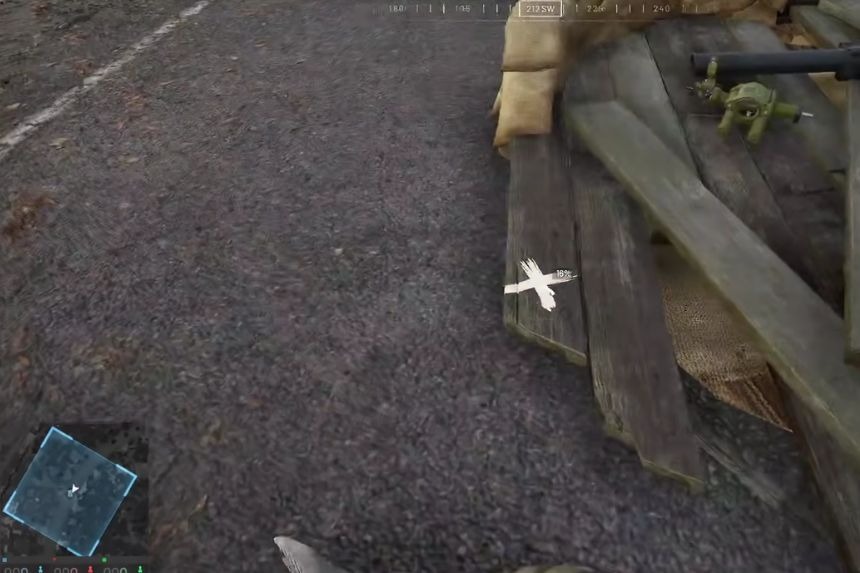
After constructing the mortar, you will get sandbags surrounding the mortar, providing some protection while operating the mortar. Also, you can construct Hesco barriers or T-walls around the mortar pit. In case the player placed the mortar in the wrong area, the mortar can be dismantled using the V key. Nevertheless, when you dismantle the mortar, the materials used in its construction are not returned to the player.
Mortar Movement and UI
Once you are inside the mortar, you can utilise the WASD controls to move it. This is the quickest method of changing the direction and the elevation of the mortar. However, you may use the mouse if you prefer. This method changes the direction of the mortar rather slowly, which is helpful for making small and precise corrections when you get closer to the target.
Zooming in on the mortar provides you with several important details that are displayed on the screen. There is a compass located at the top of the screen, indicating the direction where you aim. The left part of the screen provides you with the range, measured in meters.
The mills are located on the right side of the screen and are responsible for the elevation of the mortar. The higher the number of mills, the higher the elevation, which means that the range will be shorter.
How to Aim Your Mortar
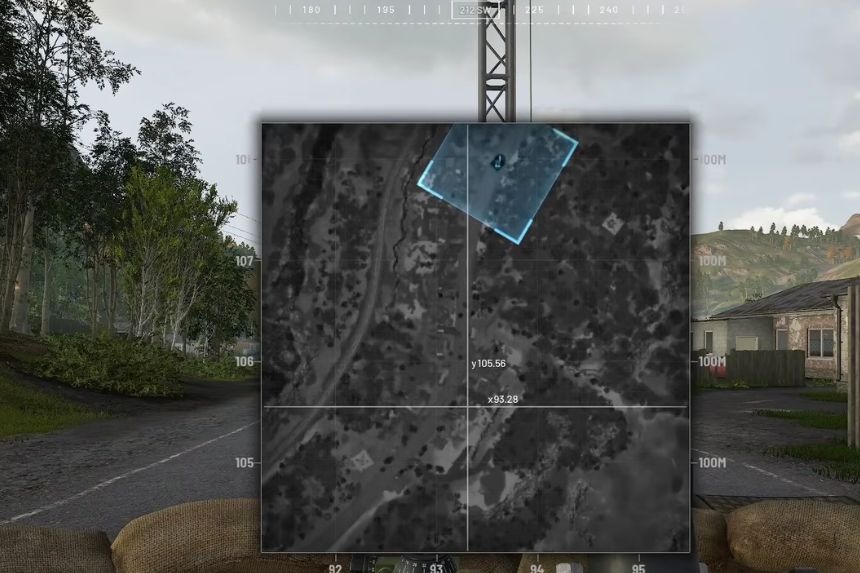
Determining the right direction to take with your mortar is relatively easy. There is no need to make use of any complex military protractor technique. All you need to do is look towards the spot you wish to hit, click your middle mouse button and leave a ping. The game will tell you the direction of the target spot.
How to Blind-Fire Your Mortar
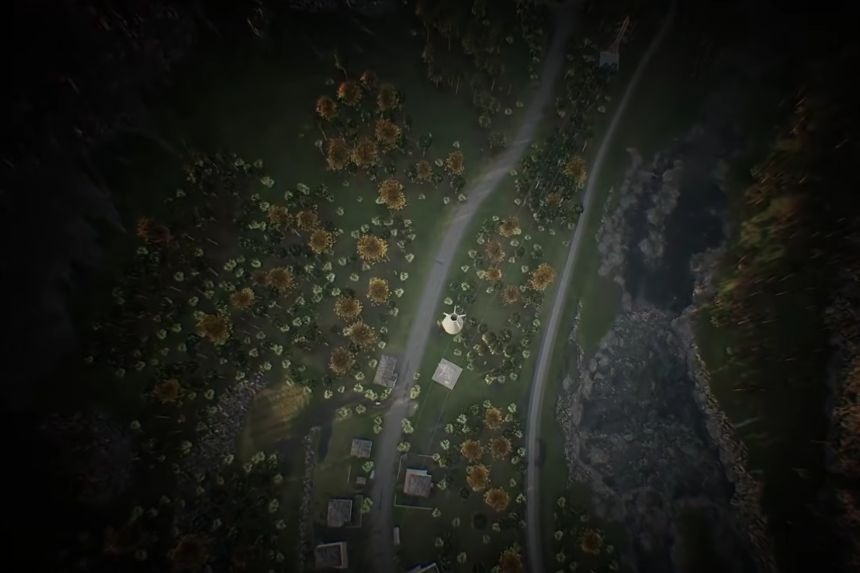
You can gauge the distance of the target and adjust your mortar according to the point where your shell lands. The maximum range of the L81 Mortar is 700 meters. Therefore, you can use the maximum range of the mortar as your starting point.
You can also make use of your mouse for small changes, or you can use the W and S keys to move the mortar up and down faster. This approach is effective, but there is one thing that makes this approach flawed. You are wasting your ammunition to determine the right range. During the real game, your FOB might lack ammunition to waste on test shots.
Using the Wardogs IDF Calculator
The calculator can calculate the necessary settings for the mortar based on your coordinates. Input your present X and Y coordinates first. Then input the X and Y coordinates of your target. Be sure that you put in the X coordinate first and the Y coordinate second.
The calculator will give you an estimate of the mils, direction, bearing, and range that you need. You can input these details into your mortar. The in-game range markings are sometimes not precise enough, so you have to choose the nearest range available to you. Even after firing, you can still make minor corrections if your shot is off by a little bit.
An easier method is to purchase the Range Finder from the store, which will automatically give you accurate results, especially if you plan to use the mortar at an escalated surface.
Don’t Build in Front of Your Mortar
Take caution while erecting any sort of defensive positions around your mortar position. Do not have any kind of obstacle in front of the mortar, especially if you intend on shooting over a great distance. Obstacles like razor wire may block the line of fire of the mortar position. Should the shell hit the obstacle, then it will destroy it and could even be lethal to you should you be close by. Make sure there is nothing blocking the line of fire from your mortar.