In this Gothic 1 Remake guide, we’ll walk you through the entire Sleeper Temple, covering every puzzle solution, hidden paths, and difficult encounters. You’ll also learn how to obtain the legendary Uriziel weapon, defeat powerful enemies, collect valuable loot, and gather the gemstones needed to progress the main story.
Getting into the Sleeper Temple
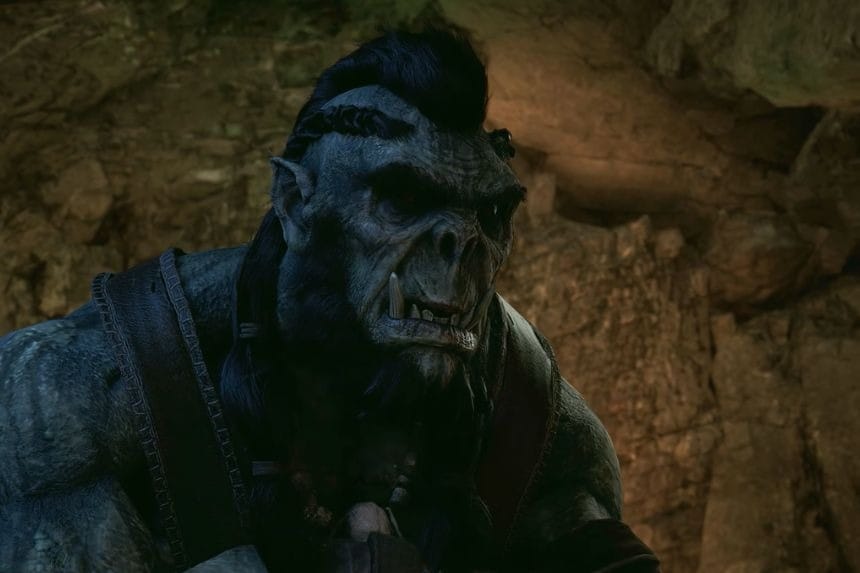
Before entering the temple, you need to reach the Orc Settlement and meet Ur-Shak outside. Once inside the Orc Settlement, you still need to find a way to access the Sleeper Temple.
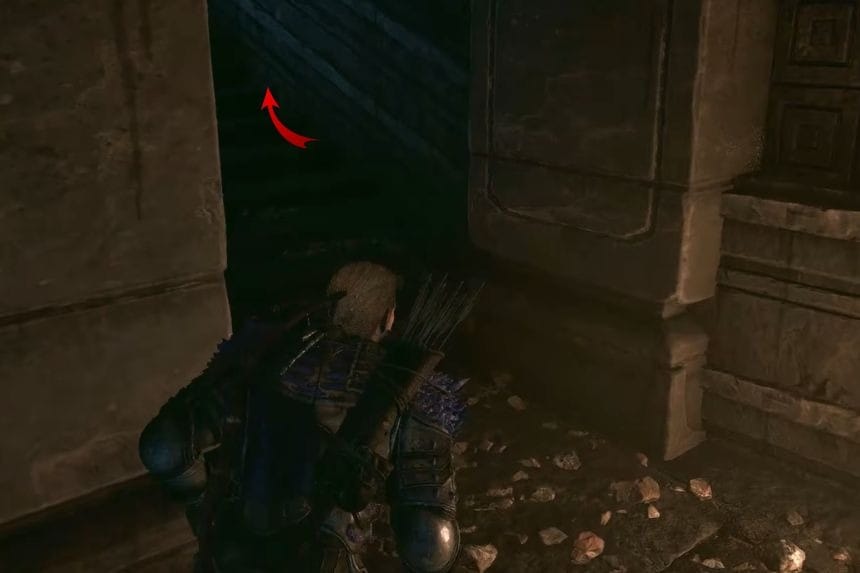
To access the temple, head up into the cave where you can find an orc named Muk. He is hungry and asks for something to eat. Give him a Meatbug Ragout, one of the earliest recipes available in the game, which you likely already have or can easily prepare.
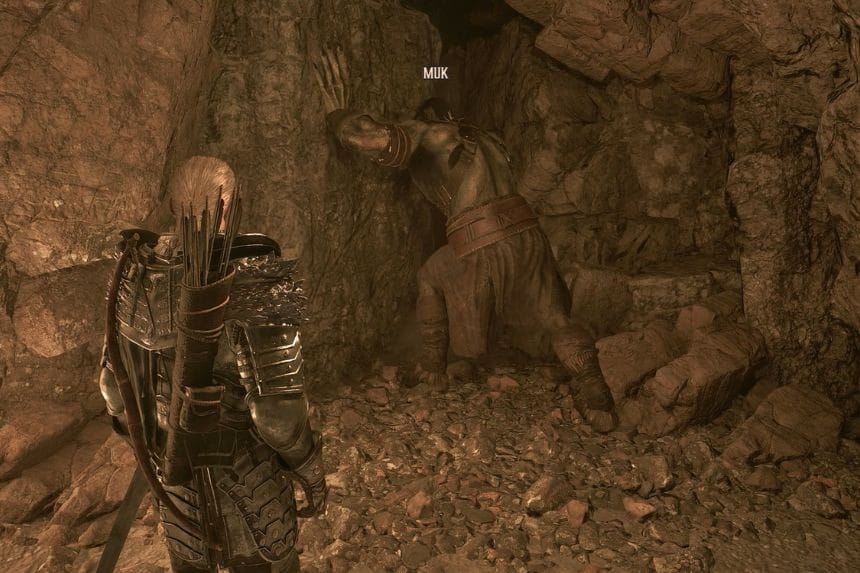
After giving Muk the Meatbug Ragout, he will open a secret passage that leads directly into the Sleeper Temple.
Before entering, make sure you bring plenty of healing supplies, as the temple contains some of the toughest enemies in the game.
First Puzzle Room

Once you’ve accessed the Sleeper Temple, you’ll need to solve the first puzzle. Go inside the main room of the Sleeper Temple that you’ll find on the left. Inside, you’ll find some Skeletons that you’ll need to deal with and loot. On one side of the room, you’ll find the Skeleton Mage guarding the gate that’s important for progressing further.
After defeating the Skeleton Mage, go left, and inside the room where the Extract of Healing can be found beneath a statue. There’s a skeleton guarding it so you’ll need to defeat him first to get the Extract of Healing, Essence of Magic Energy, Sketch of the Temple, and 250 experience points.
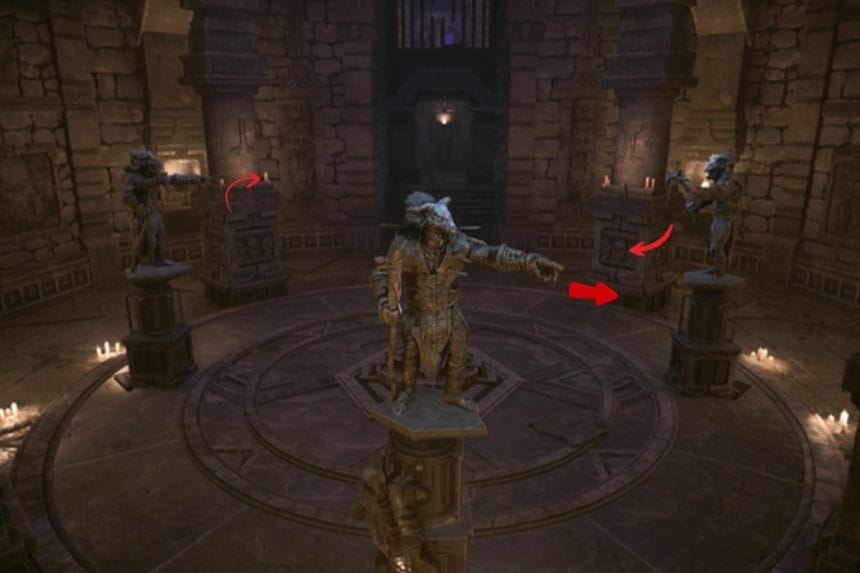
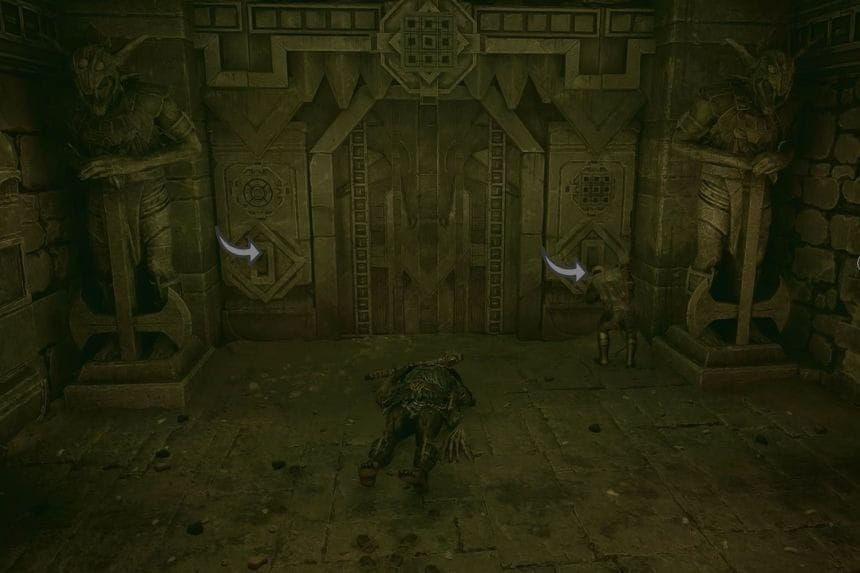
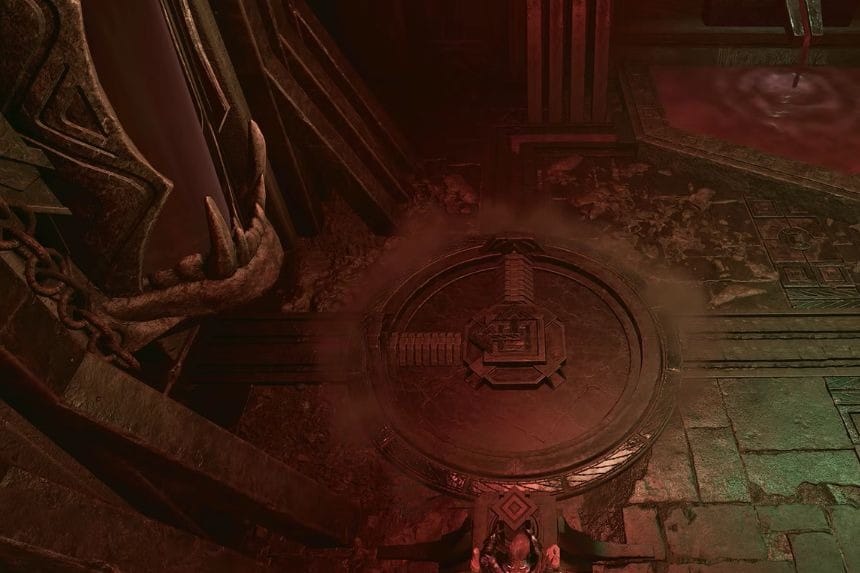
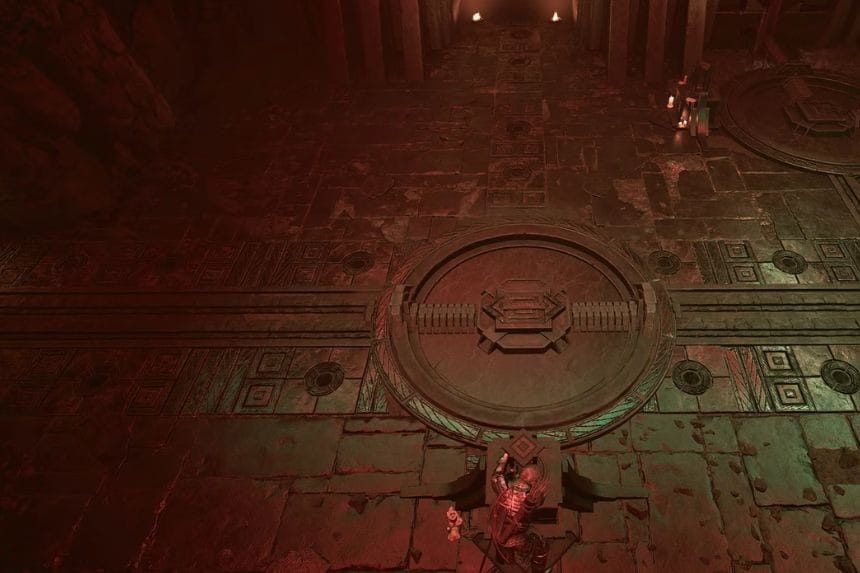
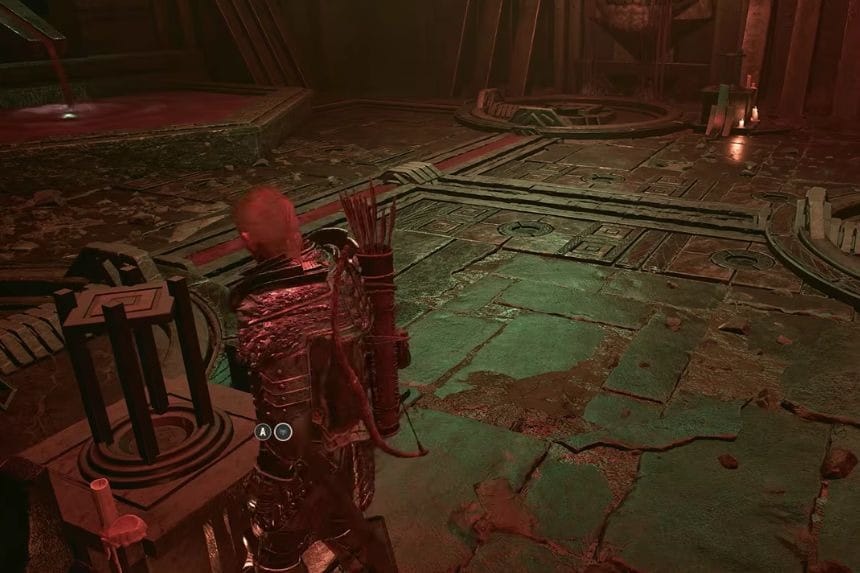
After collecting the rewards, go left, and you’ll find a set of stairs that’ll take you downwards. This will take you to the main puzzle room. Inside the room, you’ll find three statues which can be rotated.
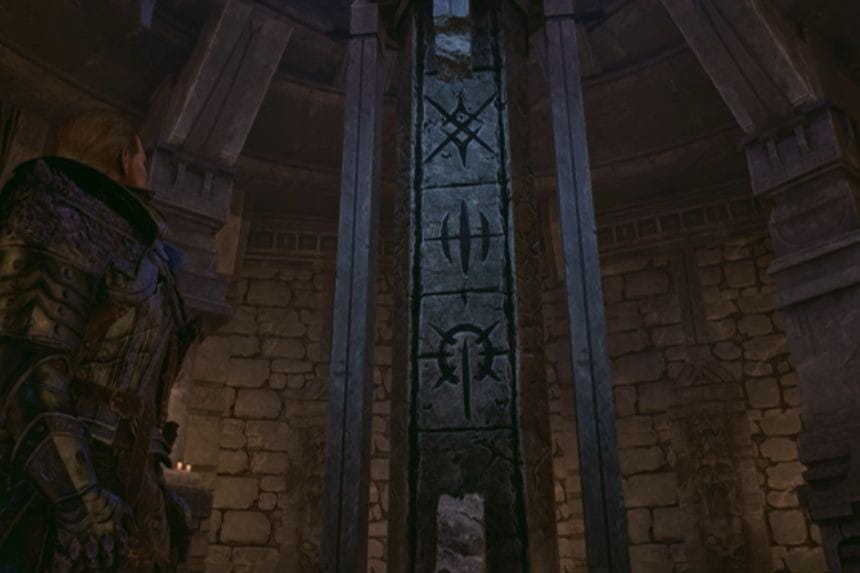
What you’ll need to do is rotate the first statue in a way so that it points towards the entrance. Rotate the second statue in a way so that it points at the third statue and rotate the third statue in a way so that it points at the first statue. Once the statues are in position, a pillar with symbols etched on it will emerge from the ground and unlock a new area for you.
Once this is done, exit the room, go right, and ascend the stairs. You’ll reach an open area where you’ll find three wheels. Go to the first wheel right and rotate it clockwise once, then rotate it anti-clockwise twice. After that, rotate the middle wheel anti-clockwise twice. Lastly, go to the last wheel and rotate it anti-clockwise thrice to open the gate that the Skeleton Mage was guarding.

After completing the first puzzle room, you can continue deeper into the temple and towards the second puzzle.
Second Puzzle Room
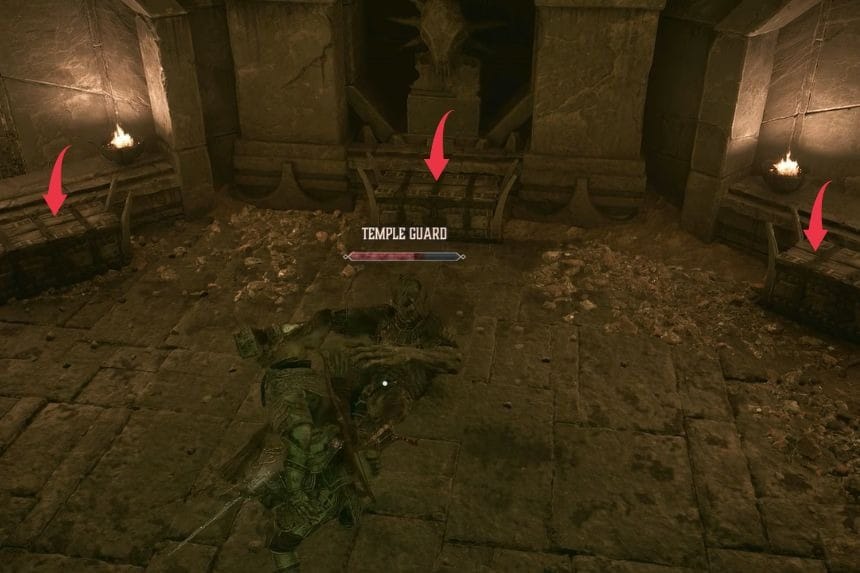
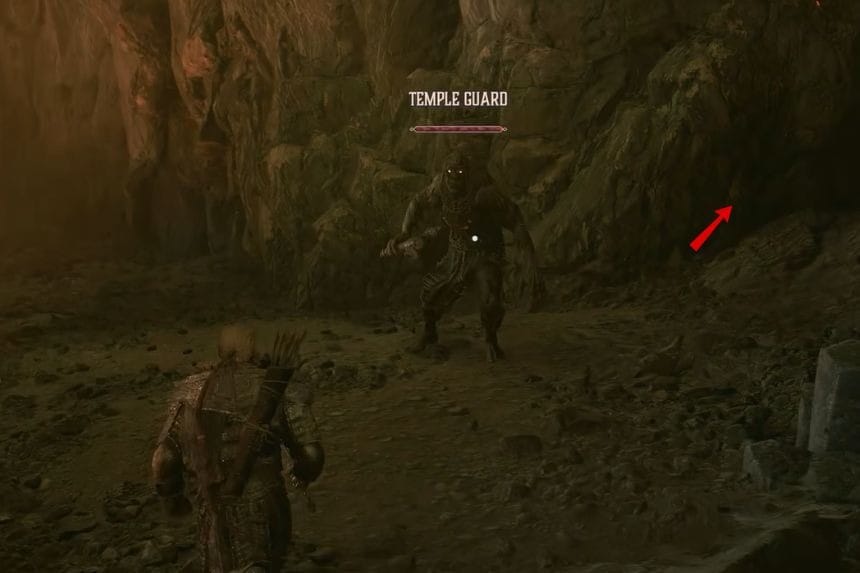
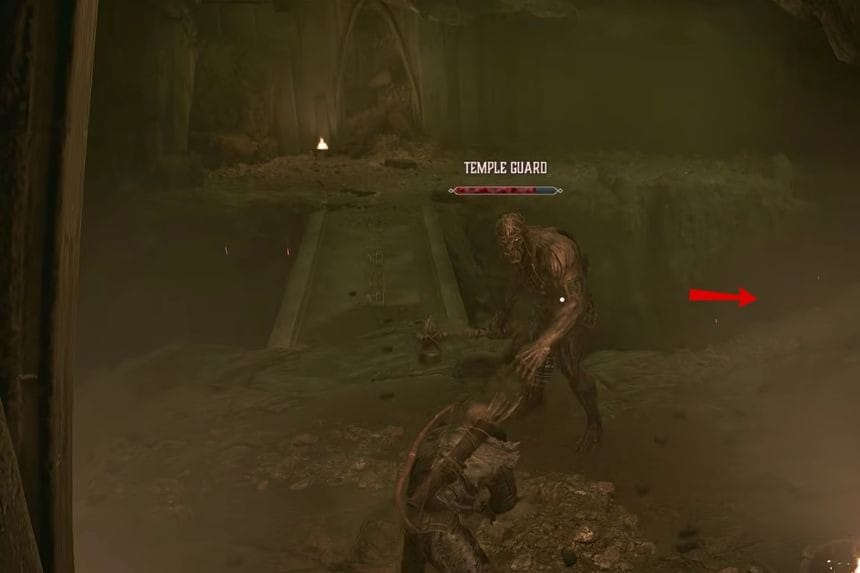
Once you enter the second puzzle room, go right, and you’ll find an entrance that leads you to a sort of cave filled with Temple Minecrawlers. After defeating the minecrawlers, go left, and you’ll come across some Temple Guards blocking your path. You’ll need to defeat them to move forward.
As you continue on the path, you’ll need to keep to your right until you reach a room that takes you upstairs and towards the main puzzle room. There are enemies inside the room so you’ll need to defeat them first to move forward.
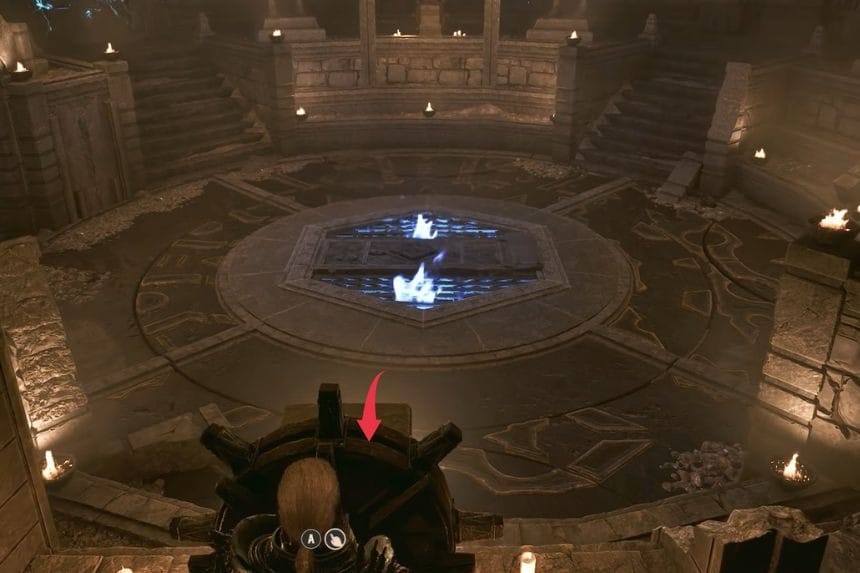
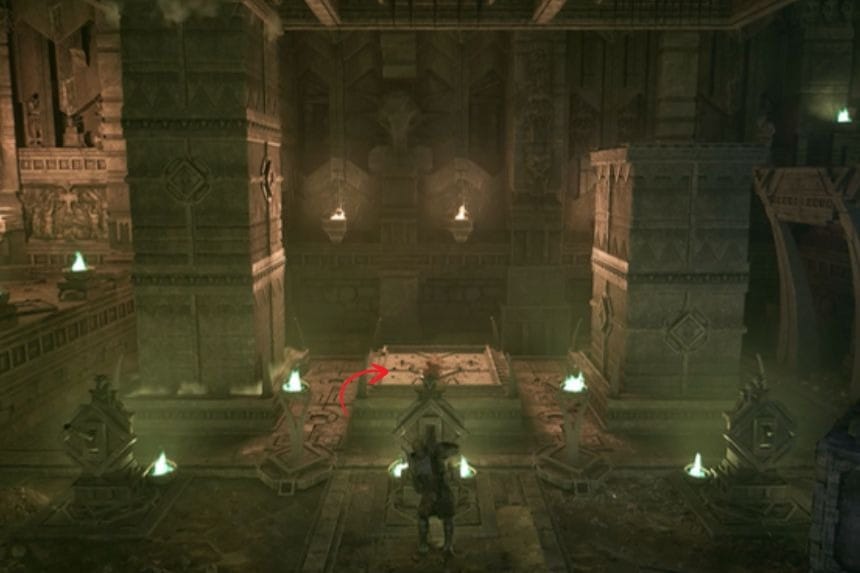
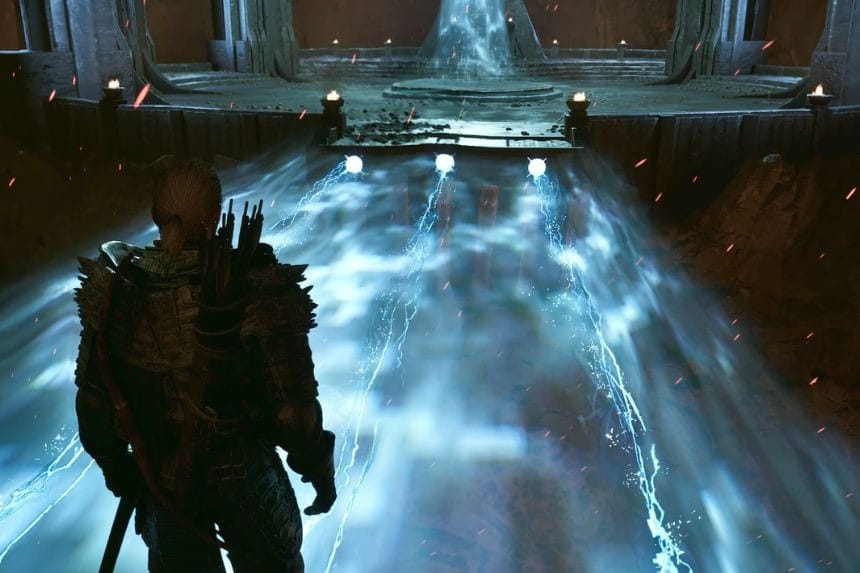
You’ll reach a big room with a circular puzzle area in the middle that’s surrounded with multiple statues, wheels, and electrified blue ice. What you’ll need to do is get up and turn the wheels anti-clockwise.
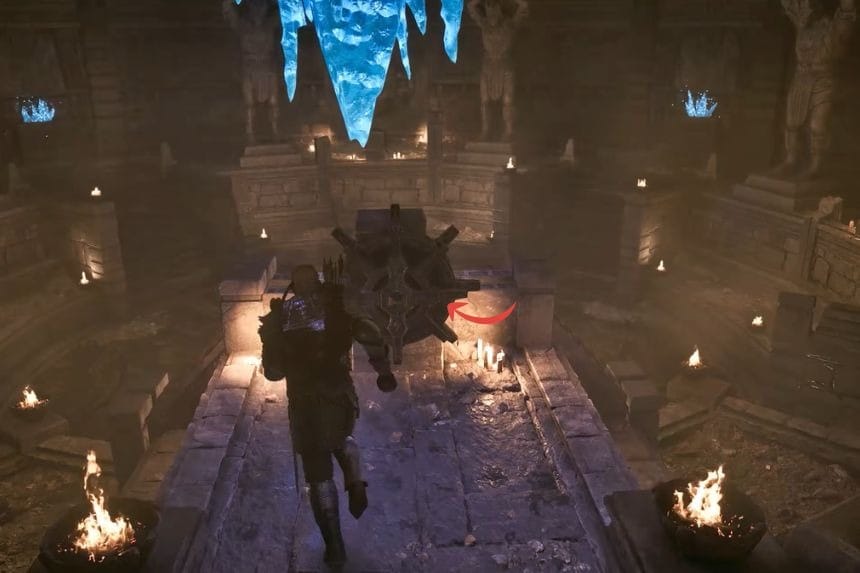
For the first sequence, the wheel that’s on a raised platform will need to be rotated once; from there, go towards the second wheel on the right and turn it anti-clockwise twice. After that, go to the third wheel and rotate it anti-clockwise twice. Finally, go to the fourth wheel and rotate it anti-clockwise once. Rotating the wheels like this will move the discs on the edges of the circular puzzle.
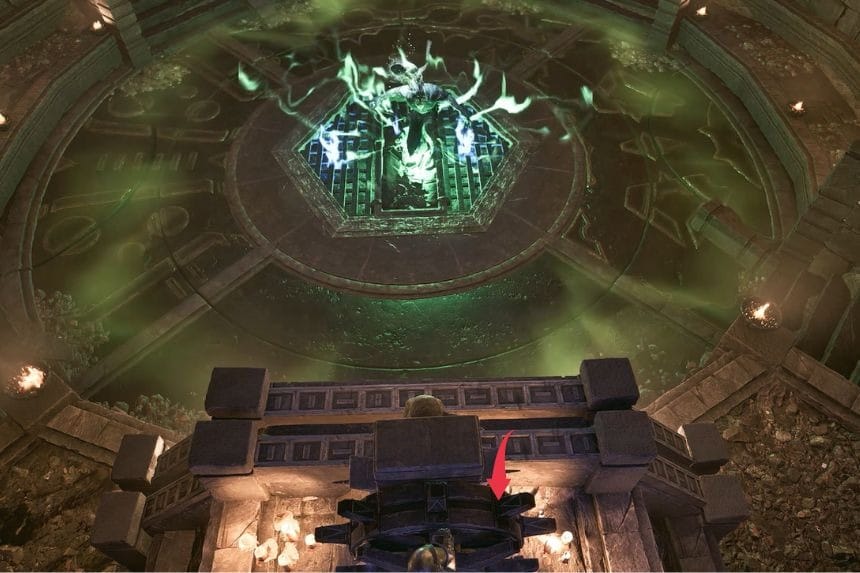
For the second sequence, you’ll need to go back to the second wheel and rotate it anti-clockwise once, then go to the first wheel on the raised platform and rotate it anti-clockwise once to move the circular disc in the middle and complete the puzzle. Varrag Kasorg will appear in the middle of the circular area as soon as the puzzle is complete. Engage in dialogue with him, start a fight, and defeat him. You’ll be able to loot the Lightbringer and Ball Lightning from him once he’s defeated.

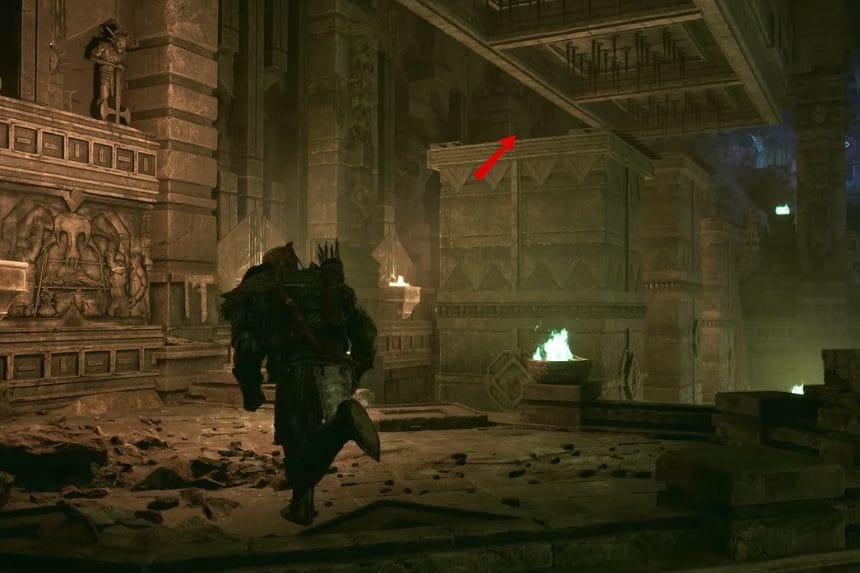
Follow the path below the raised platform, go through the ruins, and you’ll eventually reach a huge gate with two levers on both sides. There might be enemies lurking by so be careful and defeat any that cross your path. Pull the lever on both sides to open the gate and access the room filled with loot. You’ll find a Temple Guard inside so you’ll need to deal with him first, then open the three chests one by one to get the Amulet of Enlightenment, Orc Lever, Rider’s Bow, and other valuables.
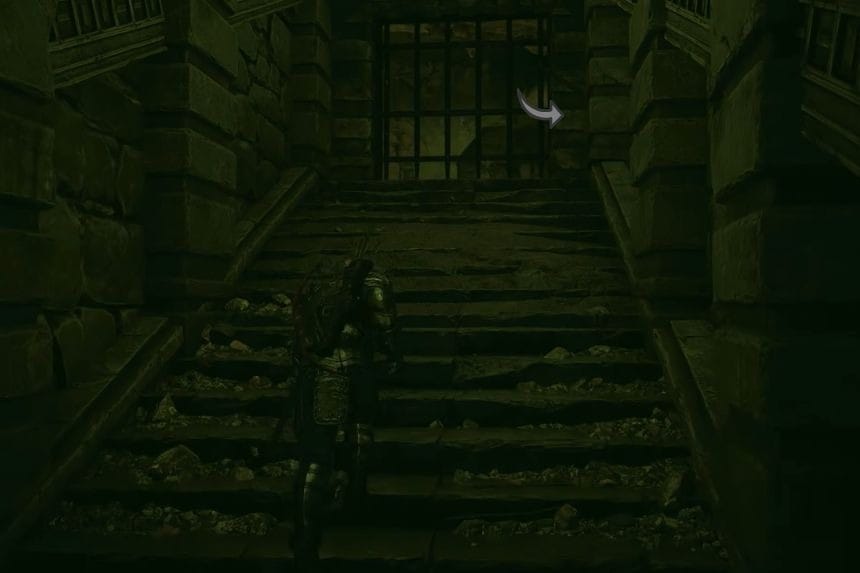
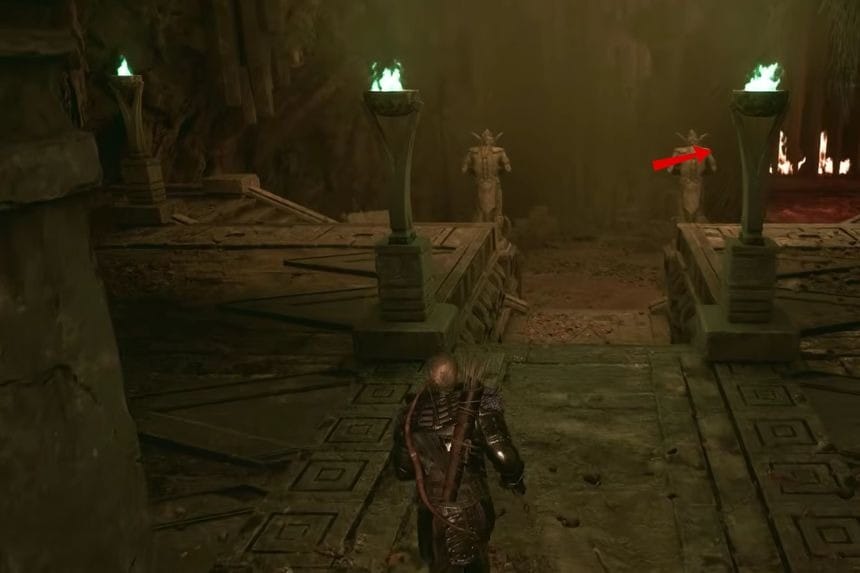
Exit the room, go right, and take the stairs to reach another gate. There’s a lever on the right side of the gate which will open it. Go through the gate and keep to your left until you reach another entrance. To open this gate, you’ll need to use your bow and arrow to hit the orb on the top. Go inside to reach an area where you’ll come face to face with Varrag Hashor. Defeat him and get the loot.
Follow the path on the right to reach a room with three levers. Pull the first two levers to raise the two platforms that aren’t already raised and jump on top of them to reach the next puzzle area.
Third Puzzle Room
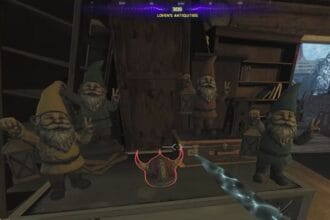
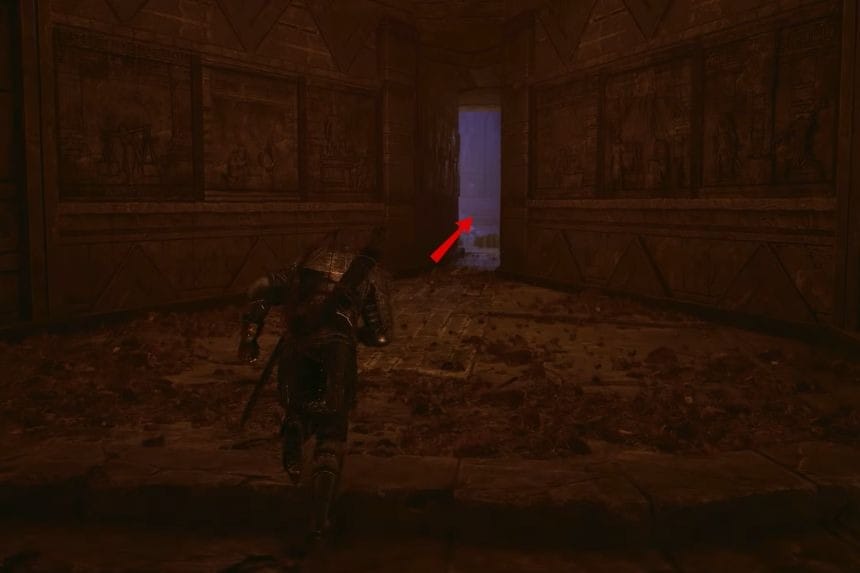
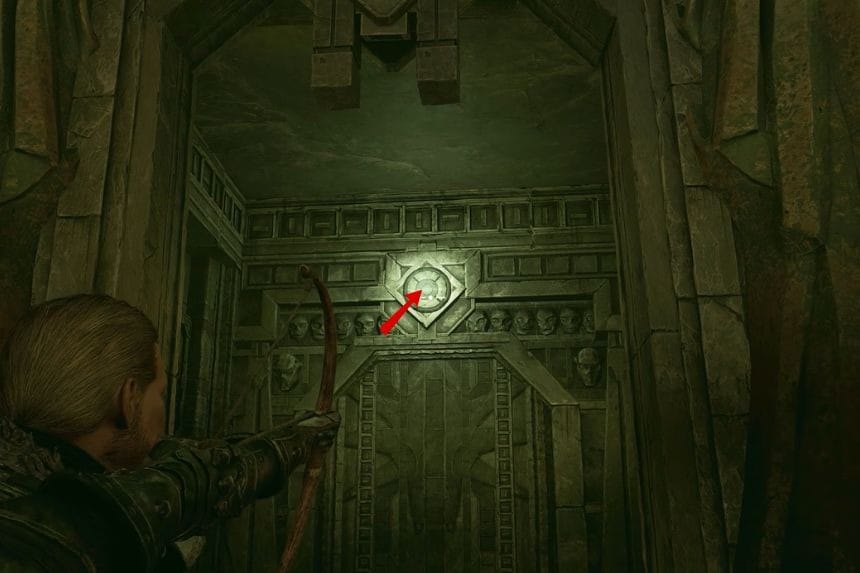
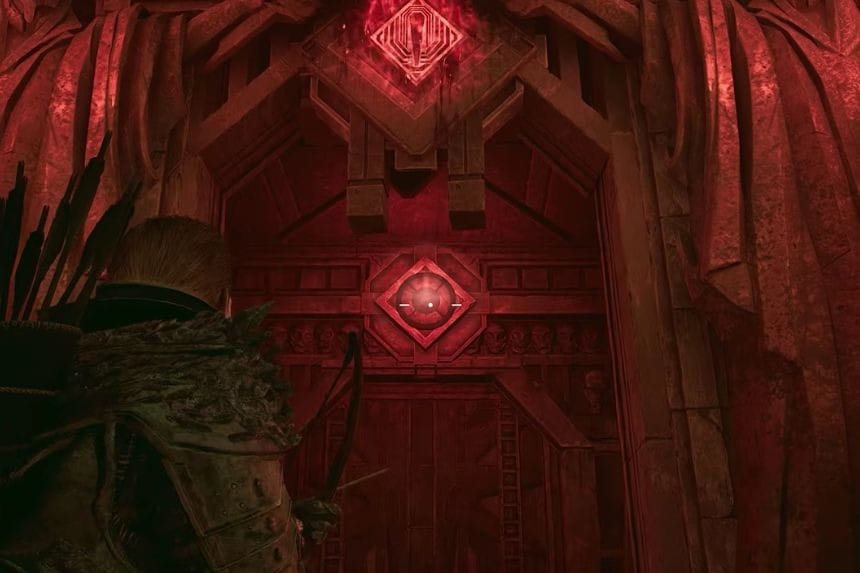
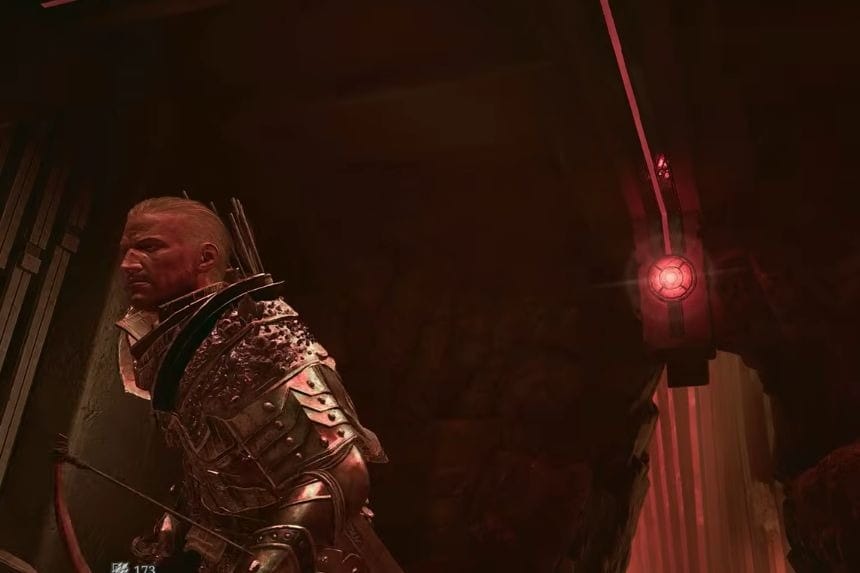
Go through the corridors of the temple and then take the left path. You will reach the room where you will find a locked door guarded by two statues. Shoot an arrow on the red tile on the top of the gate and it will open.
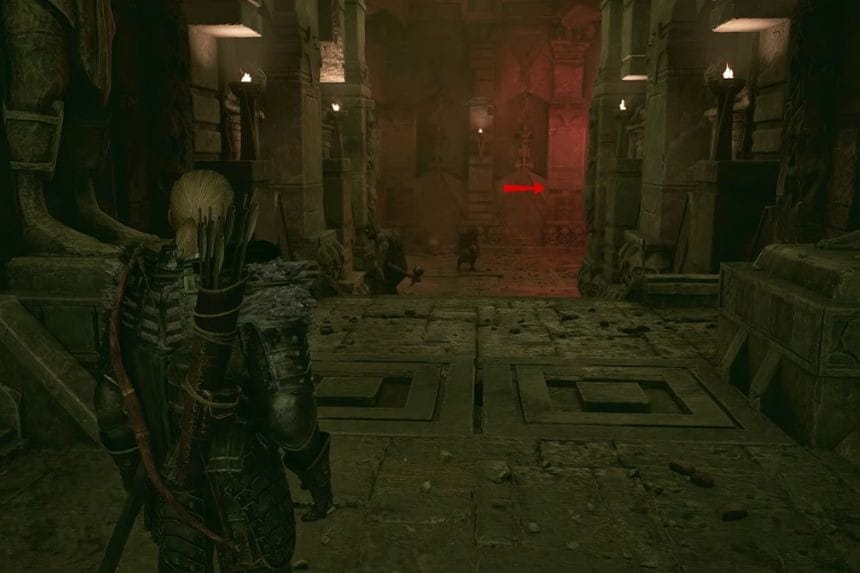
Now enter the room and you will find the Orc Shaman. Kill the Orc Shaman and move forward to reach an altar. On the altar there you will get to summon a golem skill. Now move out of the room and go the opposite path. Go down the stairs and take the right turn. You will find some enemies there who will need to defeated.

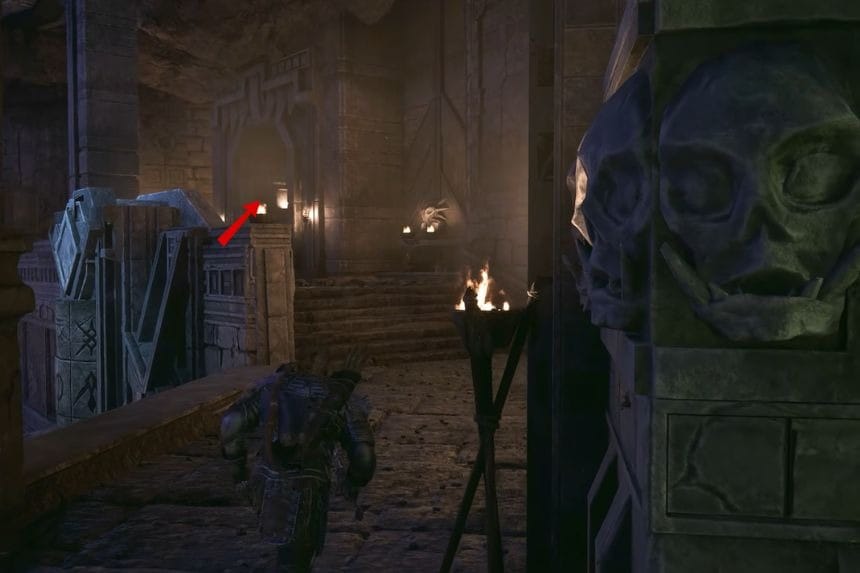
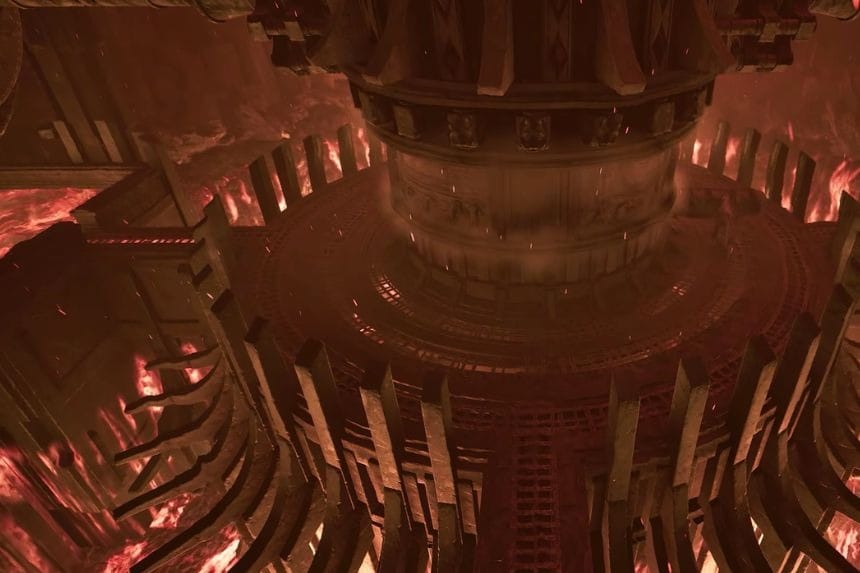
At the further corner you will find a big room with lots of mechanisms. On the gate of the chamber, you will find a red tile. Shoot an arrow on it and the door will open to reveal a lever. Pull the lever and red liquid will start flowing from the chamber.
Now rotate the mechanisms to fill up the skull glass chamber with the red liquid. Once done, do the same thing for the other glass skull chamber as well. After that, rotate the middle mechanism and the mechanism on the skull’s side so that the red liquid flows to the next room.
Now, go to the room on the side and shoot the arrows on the red tiles above you. These will open the channels and the red liquid van flows. After which a door will open, pull the lever to open the channels. When the chamber is filled with all the red liquid the Fire Demon will appear in front of you. Defeat it and a door will be unlocked, continue to move forward into the next section.
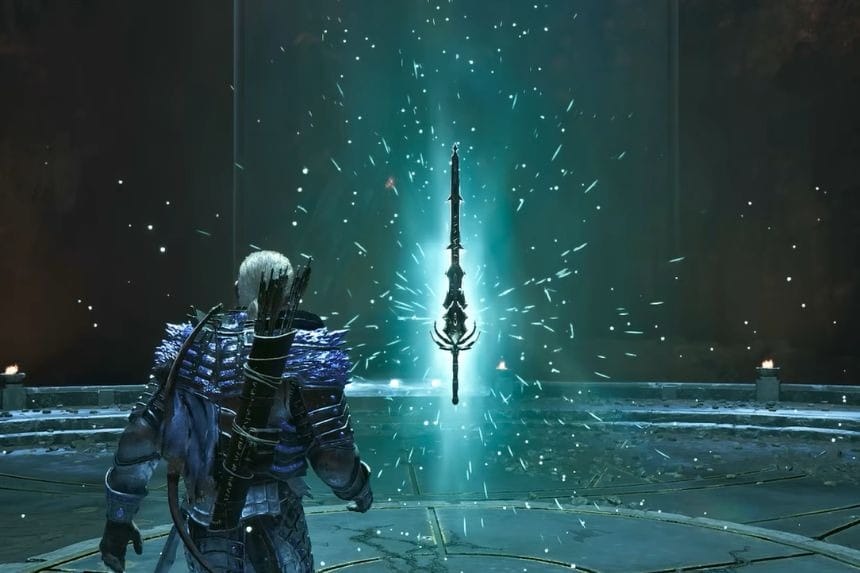
Getting the Uriziel Weapon
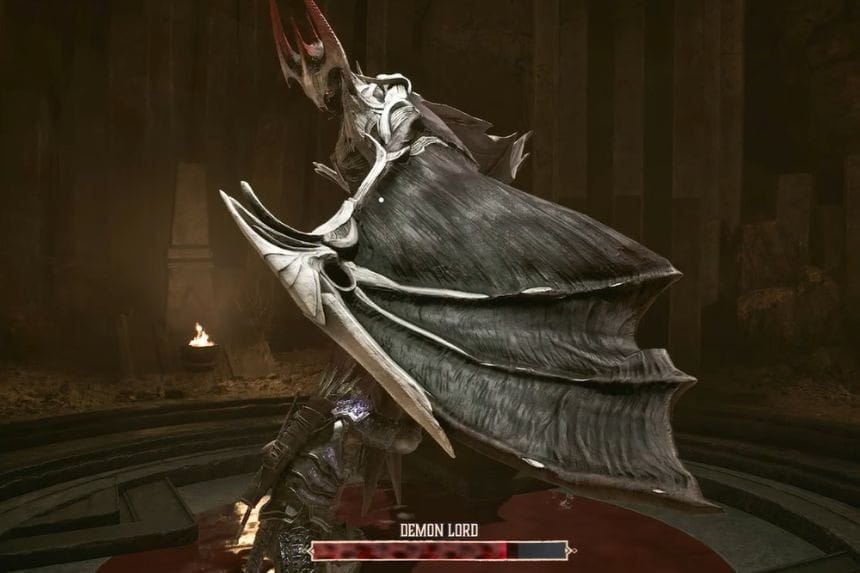
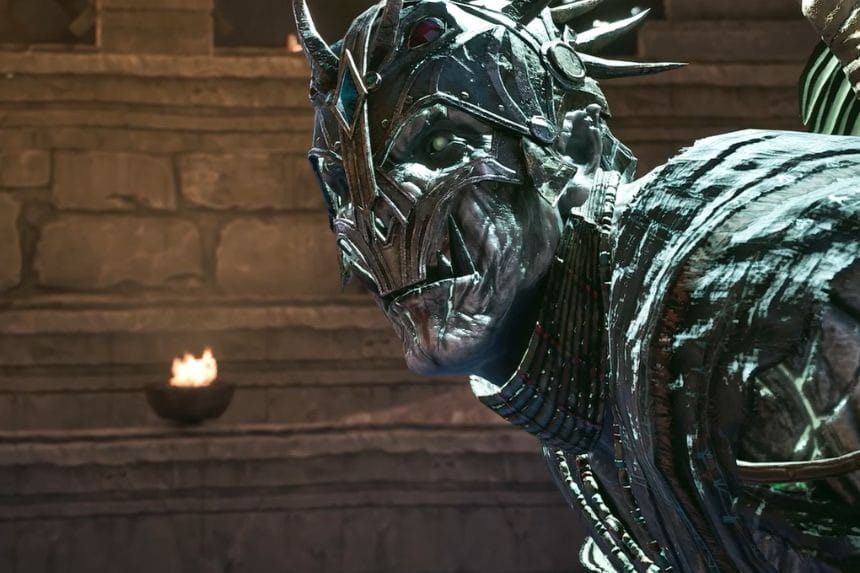
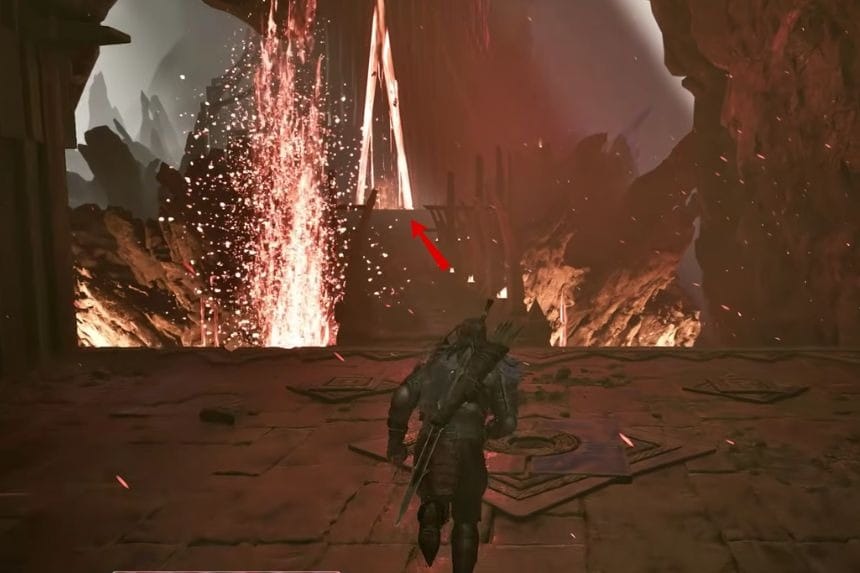
While exploring the Sleeper Temple, you can obtain the legendary weapon Uriziel. To get the weapon, cross the lava pools and on the right side you will find the chambers containing Demon Lords. There are three such chambers having the Demon Lords.

Defeating all of them will lead their soul to an invisible bridge. The gate of the bridge will absorb the souls and the bridge will appear as a platform in front of you in the middle of the lava pool. Cross the bridge and defeat the Orc Shaman. After defeating it, you’ll be able to collect the gemstone and the Uriziel Weapon.
Fourth Puzzle Room
You’ll first need to cross the underground tunnel near the bridge. There will be a big lava lock chamber there. Rotate the device anti-clockwise with the help of the handle to a complete 180 degrees. This will open the gates and the lava will begin to flow from the drain channels.
After doing that go towards the big door. The area will be covered by temple guards so kill all of them before turning the wheel to open the gate. There will be chests on either side of the bridge. So loot the chest boxes to get your rewards, and after that, jump down to move forward.
Follow the corridors and the bridge to reach the boss area. Kill the boss and loot his body to get the gemstones. After collecting all five gemstones and obtaining Uriziel, leave the Sleeper Temple and return to Xardas to continue the main quest.