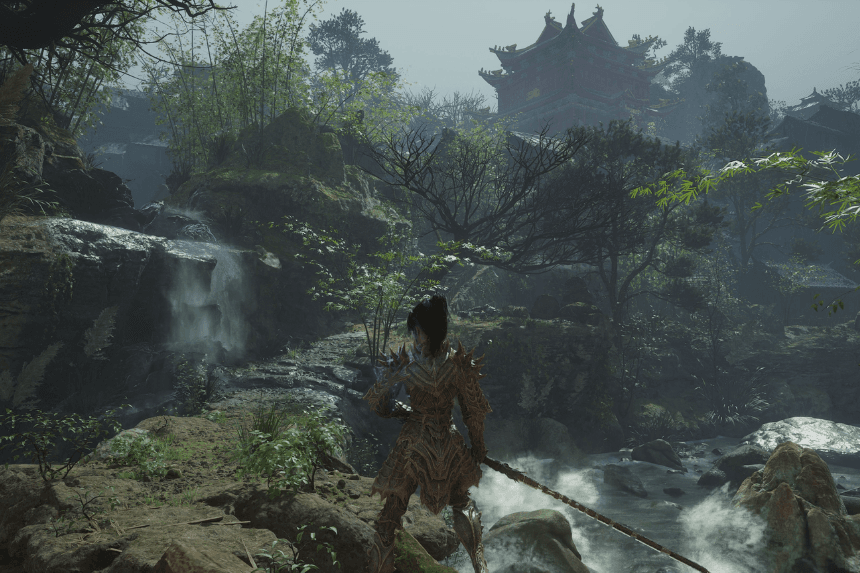
After completing the Tang Emperor Palace, players will unlock access to Cloudspire, the second major region in WUCHANG: Fallen Feathers. Using the Reverant Temple Key, you’ll find yourself navigating a cold, treacherous terrain filled with enemies and dangerous landmines that can instantly deplete half your health.
Because of this, activating all available Shrines in Cloudspire is critical. These Shrines act as checkpoints, so you can respawn near danger areas and bosses instead of backtracking significant portions of the map.
There are a total of 12 Shrines in the Cloudspire region. Below is an in-depth walkthrough to assist you in finding each one.
Hillswatch Shrine

Begin by using the Reverant Temple Key to unlock the left door at the temple. Take the linear route into a mine, going down the right side to locate a ladder. Go down, ride an elevator down, and move through the mine until you get to a second elevator. After going through the mine, you will be at a mysterious gate with two options—skip it and move across a bridge to arrive at the Hillswatch Shrine, checkpoint number one in Cloudspire.
Snowy Passage Shrine

Once you activate the Hillswatch Shrine, go left and ascend the stairs where a bombing enemy rushes towards you. Avoid the attack and proceed down the same route it did. Keep moving along the rooftops until you find a route that branches. Disregard the left path and proceed on the straight route, which will lead you to the Snowy Passage Shrine.
Cloudspire Outskirts Shrine

From Snowy Passage, go through a wooden gate, turning left and going uphill. Defeat enemies ahead with caution, taking care not to step on landmines placed on the icy terrain. Go into the wooden doorway on the right and turn left. Skip over the big square machine spewing out enemies, and go on until you come to the Cloudspire Outskirts Shrine.
Mort Grotto Shrine

Return to the Snowy Passage Shrine and proceed forward, using the right tunnel into Outskirts Mining Road. There are enemies among crystals that increase your Despair bar here—kill them fast. Follow the linear path until you see a ladder. Use it to move onto higher wooden platforms, then keep following either the right course or another ladder (both take you to the same location). Eventually, you will come out at Mort Grotto, where the Shrine lies next to a healing circle.
Rebel Camp Shrine

Go back to the Cloudspire Outskirts Shrine, then go through the wooden door behind it and head right. Watch out for an archer that shoots explosive arrows from above. Go into the house on the left side, go up the ladder inside, and just go straight. You’ll come to a room with a square enemy-spawning device. Turn left and then right at the group of passive enemies. Move forward until you arrive at the Rebel Camp. Use the cannon to destroy the enemies, then ascend the ladder just forward to access the Rebel Camp Shrine.
Snowpeak Pass Shrine

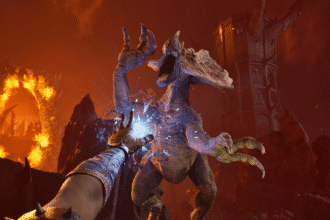
Take the Rebel Camp Key from the enemy that is in front of you and go down the ladder. Go left, which brings you to a wooden gate and your first boss battle in this area. Upon defeating the battle, go back to the Rebel Camp Shrine and follow the same route past the escape non-hostile enemies. Here, go through the door in front, right path, then left upon noticing a dog. Do not take the side paths and straight across a wood bridge. You will have another boss fight soon, and upon his defeat, the Snowpeak Pass Shrine gets unlocked.
Cloudspire City Shrine

From Snowpeak Pass, cross the bridge made of wood into a big enemy-spawning zone. Go through the door to the left of the spawn block and proceed along the path through a structure. Climb the stairs and proceed along the only course of action until you arrive at Cloudspire City. Move forward to locate the Shrine.
Snowfall Palace Shrine

Go back to the last shrine, then go through the second door on your right and upstairs. Go into the next building and down to the lowest floor. There is a path on the left and a door on the right—do not take the door and take the path on the left instead. Climb a ladder, then go up a staircase and fall into a cave.
Inside, bypass the right-hand drop and head left instead to locate another ladder. Climbing it, keep climbing all the way to the top, and leave the building. Outside, drop a ladder to make a shortcut, then go down a staircase where enemies are fighting. Having taken care of (or avoided) the enemies, proceed up another flight of stairs, through a door on the left, and climb again. After you exit, cross the wooden ramps slowly, then descend to the wooden platform below. Enter the building nearby, fall to the snowy area below, and proceed to your right along the path to locate the Snowfall Palace Shrine.
Treasure Trove Shrine

Avoid going up the stairs in front of you and take the path to the right. Enter a door that is to the room with an elevator. Go down to the third boss arena. Defeat the boss, then you will see Treasure Trove Shrine inside the arena.
Shaft Entrance Shrine

From the Treasure Trove Shrine, go straight and descend via elevator. The Shaft Entrance Shrine is straight ahead upon arrival.
Bride’s Boudoir Shrine

Advance and continue straight down left lane, skipping fatal Pendulum Hammers. Continue until you reach a strong jailor enemy. Once defeated, continue downward until you notice two boulders coming down—wait for them to fall, then proceed safely through the route.
You may investigate the optional left path here, but for the Shrine, straight down into the crater where the boulders fell. In the room inside, you’ll discover a great chest and a Forgotten Remembrance. Open the door and exit outside, where you may take the main way on the left or the shortcut on the right. Take the right way, navigate past additional Pendulum Hammers, and the Bride’s Boudoir Shrine will be just past them.
Wedding Hall Shrine

Travel back past the Pendulum Hammers, kill the jailor and assassin foes, and keep moving along the linear path. A bridge will open in front of you, with an elevator to the right. Turn on the elevator as a shortcut for later, then cross the bridge to engage the final boss of Cloudspire. Once the fight with the final boss is over, talk to the last Shrine in the area—the Wedding Hall Shrine.