
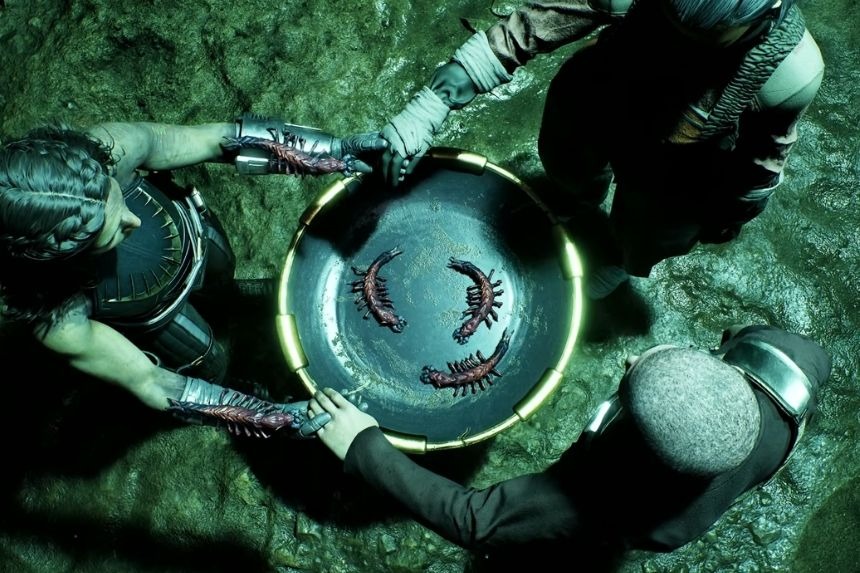
Star Wars Zero Company has a lot of different combat mechanics to learn, especially if you’re new to turn-based strategy games. Choosing the right weapon, managing Action Points, using cover, and knowing when to use abilities can make a big difference in every battle. Some mechanics are also not explained very clearly in the game, so it can be easy to miss useful tricks. In this guide, we’ll cover some important combat tips and mechanics to help you understand battles better and make your squad more effective.
Action Points & Advantage Points Explained
The Action Point system is one of the key features in fighting. Each player starts with 3 AP on each turn and uses various actions that consume AP in varying quantities. Fast actions take up 1 AP each, while slow actions take up 2 AP each. The game tells you how much AP or Advantage you need before using an ability, but understanding how to manage those points yourself is what really matters.
Advantage Points are a communal asset, which means that your whole team gets access to it. Your characters collect it together but use it for themselves to enhance their abilities. The most convenient way to gain Advantage Points is by dealing damage to your opponents.
The best way to use Advantage Points is to plan ahead. At the beginning of every turn, check how many you currently have and think about which major ability you want to use next. Then plan your attacks around getting enough points for it.
Hawk’s Pico 5
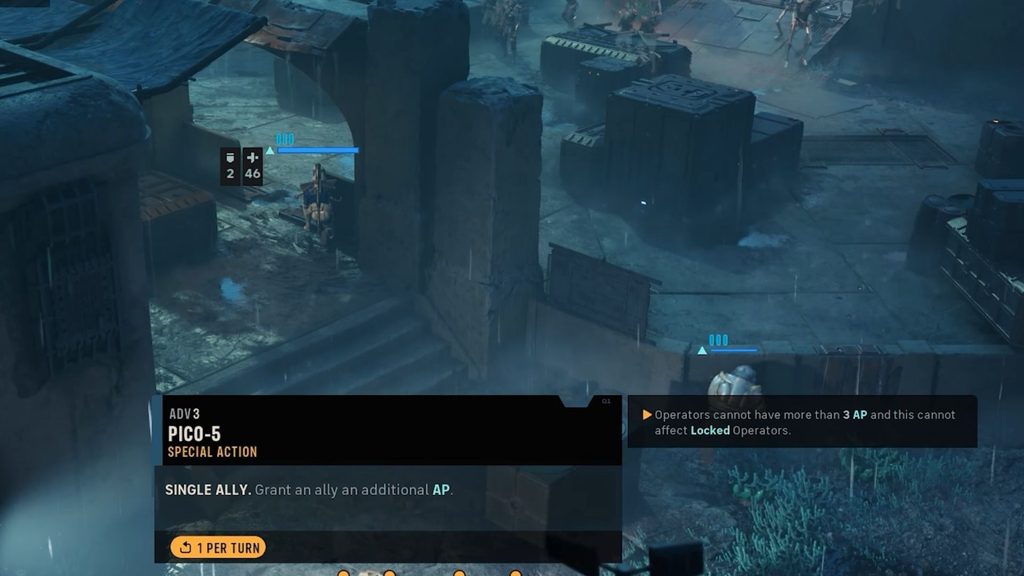
The Pico 5 power of Hawk lets one of the other characters earn extra Action Points by spending Advantage Points. If you have excess Advantage Points, then this power becomes very useful, especially at the end of a fight.
Each time Pico 5 is used, 4 Bond Points are gained, and a maximum of 20 Bond Points per character can be earned by using Pico 5 per mission. One should take note of what other characters have done before.
In addition, one must remember that Pico 5 will not help characters that have 3 AP available, and does not give an extra Overwatch shot since Overwatch uses its AP on activation.
Different Weapon Types Explained
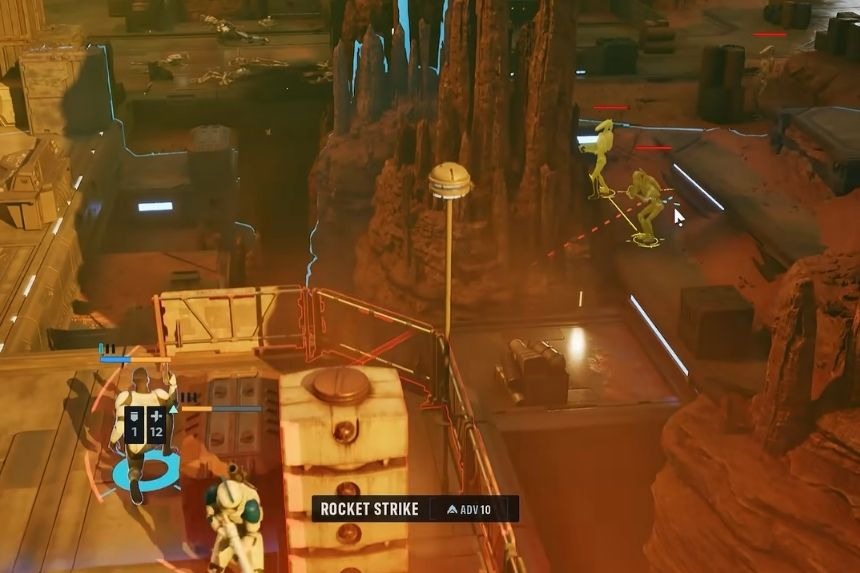
Weapon choice plays a very important role in Zero Company. Virtually all the specialist characters, except for some story characters, have the ability to wield weapons of various kinds. If the wrong weapon is assigned to a character, their effectiveness will be greatly reduced. Each weapon has a specific role, so knowing when to use each one is key.
Blaster Pistol
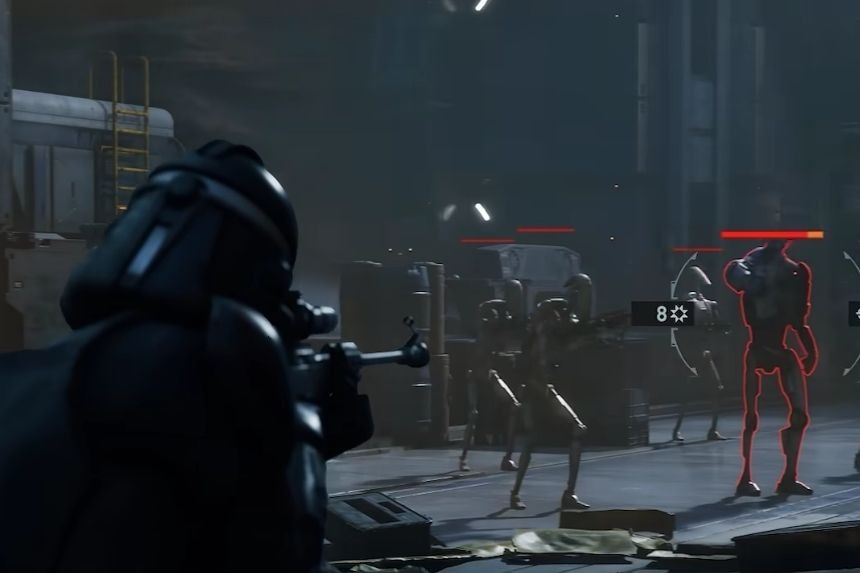
It is among the most powerful weapons. It only costs 1 AP to use, but it has the weakest damage, weakest critical hit damage, and shortest range among the primary weapons. It is extremely efficient against the Separatists, as many B1 Battle Droids can be defeated in one hit. Thus, you may be able to defeat three enemies at once.
When combined with Hawk’s Pico 5 ability, which gives your ally an extra Action Point, you will have the opportunity to destroy four enemies at once. The weapon is very efficient in combination with modifications for weapons that inflict status effects on the enemy. You can attack your enemy with many quick hits and give status effects to many B2 Battle Droids.
The main disadvantage of the weapon is its ineffectiveness against enemies that have high HP and good defence. It is one of those weapons that become more efficient after learning game mechanics. Don’t forget that every time you hit your opponent with this weapon, you receive an Advantage Point.
Longarm Blaster
Longarm Blaster is intended to be used by snipers and is the only simple long-range weapon in the game. Also, it has the most damage output among other weapons. Its disadvantage is that using this weapon requires 2 AP.
Due to the above, Longarm Blaster is most effective when being used against the enemies that other characters cannot approach. When using it at shorter distances, it may be possible to use other weapons, which will allow damaging the enemy more in the same amount of time.
In addition, there is an effective tactic with Backup, which will make Longarm Blaster even more useful against distant strong enemies or debuffs. Having one character equipped with it is usually enough.
Blaster Rifle
It does good damage and takes 1 AP for its first shot each round and 2 AP for any further shots after that. For that reason, it’s a very good weapon if you plan on attacking multiple times in a single round and don’t want to rely on your skills for that matter.
In addition, since you can attack using this weapon several times, it will make a perfect fit for all those mods that become active on every shot. However, it is important to understand that there is a specific role for each weapon, and there isn’t such a thing as the best weapon in the game.
Repeater
Though both the Repeater and the Blaster Rifle are medium-range guns, they operate in completely different ways. One major benefit of the Repeater is that it can take down cover. There are not all types of cover that can be damaged by this gun, but for many enemies, using the Repeater to start the battle will damage their cover and make them vulnerable.
This weapon does not have any fixed cost of AP; it depends on how many Action Points your character has at the moment. You will move first, and then use all available AP to shoot. The more AP you use on the shot, the more damage it will cause.
The Repeater is particularly useful for enemies hiding behind cover. Destroy their protection first, then let the rest of your squad attack the exposed target. It can also deal a lot of damage against larger enemies when you have enough AP available.
Movement
Movement also has a hidden mechanic that is easy to overlook. Normally, moving costs 1 AP, but your character can move farther with their first movement of the turn than with their second or third movement.
This matters when you’re planning a turn around cover.
You might move behind a crate, fire a weapon, and then expect to have enough movement left to reach another safe position. However, your second movement will usually be shorter than the first.
There can also be a small issue when moving near the edge of your movement range. The final position can sometimes shift slightly, so be careful when making an important movement that needs to place you behind cover.
Always Use Cover
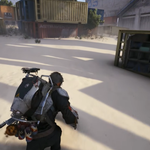
When your character’s silhouette is blue, they’re benefiting from nearby cover. If the silhouette is orange, you’re exposed and enemies can hit you much more easily. Whenever possible, finish your turn in cover. When attacking an enemy who is protected by cover, try to flank them. Attacking from the side or behind can remove their cover advantage and make them much easier to hit.
Backup
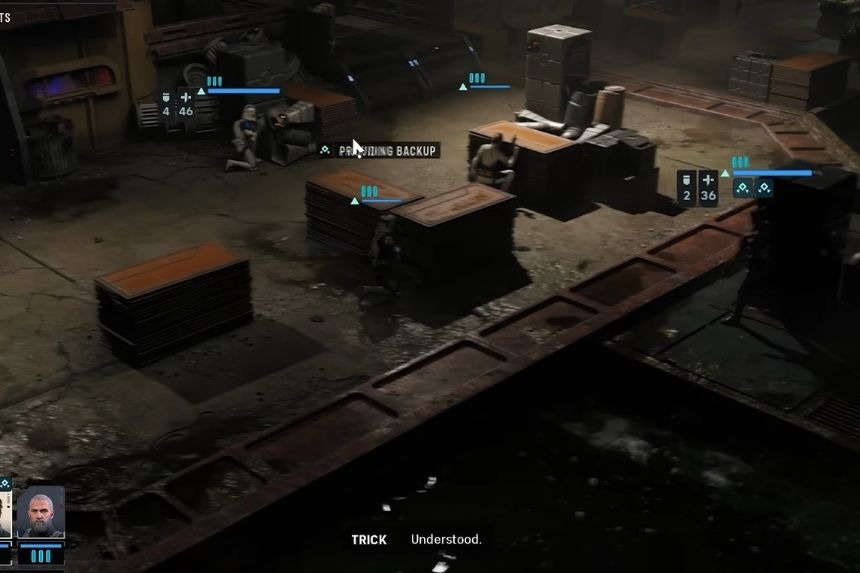
At the beginning of every round, one random ally gets access to the Backup command. Backup is completely free. It costs no AP and no Advantage Points. When you use it, two characters become linked for the next attack. The character providing Backup will then make an assisted attack when their ally performs their next basic weapon attack.
Keep Someone Inside Safecracker Zones
There are some missions that you will have to remain within a particular zone for a few turns until the mission is accomplished. These zones have to be filled by one of your characters for the mission to proceed. Look out for the colour of the zone:
- Green: The area is occupied, and the objective can progress.
- Red: An enemy is occupying the area.
- Empty: Nobody is occupying it, so progress stops.
Remember that at least one character should always stay within the objective area. When an enemy appears in your objective area, it is necessary to get rid of him immediately. Otherwise, you will waste several precious rounds. The characters which can knockback enemies are of great help for you in this case. Jay and Cab can throw the enemy out of the objective area, thus retaining its control. It is much more convenient than always running away from the objective.
Overwatch
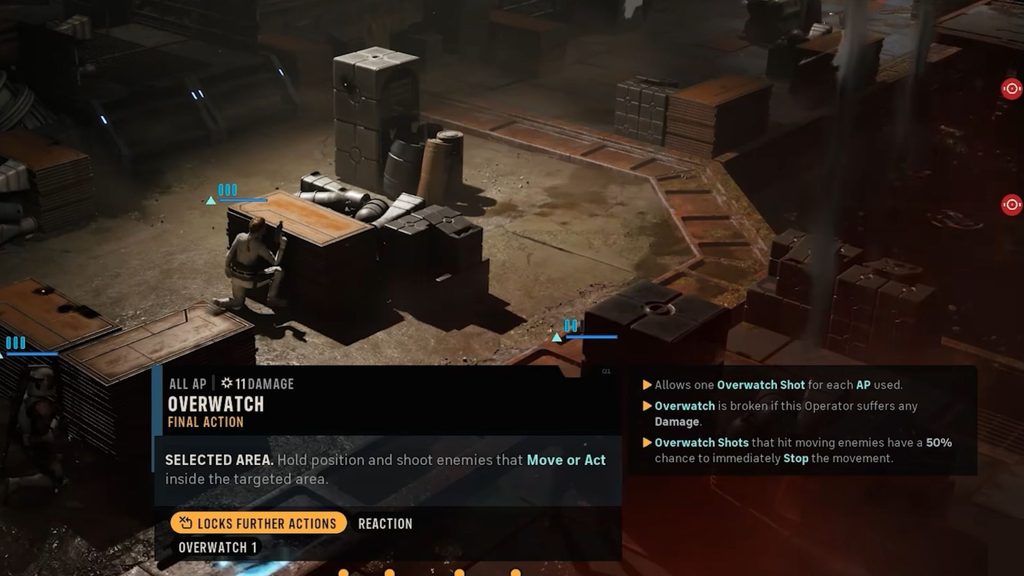
When you activate Overwatch, the character uses their remaining AP to automatically attack enemies that enter their firing area. There are a few things you need to know. Sometimes several characters have overlapping Overwatch areas. When an enemy moves through multiple fields of fire, the game can slow things down and trigger the shots one at a time.
This can occasionally cause an enemy to move out of another character’s firing area before that second shot happens. Because of this, try not to overlap every Overwatch area. Spreading them out can make your setup more reliable.
Overwatch Locks the Character
Once you activate Overwatch, that character is committed to it. You can’t perform additional actions with them afterwards. All of their remaining AP is used when Overwatch is activated. They won’t fire twice at the same enemy.
Overwatch and Force Movement
One of the best things about Overwatch is that it can trigger when enemies are moved by abilities. This includes things like:
- Jedi Force Push
- Force Pull
- Concussion Grenades
- Other knockback effects
If an ability causes an enemy to enter your Overwatch area, the shot can trigger. This creates some very powerful combinations. You can use Force abilities or knockback attacks to push enemies into an Overwatch zone and deal additional damage.
Use the Astromech to Reveal Invisible Enemies
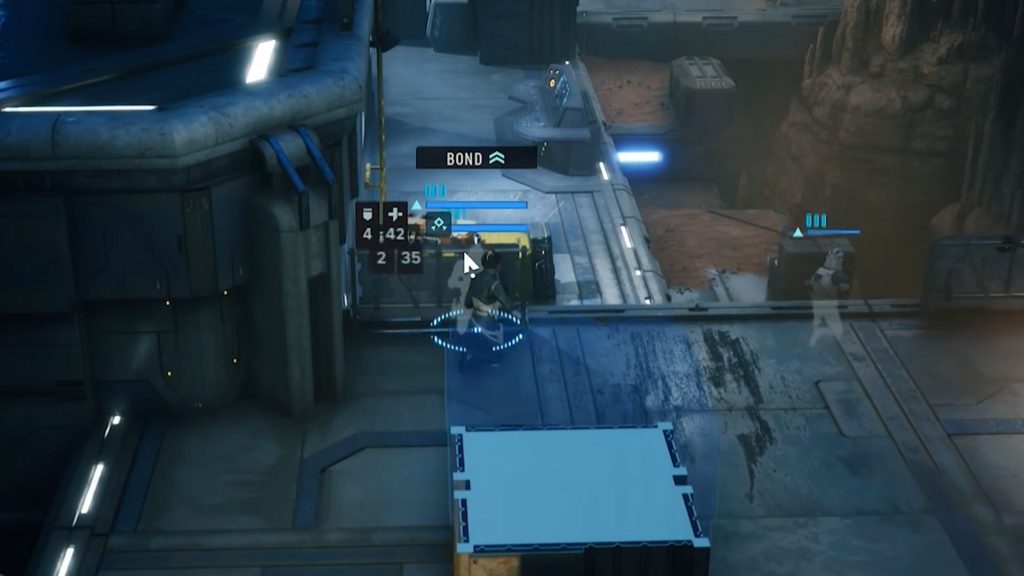
Some Infinite Coil enemies, especially melee units, can become invisible during combat. When this happens, you can’t directly target them because you can’t see them. An Astromech can solve this problem. If you have an Astromech on your team, use its scanning ability to search the nearby area. If the invisible enemy is within the scan radius, it will be revealed.
This is particularly useful if the enemy hasn’t moved yet and is still somewhere near its original position. Infinite Coil melee units can deal a lot of damage, so revealing them quickly can prevent them from getting close to your team and causing serious problems. For that reason alone, bringing an Astromech can be extremely helpful in missions where these enemies appear.
Use Telra’s Force Abilities to Trigger Overwatch
Once you unlock Telra, her Force abilities give you some great options during combat. Her Force Push and Force Pull abilities can move enemies around the battlefield. One particularly useful trick is to move an enemy directly into one of your character’s Overwatch zones.
Normally, Overwatch triggers when an enemy moves into the firing area. Force Push and Force Pull still count as enemy movement, even though it’s happening during your own turn. That means you can use Telra to push or pull an enemy into an Overwatch area and trigger the attack immediately. This is a great way to deal extra damage without waiting for the enemy to move on its own.
Pull Enemies Out of Cover With Telra
Telra’s Force abilities are also useful for dealing with enemies hiding behind cover. An enemy behind cover can have a very low hit chance, making it difficult for your other characters to damage them. Instead of wasting attacks, use Force Push or Force Pull to move the enemy away from its cover. Once the enemy is exposed, your other characters will usually have a much better chance of hitting it. This can turn an otherwise risky attack into an easy elimination.
Take Time to Learn Your Abilities
One of the best things you can do in Star Wars Zero Company is simply read your characters’ abilities carefully. Because this is a turn-based game, you don’t need to rush your decisions. Take as much time as you need to understand what each ability does and how it can work with the rest of your team.
The order in which you use abilities can make a big difference. Sometimes using one character’s ability first can make another character’s attack much more effective. Don’t be afraid to experiment either. If you’re unsure about an ability, try it out and see how it works. Once you understand what each character can do, combat becomes much easier to plan.