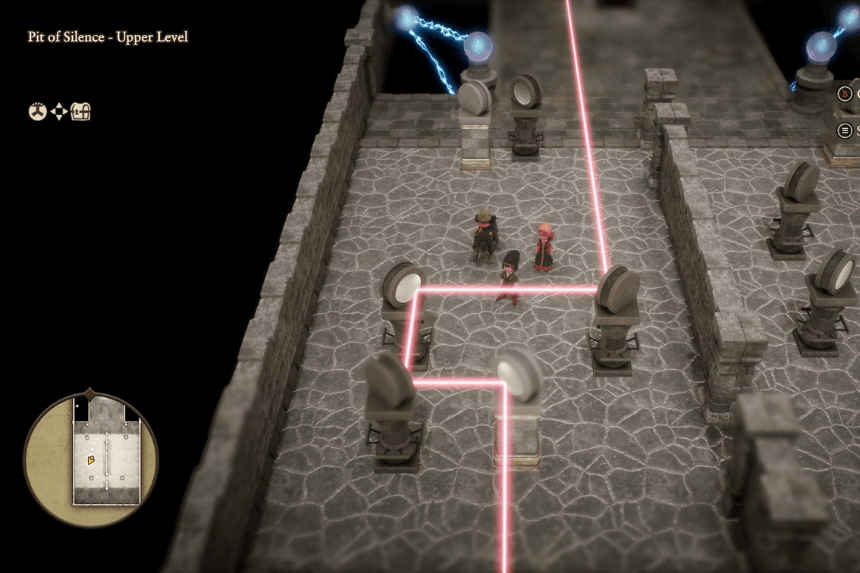
Deep in the game’s early hours, players face a test of calm – not combat. The Pit of Silence holds a notorious challenge involving mirrors. High Priestess Jacqueline waits locked away, caught in an enchanted barrier. Power flows from twin glowing stones above. Freeing her means reaching those crystals first.
Things might seem off when handling the mirror controls – they could be touchy on purpose. Figuring out this challenge takes time, but what follows is a clear sequence revealing how to position each reflector and shatter the two crystals without frustration building up.
Also Read: How to Earn Money Quickly in My Winter Car
How to Move Mirrors in the Pit of Silence
Knowing how mirrors move makes things easier – the handling might seem tight when you begin.
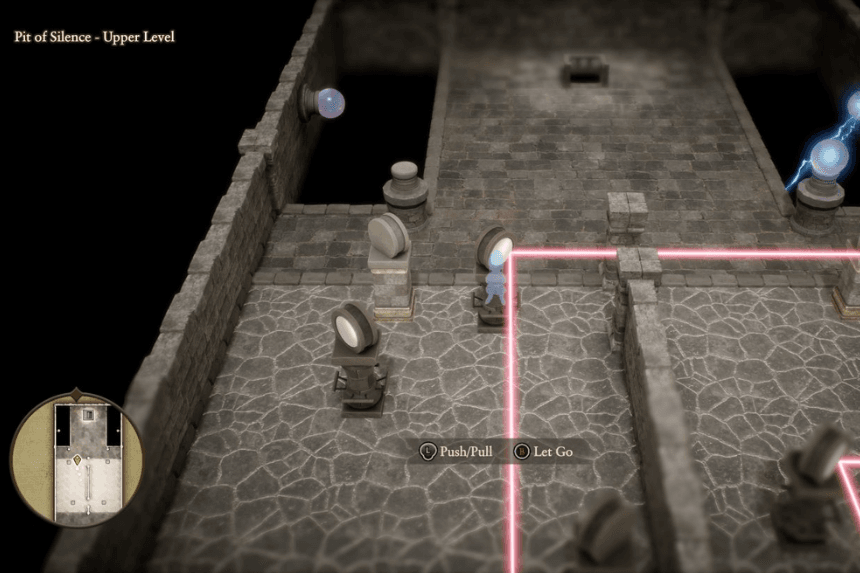
Mirror Movement Basics
- Stand in front of the glass, then hit X if you’re using one kind of pad, A for another, or maybe B – depends on what gear you’ve got hooked up
- Mirrors slide left or right when pulled sideways
- Floor tiles lock into place using a grid that mirrors follow
(Pro Tip: A crooked reflection often starts down below. Check where the mirror stands – right on a single tile matters. Off-centre placement throws things off.)
Shattering the First Crystal on the Right
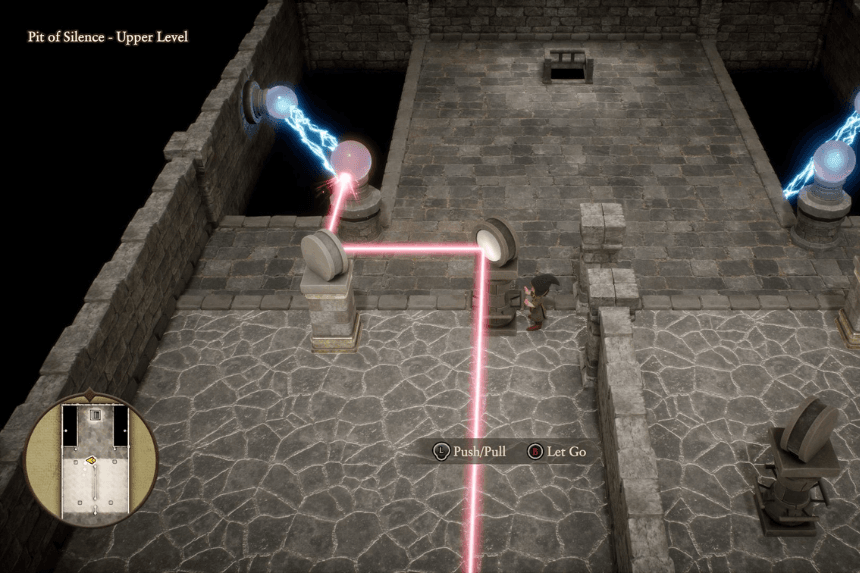
A soft start to the challenge sits on the right – that’s where the first crystal waits. Not many mirrors are needed there just yet. A clear path forms easily when light moves through without breaks.
First Crystal Setup
- Start on the mirror near the right edge
- Go straight ahead without bending the route too much
- Start with a light touch and tiny shifts make the difference
Mirror Layout Goal
A straight path works best when guiding light into the crystal. Only slight curves should remain, nothing more than needed.
The moment it lines up just right, the crystal breaks apart without delay.
Also Read: How to Get Mk3 SafeKeeper & Tactical Mk3 Revival (New Augments) – ARC Raiders
Breaking the Left Side Second Crystal
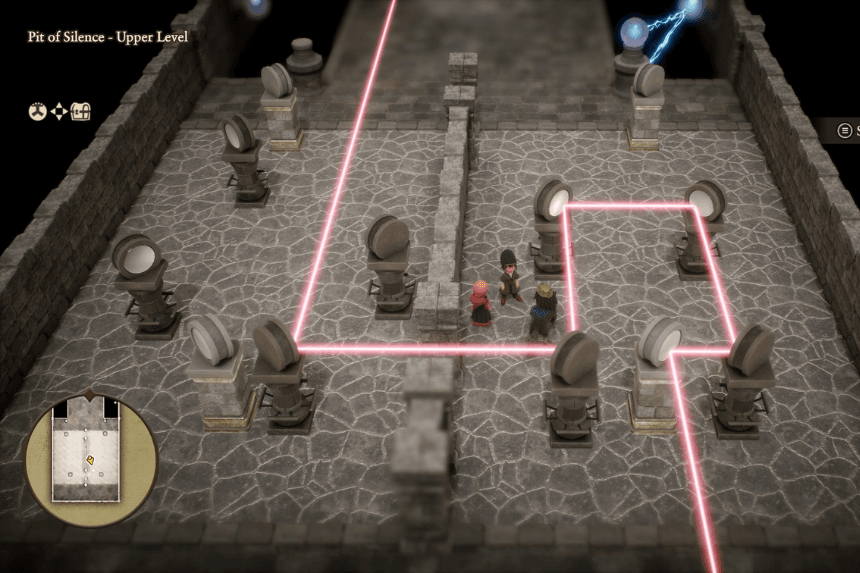
Here’s when things slow down for plenty of players.
Down near the left wall sits the second crystal, calling for careful planning. To reach it, send the beam past bulky centre barriers, guiding its path with distant reflectors instead of straight aim.
Second Crystal Strategy
- Use mirrors on the far left side of the chamber
- Create a “snake-like” beam path
- Carefully redirect the light around obstructions
Key Tips for This Section
- A single crooked reflection throws everything off track
- Adjust mirrors one at a time
- Every time you shift something, look again at how it lines up
Also Read: How to Fully Automate Mushroom Growhouse in Schedule 1
Common Mistakes to Avoid
- Rushing mirror placement
- Forgetting mirrors snap to tiles
- Overcorrecting small alignment issues
- Over by the walls, the mirrors go unnoticed as the far corners hold glass that catches nothing
Pausing a moment now means fewer setbacks later.
What Happens After the Puzzle?
After smashing the two crystals, head back to High Priestess Jacqueline so things can move forward.
Thinking About the Boss Coming Up?
Not really.
You’re reaching a pivotal moment in Dragon Quest VII Reimagined:
- Your skills will soon be restored
- Now vocations show up that never existed before
- You’ll have time to experiment before facing Cardinal Sin
Right here, the game shifts hard – once Jacqueline’s out, pause. Try what opens up. Move slowly through choices now, settling into who you can become.