
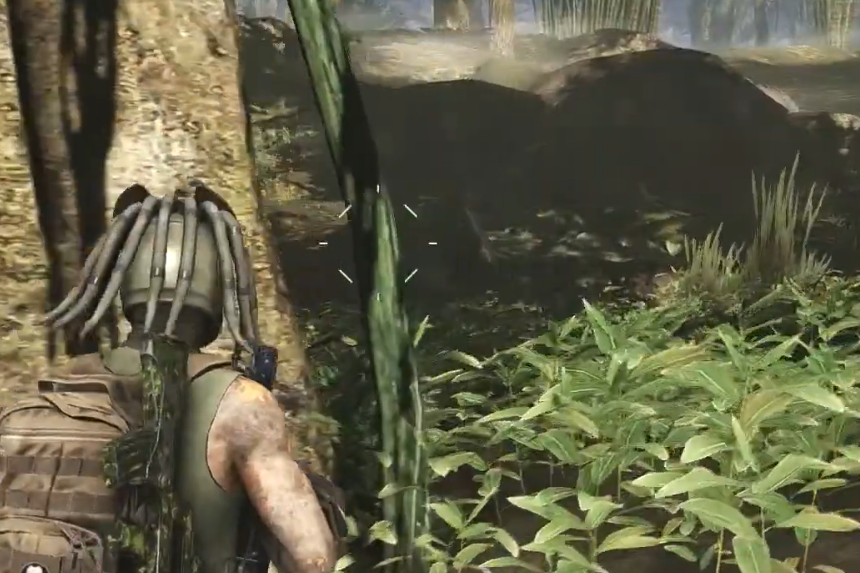
One of the difficult missions in Ghost Recon Wildlands is the Predator Mission, The Jungle Moved. In this mission, you will have to follow a trail of weird clues in the Caimanes area before facing off with the Predator himself.
This can be quite difficult because the Predator can cloak, attack fiercely, and move through the jungle rapidly. In this guide, we will tell you how to start the mission, find all three clues, defeat the Predator, and safely escape after the fight.
How to Start The Jungle Moved
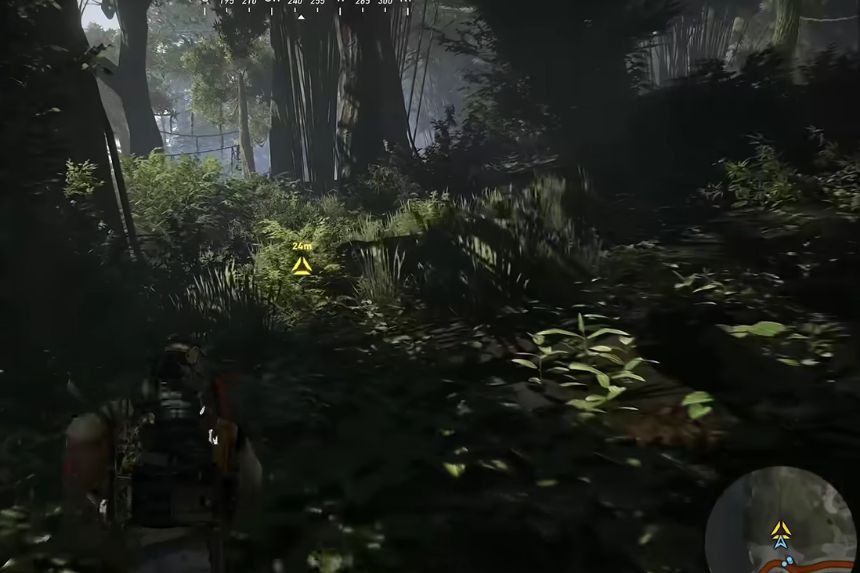
The mission will be set in Caimanes, which is located in the eastern part of Bolivia. Use your Tacmap and locate the region boss called El Cerebro. Select the mission named The Jungle That Moved. Go to the specified area and start a conversation with the terrified girl there. She will tell you about the living jungle which killed all the soldiers who surrounded her, and she refers to this monster as El Monstruo.
Investigate the Three Clues
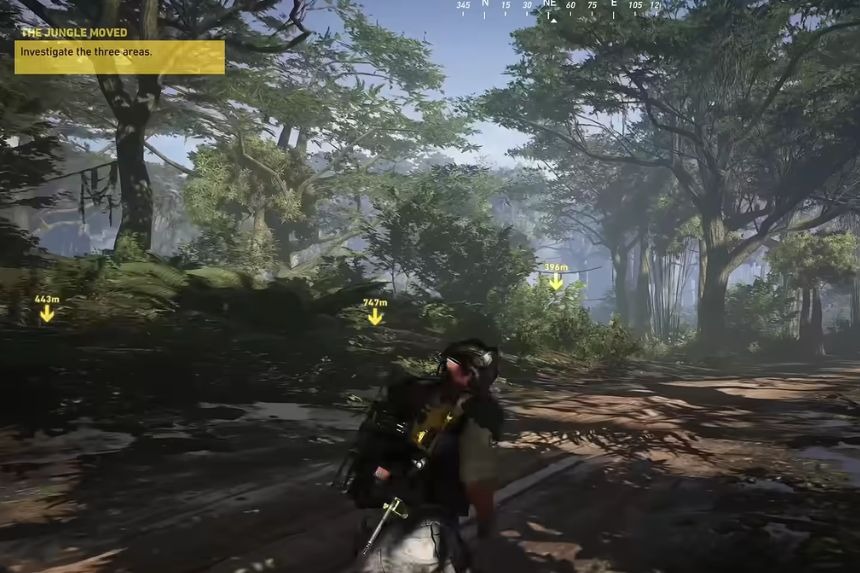
You will get three investigation markers. If it gets dark, use Night Vision to make it easier to see the area and follow the markers.
Clue 1 – Below Camargo Campsite (-16.8109, -59.5338)
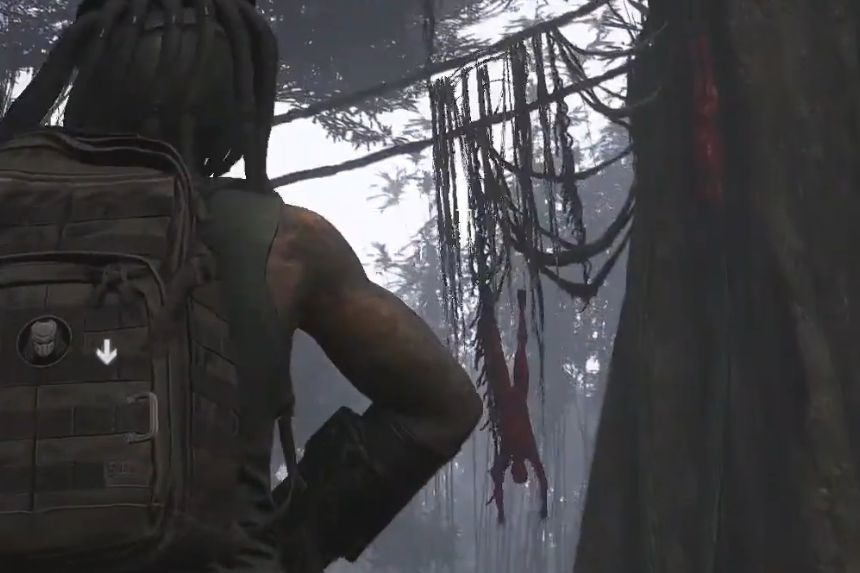
At the first location, you will find blood on the leaves of plants. The blood comes from the bodies hanging above.
Clue 2 – South of the First Clue (-16.8665, -59.4675)
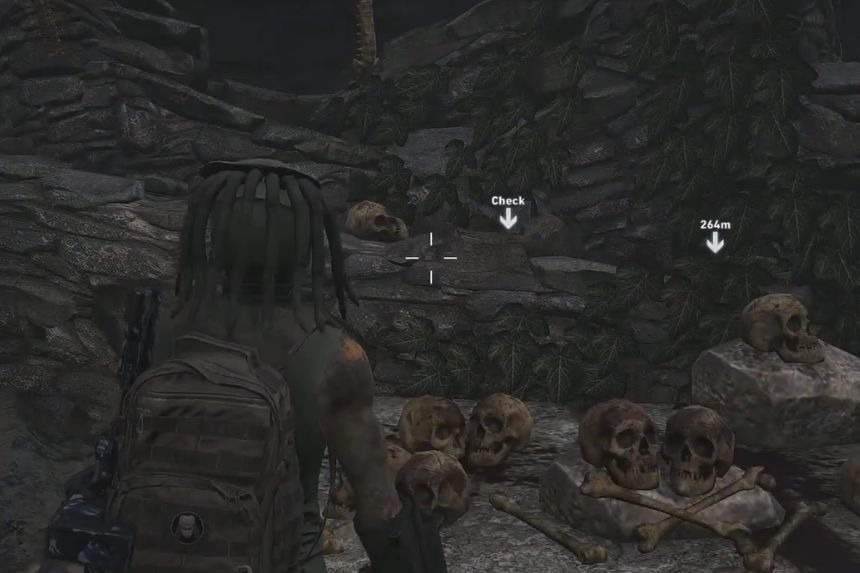
Move south from the first location to find the second clue. Here, you will find skulls and spines scattered around the area.
Clue 3 – Across the River (-16.7455, -59.4411)
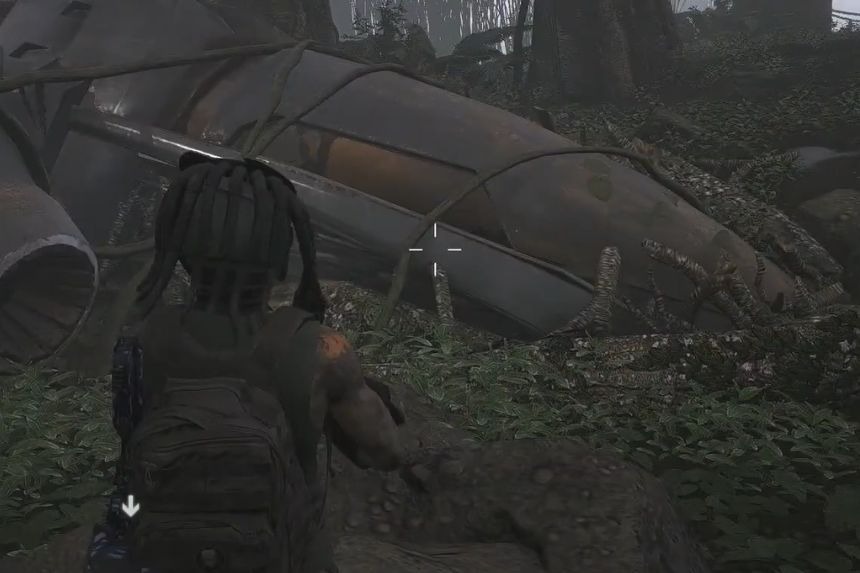
Cross the river and head to the third investigation point. You will find a large crashed spaceship. Interact with the spaceship, and you will hear a loud roar from the jungle. Follow the new marker.
How to Beat the Predator
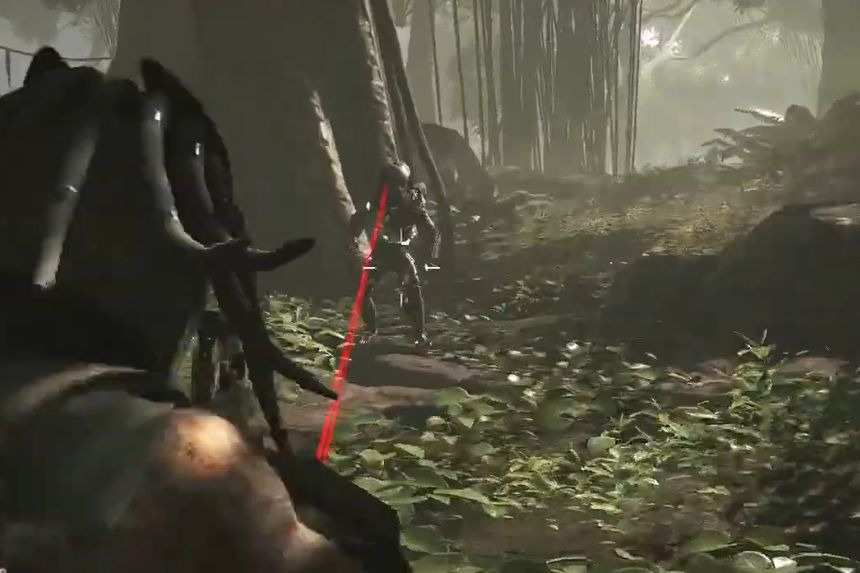
At this point, your mission will be changed into “Kill the Predator,” and the battle will start. Predator has a cloak that makes it hard to see him in the dark forest. In this case, your best way will be to activate Thermal Vision, since it will help you to see the Predator when he shows up. Keep in mind that your skills will not work in this battle. The Predator has two main ways to attack:
- Plasma laser: The Predator aims a powerful laser at you or your teammates. If it hits, it can take you down instantly.
- Grenade disc: It can throw an explosive disc that can knock down several teammates if they are standing too close together.
After shooting a few times, the Predator will likely teleport to some other place. Get prepared to move around and find the Predator. The one thing you can do really well is to summon your Rebel Support before starting the battle. Abilities that you can use include:
- Guns for Hire
- Diversion
- Mortar if you want to try it, although it is not very useful against the Predator
While the Rebels cause significant damage to the Predator, they do not cause much harm to the Predator. They simply increase the number of targets for it. This reduces the pressure that would otherwise be placed upon both you and your team members.
The moment the Predator shows up and starts firing its lasers, try to shoot the Predator even before it gets the chance to fire. In case you get a chance to shoot the Predator, it will start screaming and move back before it has fired its laser. It may then briefly appear again for another attack before disappearing. Keep taking advantage of these moments whenever you can.
Completing the Quest
Keep hitting the Predator until its health points reach zero. After the Predator has been taken down, the goal of the mission becomes “Confirm the death of the Predator”. Go near the fallen Predator and interact with it. Be careful, because this starts a self-destruct countdown.
The moment the self-destruct countdown begins, leave the area. You have to leave the area before the timer runs out. Once you are safely outside the zone and the explosion occurs, you will complete the mission. You will then earn +1500 XP, and the following rewards:
- Cloaking mechanism
- Predator Bio Mask
- Predator Tattoos