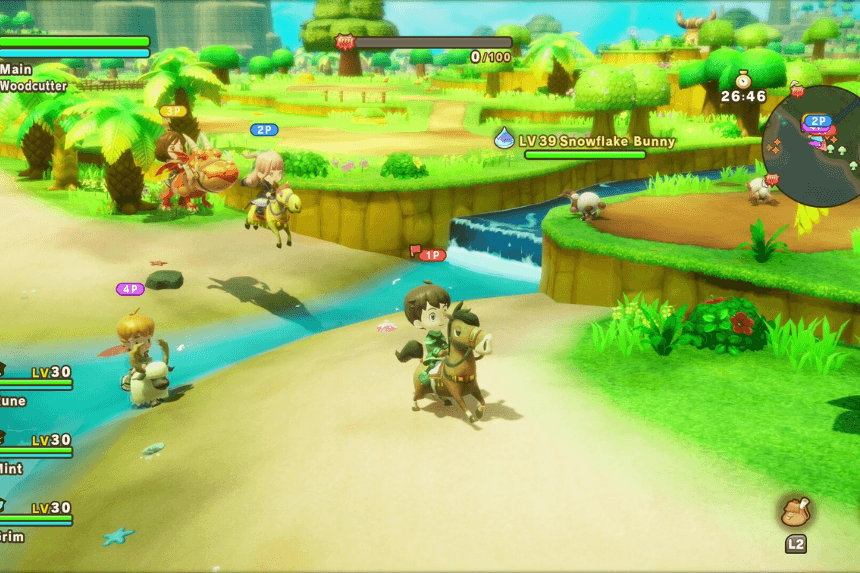
In Fantasy Life i: The Girl Who Steals Time, exploration is the driving force behind the game, which draws inspiration from The Legend of Zelda and Animal Crossing. One of the central mechanics that enhances exploration is the discovery and activation of Googlancia Towers.
- All Googlancia Tower Locations in Ginormosia
- West Dryridge Desert Googlancia Tower Location
- East Dryridge Desert Googlancia Tower Location
- Viridia Plateau Googlancia Tower Location
- South Greatgut Plains Googlancia Tower Location
- West Greatgut Plains Googlancia Tower Location
- East Greatgut Plains Googlancia Tower Location
- Pettling Wood Googlancia Tower Location
- Shroomhaven Googlancia Tower Location
- Wingtip Valley Googlancia Tower Location
- Moltana Wastes Googlancia Tower Location
- Scorchrock Mountain Googlancia Tower Location
- Crickneck Canyon Googlancia Tower Location
- Drakeseye Valley Googlancia Tower Location
- Drakesnout Range Googlancia Tower Location
- Fangshore Isles Googlancia Tower Location
The towers serve a significant purpose: each of them reveals the map section for each corresponding area in Ginormosia, so exploration and resource gathering are considerably easier. However, finding them is not always easy since players have to search the expansive landscape without preliminary direction. One helpful tip to assist your search is to climb tall cliffs and look around for a wider field of vision—since the towers are pretty high, they tend to be visible from far away unless hidden by thick trees or terrain.
All Googlancia Tower Locations in Ginormosia
West Dryridge Desert Googlancia Tower Location

The first Googlancia Tower you’ll encounter is located in the West Dryridge Desert and is unlocked automatically as part of the main story. This tower acts as your starting fast travel point when entering Ginormosia for the first time, anchoring your early exploration efforts in the region.
East Dryridge Desert Googlancia Tower Location

To continue onward, move directly north from West Greatgut’s tower to reach the East Greatgut Plains tower. Along this route, you’ll notice a small lake dotted with islets to your right and a river to your left. Travel through the middle area between these water features and continue heading north until the tower becomes visible.
Viridia Plateau Googlancia Tower Location

Travelling north of East Dryridge Desert brings you to the Viridia Plateau. The Googlancia Tower is located there, roughly in the centre of the region. Because Viridia has a desert on its eastern side and open grass fields on its western side, the tower is along the boundary where these two conditions begin. Because it is centrally located, it takes a little more effort to locate for the first time, so be sure to search the area methodically.
South Greatgut Plains Googlancia Tower Location

Head west, directly from Viridia Plateau, and follow a straight line to find the Googlancia Tower in South Greatgut Plains. The tower is near the centre of the region but slightly northwest of the true centre. Moving between towers is relatively easy, although some aspects of the terrain can slow one’s journey.
West Greatgut Plains Googlancia Tower Location

The West Greatgut Plains tower is found near the border with East Greatgut Plains. From the South Greatgut Plains tower, head northeast. As you approach, you’ll cross a river, which serves as a helpful landmark. The Googlancia Tower itself overlooks this river, making it easier to identify once you’re close.
East Greatgut Plains Googlancia Tower Location

To continue onward, move directly north from West Greatgut’s tower to reach the East Greatgut Plains tower. Along this route, you’ll notice a small lake dotted with islets to your right and a river to your left. Travel through the middle area between these water features and continue heading north until the tower becomes visible.
Pettling Wood Googlancia Tower Location

Pettling Wood is the hardest one in terms of locating the towers. Although the location is mainly east of East Greatgut Plains, the wood makes it impossible to go straight. You have to take the gravel road that encircles the woods instead. The route will lead you towards the Googlancia Tower buried in the woods eventually. Also noteworthy is that the northwestern corner of Pettling Wood conceals an entrance to a puzzle maze that will reach a concealed shrine—a feature to explore after the tower is activated.
Shroomhaven Googlancia Tower Location

Finally, Shroomhaven’s Googlancia Tower is north of Pettling Wood. If you find yourself near Pettling Wood tower, simply look to the northeast for a glimpse of it. If it is not visible, swim across the ocean towards that location until you reach at Shroomhaven’s bay. Scale the desert cliffs nearby upon landing and seek the tower that is towering above, with a wide view of the land around it.
Wingtip Valley Googlancia Tower Location

Wingtip Valley’s Googlancia Tower is reachable from Shroomhaven by swimming. Swim northwest into the ocean from the tower in Shroomhaven and arrive at the Wingtip Valley tower, which lies near the region’s northeastern edge. But with its location circumscribed by desert cliffs, you can’t see it from afar. Just head in the proper direction and swim, and you’ll arrive at its base sooner or later.
Moltana Wastes Googlancia Tower Location

Locating the tower in Moltana Wastes begins by fast-travelling to the East Greatgut Plains tower. Travel along the river west and travel north until you are along the cliff edge of the desert. Stay on the eastern side of the river and start to climb. The tower is located along the cliffside and does not require climbing atop the volcanic mountain itself. But if you do decide to climb the mountain, you’ll discover that it gives way to a sweeping view of the area, which is useful for scouting. Watch out because high-level monsters patrol the higher ground and it is not easy to traverse because of the lava flows surrounding the mountain.
Scorchrock Mountain Googlancia Tower Location

Cross the river from Moltana Wastes and head northeast to arrive at the region of Scorchrock Mountain. Climb the desert cliffs as you proceed, and you’ll spot the Scorchrock Googlancia Tower just beyond a grass field. As the region of this is below Moltana, the tower is relatively easy to find and approach.
Crickneck Canyon Googlancia Tower Location

To continue your journey, swim south down the tower of Scorchrock Mountain into Crickneck Canyon. Upon reaching the bay, climb the cliffs and travel southwest. The Googlancia Tower for this region is in view and involves minimal climbing beyond standing up from the bay.
Drakeseye Valley Googlancia Tower Location

Then, head west from Crickneck Canyon in a direct line to find the Drakeseye Valley tower. Along the way, you will walk through grasslands before encountering more desert cliffs. The tower stands on these cliffs overlooking the western shoreline of Ginormosia and one of the nicer areas of the game.
Drakesnout Range Googlancia Tower Location

In order to find Googlancia Tower in Drakesnout Range, look for the river system in Drakeseye Valley. Four rivers spread out from a middle pool; travel south along the southernmost of them. Climb the cliffs south just before the river flows into the ocean. The tower is not visible from the riverbank because of the trees. Still, when the river starts running along the edge between Drakesnout Range and Drakeseye Valley, that’s your signal to turn east and look for the tower at a higher altitude.
Fangshore Isles Googlancia Tower Location

Finally, the last Googlancia Tower in Ginormosia is found in Fangshore Isles, which is also referred to as one of the most beautiful places in the game. Once you’ve discovered the Drakesnout Range tower, head east across the ocean. You should be able to find Fangshore’s tower standing on the southwestern edge of the largest island in the chain. Swim or glide across to the island, and go to the tower to complete your fast travel network.