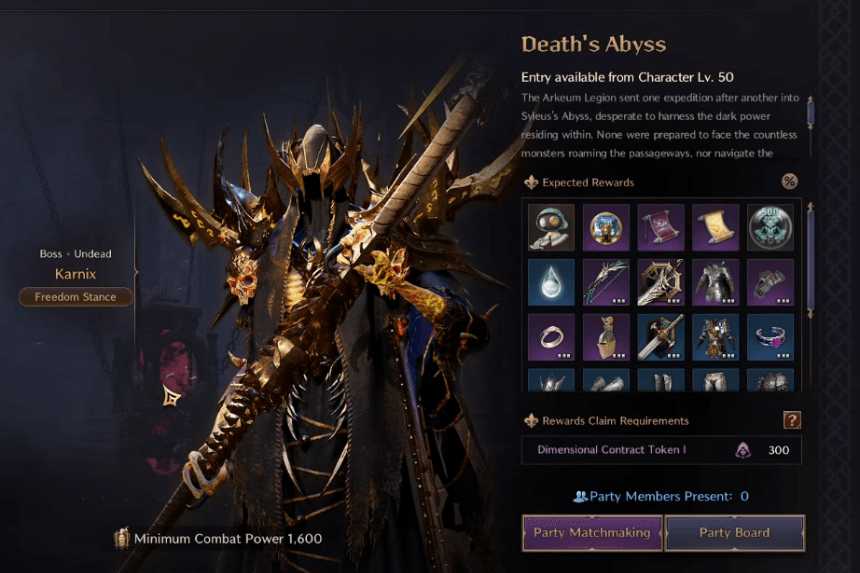
Death’s Abyss is one of the endgame, level 50 dungeons you can explore in Throne And Liberty. It’s basically a tougher version of the level 20 dungeon, Specter’s Abyss. You’ll encounter extra mechanics here, including wipe mechanics that need hard crowd control to manage. That’s why it’s crucial to have a skilled Tank in your group, or at least someone with strong crowd-control abilities like stuns. This guide provides a walkthrough of how to defeat the final boss, Karnix. We’ll explain all the mechanics as we go along.
Death’s Abyss Dungeon
The first part of the Death’s Abyss dungeon is pretty simple. You’ll encounter an Arbiter and for the first time these are elite enemies that have a built-in wipe mechanic. This is where your crowd control and stuns become crucial, especially the shove skill from Tanks. If that doesn’t do the trick, the freeze skill from Staff users can be really helpful too. You can bypass many of the mobs in the dungeon by sticking to the sides of the room, which will greatly speed up your run. Just engage the enemies that are necessary to create a path to the next area. Then you will face the first mini-boss, the Shadowmancer. Similar to the Arbiters, she has a wipe mechanic that can repeatedly kill your party unless you crowd-control her before she can cast her spell.
Then comes Elite Arkeum Riot Squad Captain, the second boss. It is where many inexperienced players in this dungeon tend to struggle and often end up dying multiple times. Similar to the Arbiter and Shadowmancer, this fight relies a lot on crowd control and stuns. Save your debuffs and extra damage for when he has his shield up. Ensure that your Tank or anyone with crowd control times their stuns correctly. Once you master this mechanic, the fight becomes much easier. After defeating the first boss and the second boss you will reach the final boss, Karnix.
Karnix, the Final Boss in Death’s Abyss Dungeon
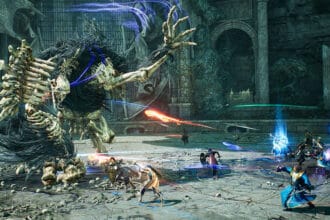
Karnix is the toughest boss in the dungeon, but once you grasp the mechanics, it actually turns into one of the easier level 50 dungeons to tackle. Below are the mechanics of Karnix:
- Karnix slams his scythe into the ground, causing heavy area-of-effect damage and knocking players back. To avoid this ability, it’s best to run away and stay clear of the impact zone. Quick reactions and staying alert are key to dodging it.
- Karnix will teleport three times, launching a basic attack after each one. After the last teleport, he unleashes a Fury Attack that deals a lot of damage. Make sure you’re ready to block that Fury Attack.
- Karnix briefly spins to charge up his attack before sending out a wave of electrical damage. To dodge this, use a well-timed shield skill.
- Karnix casts a spell that targets a player, marking them. He then summons scythes that will chase and attack the marked player. The player should run away from the scythes to avoid getting hit while the spell is active.
- Karnix marks a player with a blue circle and then attacks with his scythe, which can hit several players at once. To survive this attack, players should take cover inside the blue circle. If you’ve done the Specter’s Abyss dungeon before, you’ll find this mechanic familiar and easier to handle.
How to Beat Karnix in Death’s Abyss Dungeon
- Mark Mechanic is the key mechanic to Beat Karnix, the final boss. At certain moments, Karnix will send out floating scythes that chase after marked players. Make sure to avoid them by dodging or morphing. It’s also important for your Healer to monitor your health during this phase.
- After this phase, Karnix will mark one player with a black circle. Everyone needs to gather around the marked player to absorb Karnix’s big attack. If you don’t, you’ll be eliminated. Karnix will launch a Fury attack right after the circle phase ends, so be sure to stay still and get ready to block the damage. Players outside the circle will experience a temporary fear effect and won’t be able to block the damage. Those inside the circle will also take more damage because it isn’t shared among the entire party.
- Also having a Tank is really beneficial here. A skilled Tank can taunt Karnix during his teleportation phase to keep him in place, which lets the rest of the team deal maximum damage. The Tank should also soak up all the AoE damage during this time.
