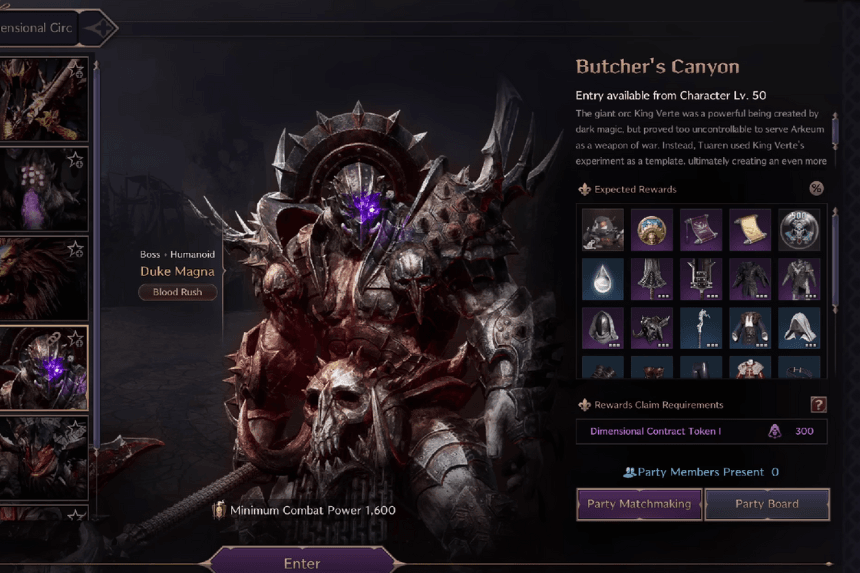
The giant orc King Verte was a powerful monster created by dark magic, but it was too wild to be used by Arkeum as a weapon of war. Tuaren used King Verte as a model to create an even better weapon. Duke Magna is smaller and calmer, but he has very strong dark magic, making him more powerful and even more dangerous. To learn more about Butcher’s Canyon, read on to see a summary of it, a complete guide on how to go through it, and how to defeat Duke Magna.
How to Beat Mobs
To start the dungeon, you need to beat three mobs and take their loot to find a key. The monsters aren’t hard to beat. The Orc Key Administrator drops the key. Once you have it, you can use the lift to go to the next part of the dungeon.
Next, you’ll see a wooden bridge. There are more monsters on the other side. The fastest way to deal with them is to send your tank to get their attention and bring them back to the bridge. You can then use skills that push the monsters off the bridge, killing them. Be careful not to fall off yourself. After killing this group, you can go to the next area and fight the first boss of Butcher’s Canyon.
How to Beat Orc Shadow Elder – First Boss
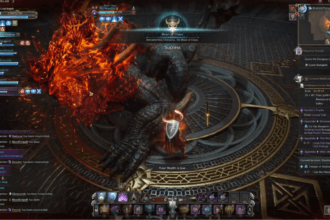
The first boss of Butcher’s Canyon is the Orc Shadow Elder. This boss uses fire attacks. It’s not too difficult, except for one thing your team needs to know.
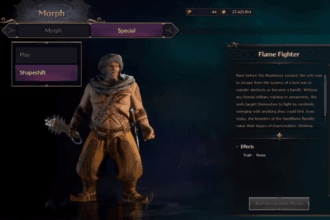
The boss will summon Shapeshifters, which are special monsters that target a player with a spell, turning them into an exploding sheep. The player has a few seconds before they explode. They need to touch another player to pass the curse to them and reset the timer. When the Shapeshifter dies, it leaves a blue area on the ground. The player who is still a sheep needs to stand in the blue area to get rid of the spell.
How to Beat Orc Shadowmancer Trio – Second Boss
After beating the Orc Shadow Elder, you can follow the path to the second boss. You’ll meet more monsters along the way. You can use the same trick as before to quickly kill them. Once you’re past the monsters, you’ll reach the Orc Shadowmancer Trio, the second boss of Butcher’s Canyon.
This boss isn’t too hard. Just be careful of the fire on the ground. Watch your feet and you’ll be okay.
The main problem here is actually hurting the bosses because they are all connected together. When they are connected, all three Shadowmancers are invincible.
To hurt them, you need to stop them from casting spells. Your tank can do a lot of this, but it’s good to have at least one other player to help them, maybe someone who fights close to the boss and has a Greatsword. Working together is important here. Try to stop two of the Shadowmancers at the same time to break the connection and let your team attack.
After beating the Orc Shadowmancer Trio, you can start the path to the final boss. This is like the areas with the other monsters. There is another bridge you can use to go faster if you want.
How to Beat Magna Duke – Final Boss
Magna Duke is the final boss of Butcher’s Canyon in Throne & Liberty. Unlike the other bosses in this dungeon, Magna Duke is a difficult fight, especially for those who are new to it. There are many things that require careful teamwork and understanding of the situation. Voice chat can help, but you can also do it without if most players have some experience and know what to do.
The fight is divided into several parts:
First Part
The first part is the easiest. You mainly need to avoid getting hurt while attacking. You’ll see these attacks:
AOE Spin Attack – This is a Fury Attack, so you should watch out for the purple sign and block it. This will happen three times.
Meteors – The boss will call meteors that will fall on you unless you move away. This will happen twice.
Fire Wave – The boss will stomp, sending a wave of fire in all directions. Jump over the fire wave to avoid getting hurt. This happens after the second blockable fire AOE.
Eye Beam – If even one player is too far away from Duke Magna, he will stop his normal attack and shoot out a big explosion that hurts everyone in the arena. To stop this, tell your team that everyone should stay inside the circle where Duke Magna is standing.
After these attacks, the boss will move to the second part.
Second Part
After the first part, Magna Duke will pull everyone to the center of the arena, and one player will be stunned. Four pillars will appear near the edge of the arena, but you need to jump over fire rings on the ground to reach them. If you touch the fire rings, you’ll be stuck in place. Players need to go through the fire rings and activate the pillars to free the stunned player in the middle. The freed player needs to quickly get out of the middle before the fire explodes and kills them. This will also happen if the other players are too slow to activate the pillars. After this part is over, Magna Duke does the first part again, then moves to the third part.
Third Part
Magna Duke will pull everyone to the center of the arena again. The fire in the rings will get bigger, so you have less space to move if you’re slow.
A Shapeshifter will appear and turn one player into an exploding sheep. The player can’t escape the fire, so the team needs to work together to pass the curse from player to player until it reaches the edge of the arena. Any player who has already been a sheep can jump out of the fire and attack the Shapeshifter. When the Shapeshifter dies, it leaves a blue area that the cursed player can stand in to get rid of the curse. After the third part, the Magna Duke boss fight is just a repeat until you defeat the boss.
