
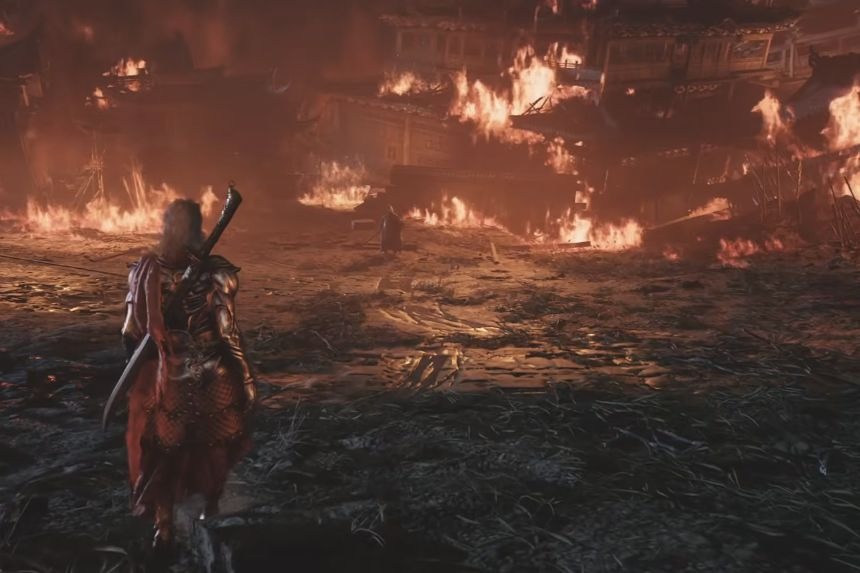
Mó Yuan, the Bastion of Mó’s Leader, is a formidable opponent in Phantom Blade Zero because he may punish you for any tiny mistake that you make during the battle. Due to his potent moves and big moveset, fighting him may prove to be difficult. However, you can turn the tables on him using the right equipment and skills. In this guide, we’ll go over the best equipment to use and the strategies you need to defeat Mó Yuan.
Best Weapons and Equipment Loadout
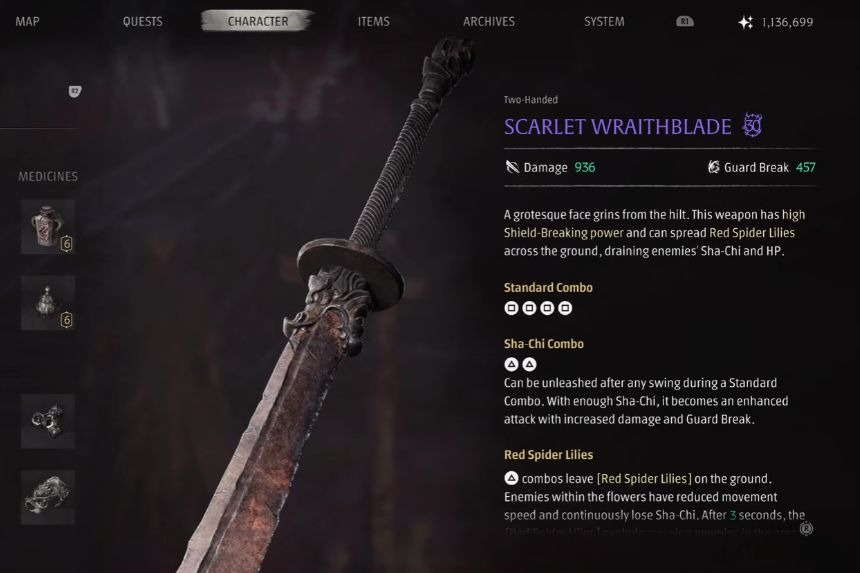
First of all, before the actual battle, we will talk about the equipment that is needed for this build. The right equipment plays an important role in breaking the boss’ stance and doing great damage.
Concerning the weapons, Scarlet Wraithblade would be perfect since it drains Sha-Chi and helps you quickly get to the boss with this sword. Baishan Storm Swords would be your main attackers since they do amazing damage, which makes them good for using in the windows of stagger of the boss. Yulong’s Deluge is also helpful for staggering and adding a wet debuff on the enemy, making him weaker to lightning damage.
As for the abilities, Kuye Dew’s ability would be really helpful since it reduces damage by 40% and restores HP for 25 seconds. Also, Lament Draft is very good since it increases damage by 20% for 40 seconds and heals you at the same time.

As for accessories, the Ancient Armour Fragment allows up to 40% damage reduction if you have 100% HP. Your damage reduction becomes lower according to your health level. Therefore, it is necessary to maintain 100% HP with the help of medicines.
Reflex Device gives the chance to parry and dodge more easily, which is always important when fighting with an aggressive boss. Besides, it speeds up the process of obtaining Sha-Chi essence so that you can use powerful L2 attacks more often.
If you want to increase the damage done, you need to equip Quickhand Pair and receive a buff from 18% dual-wield weapon damage. Crimson Resolve is one of the best accessories to use. It gives a 35% damage increase for two seconds with a four-second cooldown time. You can activate this ability by landing two consecutive hits with Bashan Storm Swords on your opponent.
Hunter’s Insight +1 allows you to increase your damage and Sha-Chi depletion of attacking enemies by 15%. The last buff is especially important because it will allow you to break your enemy’s guard faster.
How to Defeat the Boss
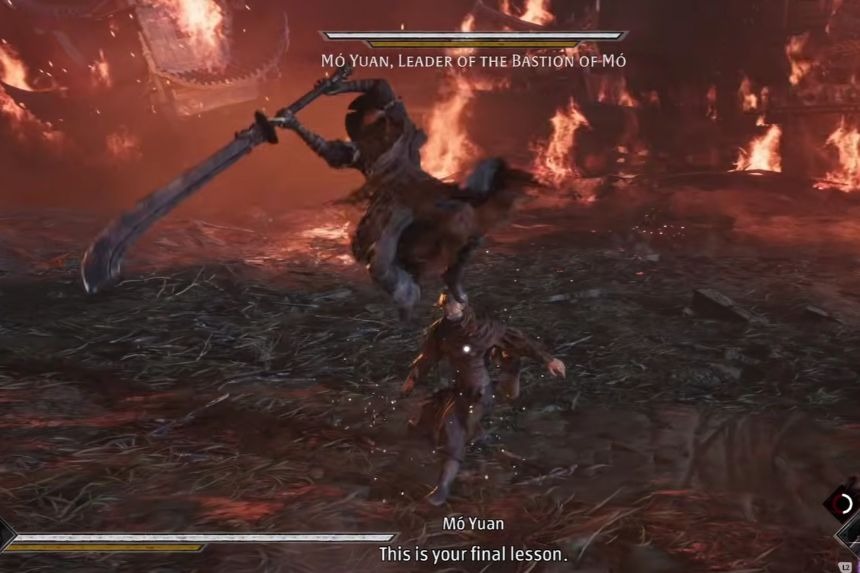
As soon as you enter combat, you will see that the boss starts his assault with a strong move, which means you should immediately be ready to dodge it. After you have done so, you may cast your Spider Lilies and start attacking the boss. At the first chance to stagger him, you should switch to Yulong’s Deluge.
The boss has many strong hits, but you do not always have to stand at a short distance and try to parry all of them. In some cases, you can simply maintain some distance from the boss and dodge his attacks. This will suit you perfectly well in case you are not good at parrying. However, you can always parry his hits to reduce his Sha-Chi much faster.
Scarlet Wraithblade is an ideal tool for fighting the boss when he moves away from you. It will allow you to approach him, deal him some blows and make the Spider Lilies burn him in terms of Sha-Chi.
When the boss goes into his stagger phase, exploit the opportunity to do as much damage as possible to him. Apply your buffs using your medicines and make sure that your damage buffs through the Lament Draft and Bashan Storm Sword are active. It is also possible to use the Wet debuff with Yulong’s Deluge to make the boss susceptible to lightning damage.
Through this combination of buffs, you can expect to inflict massive damage on the boss. Nevertheless, avoid going for too much damage because the boss can recover from the stagger and counter your attack with a powerful attack which is very harmful to you.
Mid-Fight Strategy
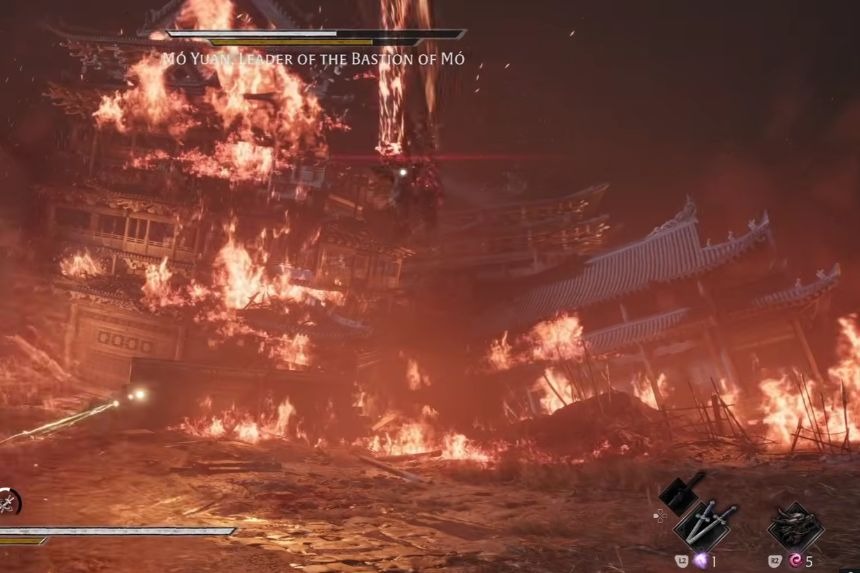
As the battle progresses, the boss starts hitting you with more attacks that you need to avoid. Stick with using Scarlet Wraithblade to move closer to him and keep the Spider Lilies bleeding effect alive. This is especially helpful during the attacks of the boss, which put some distance between you two.
Among the attacks to beware of is the one indicated with a red circle. Try to avoid blocking this attack but use dodges instead, since the timing may be somewhat awkward here.
You will also need to pay attention to the faster attacks. These may not allow you to respond and react in time, so just try to dodge them. As soon as you are hit with a fast attack, start dodging to avoid the subsequent hits, and then move farther from the boss before resuming the attack mode.
Try to counter the red and blue attacks from the boss when possible, without endangering yourself too much. Counters are very useful for keeping the pressure up and draining his Sha-Chi faster. But do not take any extra damage for the sake of performing a counter.
There is also an area-of-effect attack that the boss will perform. Observe the landing zone and avoid this area. As soon as the attack is over, proceed with attacking him. Throughout the whole stage, keep using your medicines and buffs. There is no need to save all your abilities for the perfect opportunity; use them as often as possible.
Final Phase
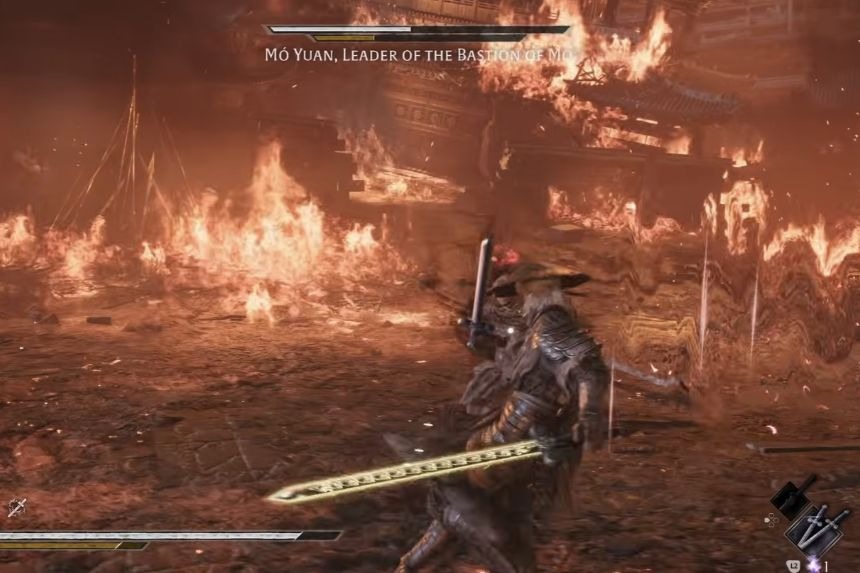
This last stage in the battle is particularly irritating as the boss has almost no Sha-Chi at all; however, he can still punish you for being too aggressive. Just continue dodging his blows and use Scarlet Wraithblade any time you want to get closer to him.
Once he has no Sha-Chi left, try to break his guard rather than trying to make the boss take more damage. At the moment when the boss’ guard is broken, do not attempt to create an ideal damage combination – just use whatever you can until the boss retaliates. Scarlet Wraithblade works particularly well here, allowing you to catch up if you are too far from the boss.
Furthermore, it is important to use L2 attacks whenever possible, as these can stagger and damage the boss significantly. It is not necessary to wait for a perfect damage combination before using them; sometimes it might be a better choice just to use them right away, especially when the boss is on the verge of being killed. One more thing to note here is that it is not always necessary to reduce the boss’s health all the way to zero; once his health drops to a certain level, you can trigger the ending with the help of the Circle button.