Unlocking power and the Pack-a-Punch machine in Toten Reich is crucial for progressing in Black Ops 7 Zombies. This guide provides a step-by-step walkthrough, from opening barriers and repairing power lines to syncing the Del Glock and activating the Pack-a-Punch. Follow these steps to power up and enhance your weapons for survival.
Starting Your Journey
The first step begins at the spawn area of the map. When you start, you’ll notice two objective markers on your screen, which will help guide you to the next points of interest. It’s recommended to keep these markers on throughout your playthrough to avoid getting lost. You have two possible routes you can take, but both will eventually lead you to the same destination: unlocking the full map. To begin, follow the gameplay as it shows and open the two initial barriers located at the spawn. Once these barriers are unlocked, the next objective will update, directing you to explore Fishery Island.
Exploring Fishery Island and Repairing Power Lines
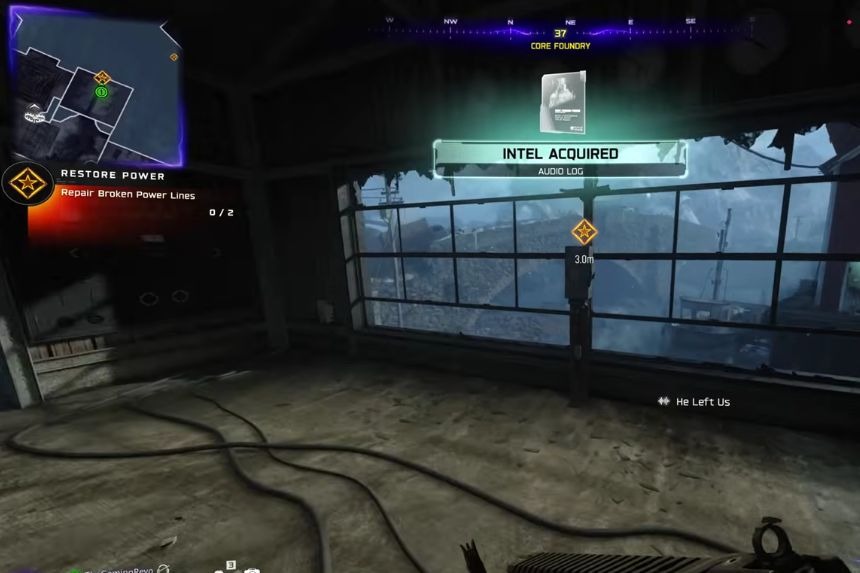
After unlocking the initial barriers, you’ll need to head towards Fishery Island. Follow the objective markers and pass through the dry rock area, making your way down a stairway and through the back section of the map. At some point, you’ll encounter another barrier that requires essence to unlock. Once you have enough essence, open this barrier and take the zipline to the other side of the map, where you will see the objective updated to repair the first of two broken power lines.
To repair the power line, head to the Core Foundry, where you’ll begin the process of fixing the line. This action will power up one side of the map, allowing you to continue progressing. Be cautious, as you’ll need to defend yourself against any zombies that may attack while you’re repairing the power line. After completing the first repair, you’ll be tasked with repairing the second power line, which is located on the opposite side of the map. Follow the gameplay and objective markers to reach the second power line, and complete the repair in the same manner. Once both power lines are fixed, the full map will be powered, and you’ll receive the next update.
Entering T’s Head and Recovering the Admin Key Card
With the power restored, the next objective will be to enter T’s head, which is a key feature on the map, modeled after the Origins robot. To do this, open the barrier leading to T’s head, which is marked by a smiley face on the opening. Once you interact with the head, you’ll be given 1 minute to activate the tire inside. There’s plenty of time, so don’t rush through this part. As the 1-minute timer expires, you’ll automatically be ejected from the head, though you can also exit at any time. When you’re ejected, you’ll land in a random location or a predetermined spot, such as the bridge in my gameplay.

The new objective will prompt you to recover the admin key card. Run across the bridge, open another barrier, and proceed to the dry dock area, where the key card is located. Once you’ve picked up the key card, you’ll be ready for the next phase of the mission.
Entering the War Factory and Getting the Glock Controller
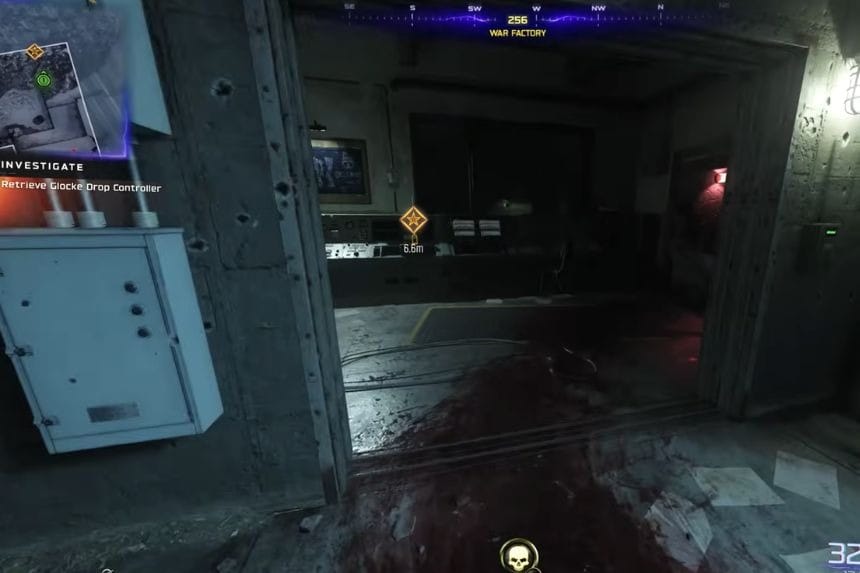
Once you’ve collected the admin key card, the next objective is to enter the War Factory. Follow the objective markers and make your way toward the factory’s door. Be prepared for a few zombies inside, so clear the area before moving forward. After the zombies are dealt with, enter the War Factory and head to the Glock drop controller. The Glock returns, but now as a support streak item. Picking it up will trigger the next objective, which involves syncing the Del Glock support streak with Fishery Island.
Syncing the Del Glock and Unlocking Pack-a-Punch
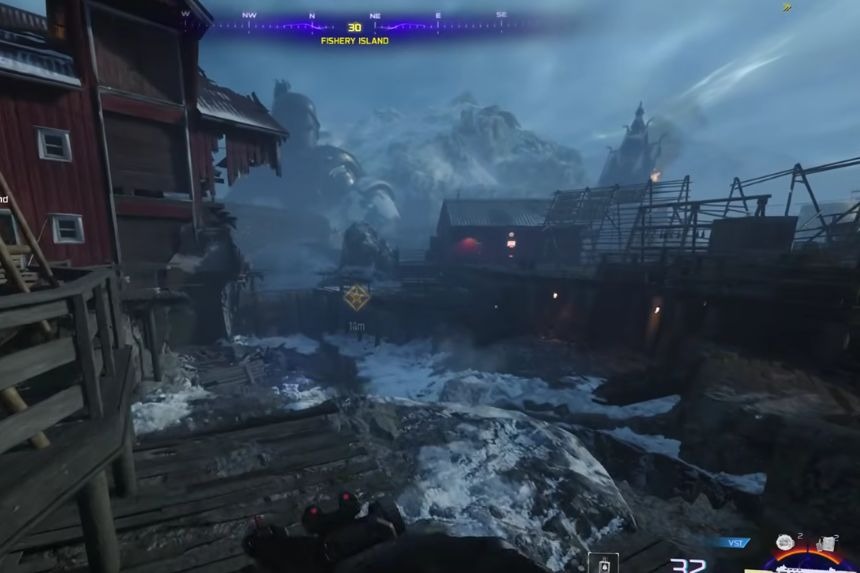
The final phase of this process is syncing the Del Glock support streak on Fishery Island. To do this, head back to the island and take the zipline to the glowing purple pulsating ring on the ground. Interact with the ring to begin syncing the controller. During this sequence, you’ll be locked in and need to defend against waves of purple-dyed zombies. After all the zombies are defeated, the controller will sync, and the Dlock pod will drop onto the map. The nearby zombies will hover in an anti-gravity state, and the Dlock pod will eventually transform into the Pack-a-Punch machine.
Once the Pack-a-Punch is activated, you can approach it and upgrade your weapons, giving you a significant advantage as you continue to fight off zombies. This step not only powers up the map but also enhances your ability to deal with the increasingly difficult waves of enemies.