Once the deadly mist is cleared away, Mistveil Forest finally becomes safe to explore. Perhaps one of the most interesting places you can then go visit is the Mist-Shrouded Prison, a looping tomb filled with traps, illusions, and seven total chests to uncover. The tricky part is navigating its repeating floors and tracking down every chest, including a hidden final treasure.
This is a full walk-through of the Mist-Shrouded Prison in Where Winds Meet, with clear steps for reaching all chests without getting lost.
Also Read: Where Winds Meet: Defeating the Heartseeker Boss
How to Enter the Mist-Shrouded Prison

The prison is inside Mistveil Forest, so you’ll need to complete The Ephemeral Blight first. Gather all Mistveil Forest Cures, bring them to Zhai Xu, and use the antidote to remove the toxic mist blanketing the forest.
Once the area is safe:
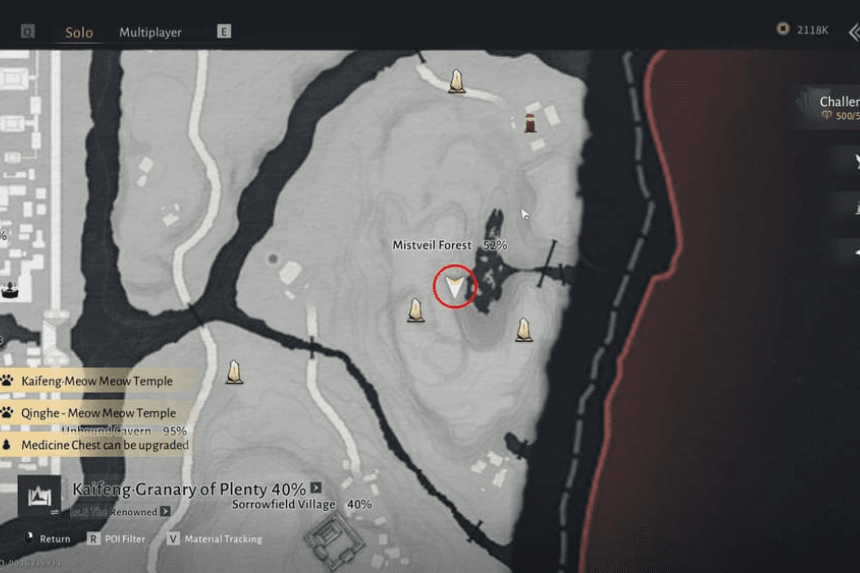
- Head to the prison entrance near Central Mistveil Forest.
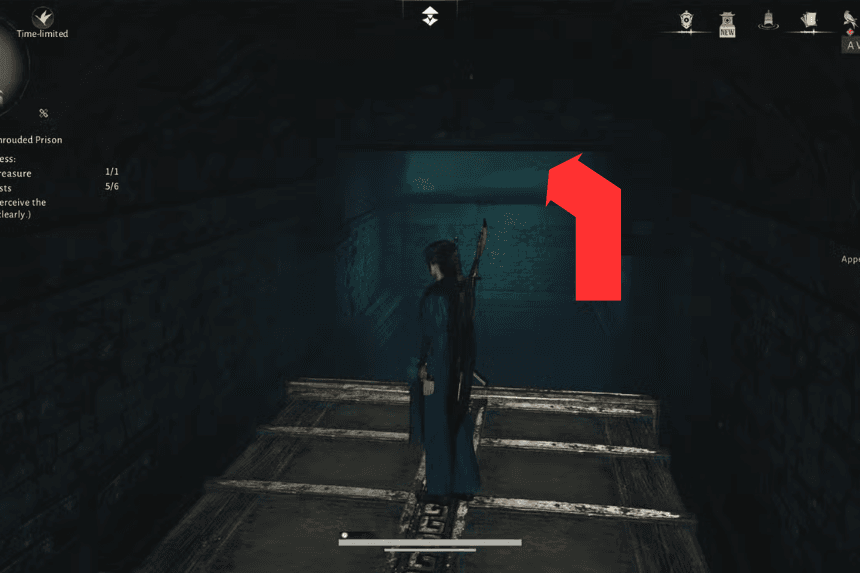
- Take the elevator down.
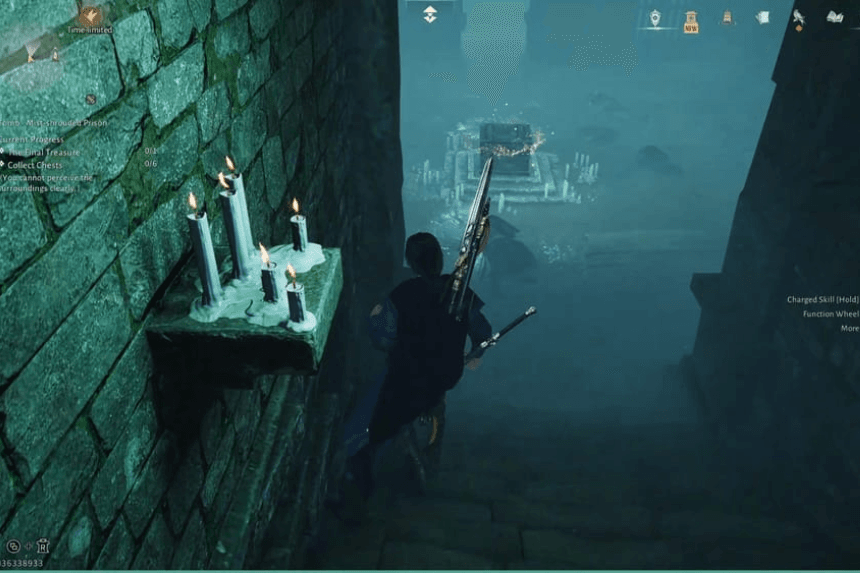
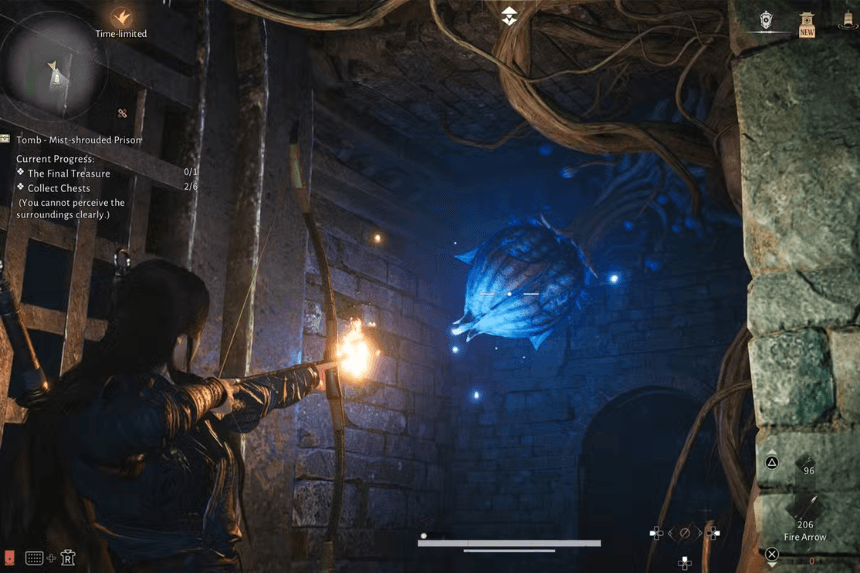
- Use a fire arrow to burn the blue flower bud blocking the entrance of the tomb.
From here on out, the actual challenge kicks in. The dungeon loops in three different variations.
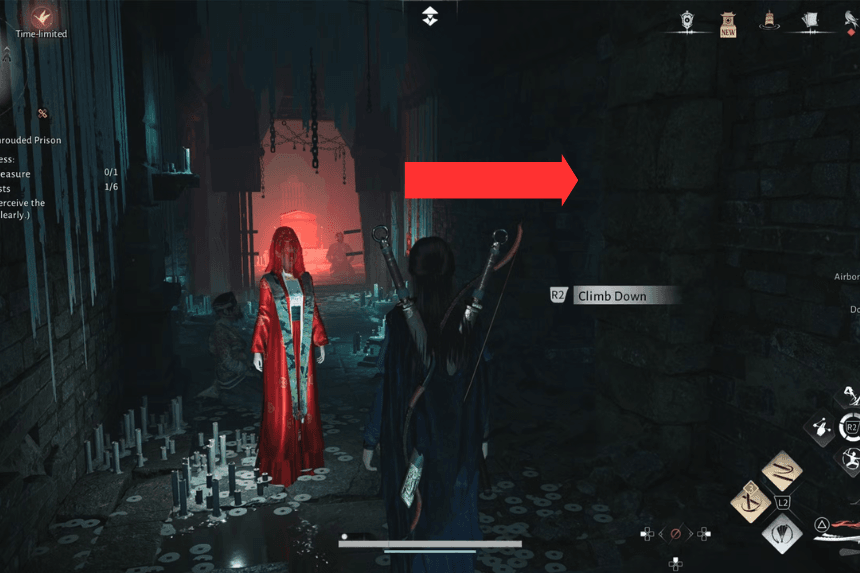
You are able to tell which loop you’re in based on where the mysterious red lady appears:
| Loop | Lady Rosa’s Position |
| Loop 1 | Inside the red room |
| Loop 2 | Standing next to the ladder |
| Loop 3 | In the corridor full of blue flowers |
Your goal is to complete all three loops, collecting six major chests and one final, hidden treasure.
Also Read: Where Winds Meet: March of the Dead Quest Guide
All Mist-Shrouded Prison Chest Locations
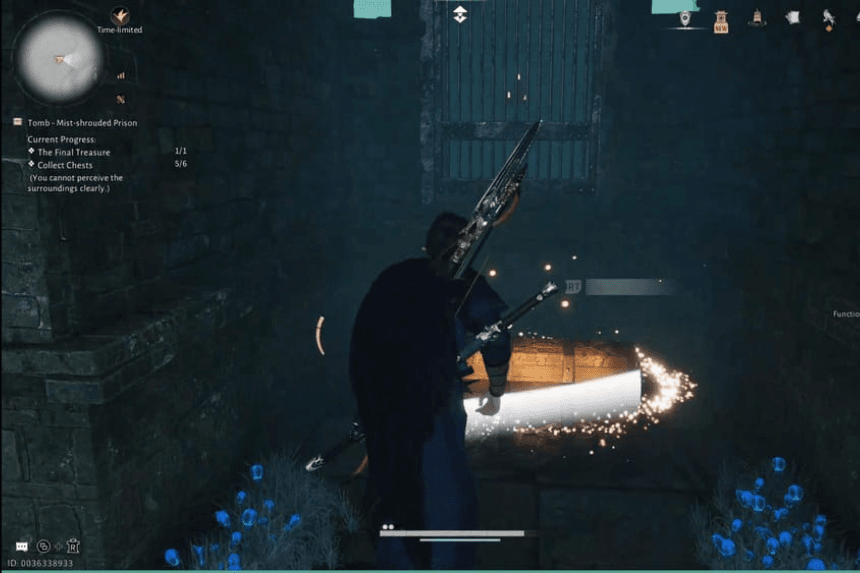
Chest 1
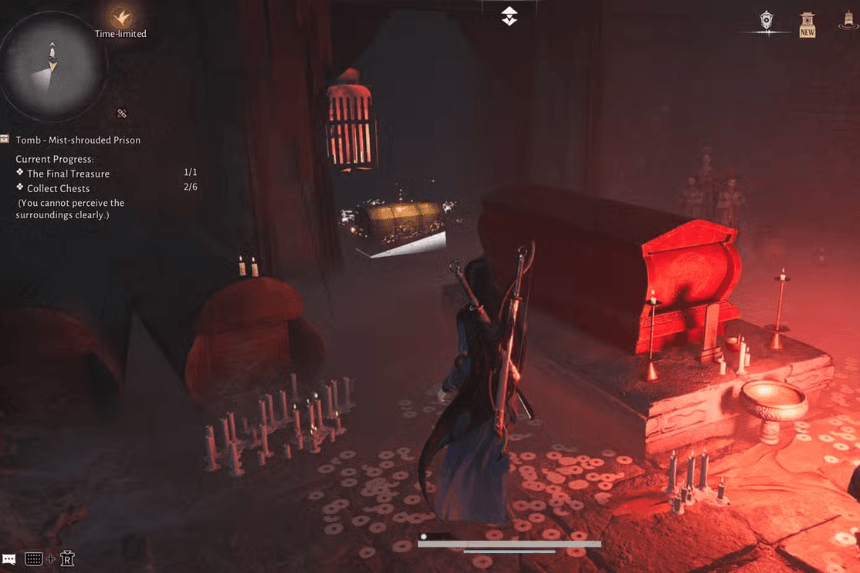
From the entrance, ignore the room that’s blocked by the blue-veined barrier. Go up the ladder on the left, head towards the red room, and inside you’ll find the first chest with the red lady.
Chest 2
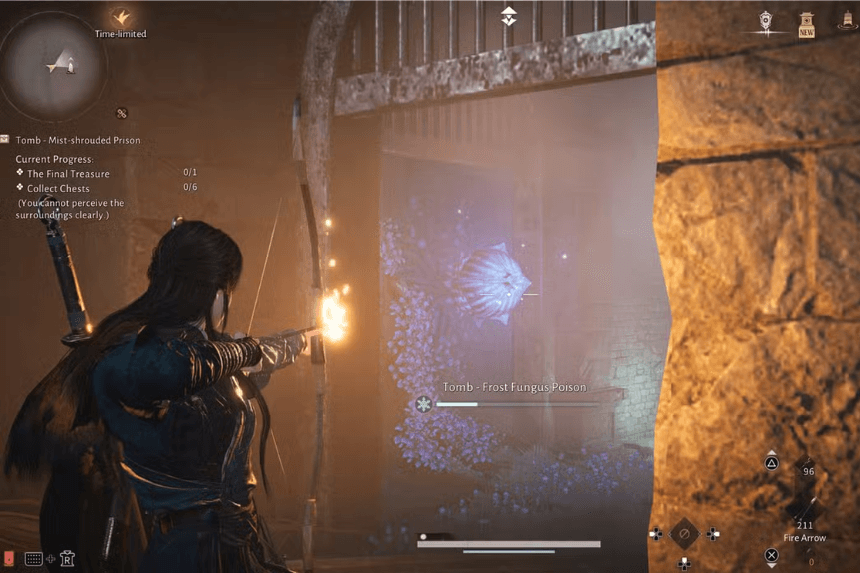
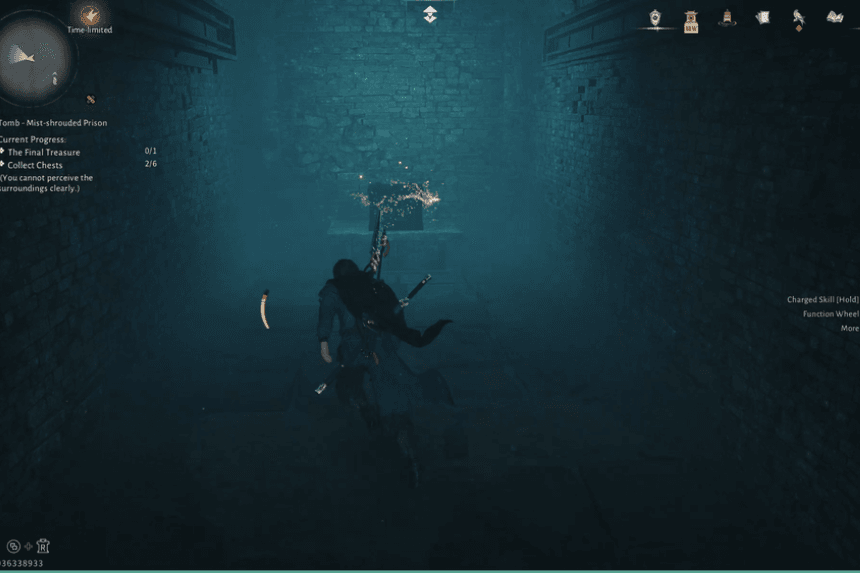
Head out of the red room and make your way down the corridor that applies Frost Fungus Poison. Push through it, shoot the blue bud across, and head forward until you reach the second chest.
Be prepared: it sets off a falling spike trap when opened, so better get the loot and move back fast.
Chest 3
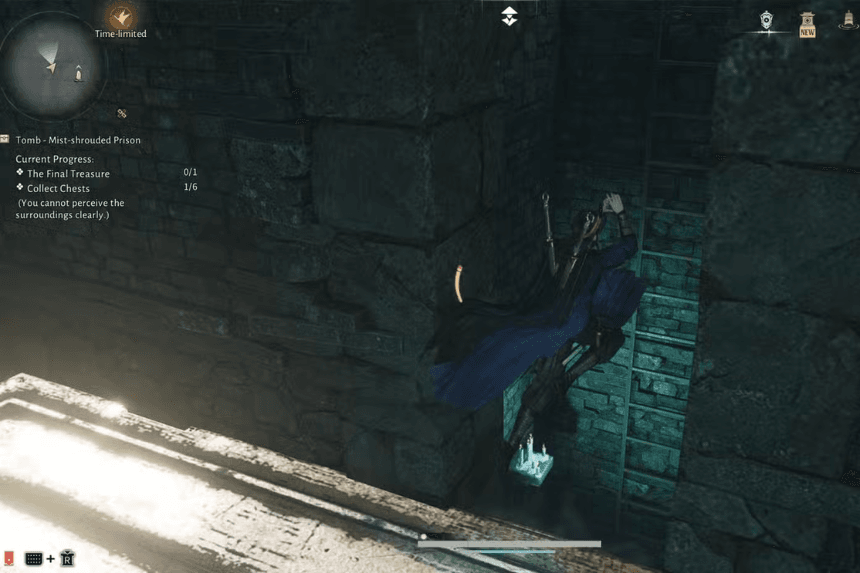
Place yourself on the rising-and-falling spike platform. When it goes down, jump onto it and turn left into a tight corridor. The third chest is waiting there.
Chest 4
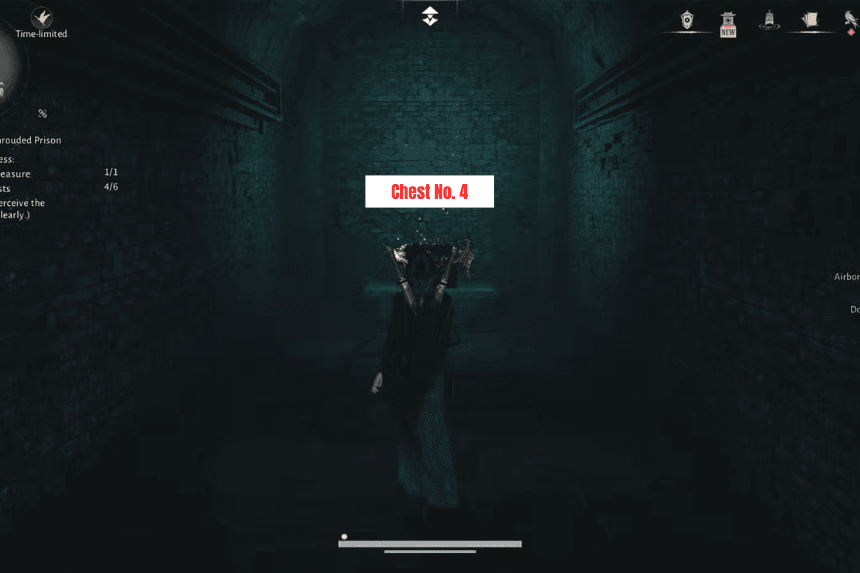
Ride the spikes again to the other side, and climb the ladder. Step on the pressure plate to trigger a horizontal spike trap. Return to the area with the entrance, follow behind the moving trap, and pick up the fourth chest before it resets.
Entering Loop 2 and Loop 3
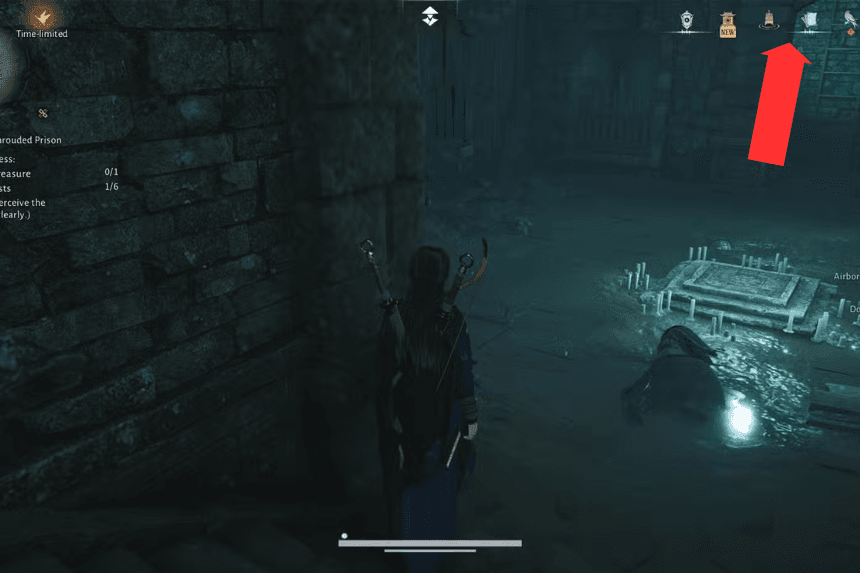
Go forward up and over the gates and drop down into what is by now a very familiar room. You are now in Loop 2, as confirmed by the red lady now standing near the ladder.
Climb up, through the same spike trap area, and raise the trap again at the pressure plate. Moving onward puts you into Loop 3.
You’ll know you’ve reached your destination when the red lady appears in the blue-flower corridor.
Chest 5
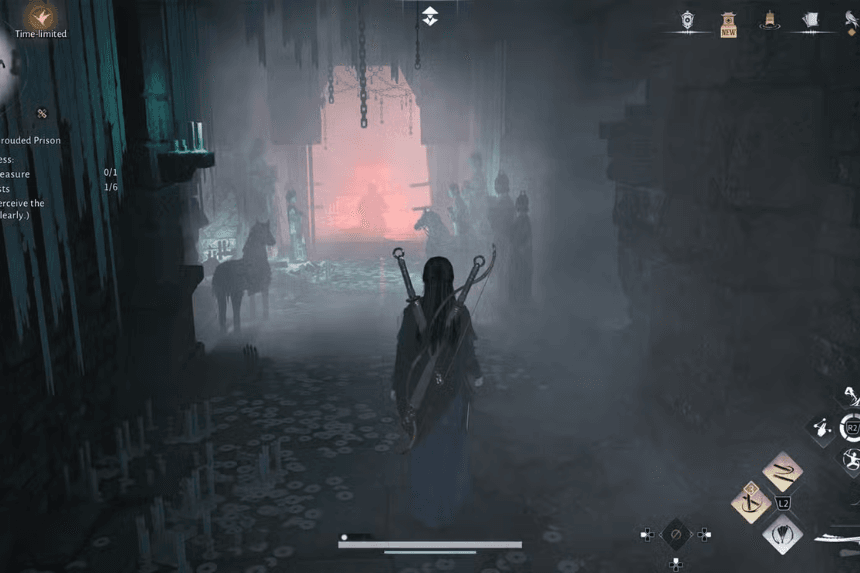
Loop 3: Climb the ladder, turn right into a corridor, and push through the poison again. You will reach the fifth chest.
Chest 6
Leave the hallway and shoot the next blue bud. Go forward into a room with a note on a table. From here:
- Look down the hole to the right.
- Wait for the horizontal spike trap from Loop 2 to align below.
- Drop onto it safely.
- Perform a jump while fighting the lurking enemy as the trap moves toward its edge.
- Loot the sixth chest.
How to Reach the Final Treasure Chest
With chest six collected, head forward and drop down the long shaft. You’ll end up near chest three from Loop 1.
From there:
- Return to the trap room in Loop 2.
- Climb up the spike trap once again, and look left for a small corridor.
- Hop in and fall down the next hole.
- Proceed down the spacious corridor and cut out the last blue bud using a fire arrow.
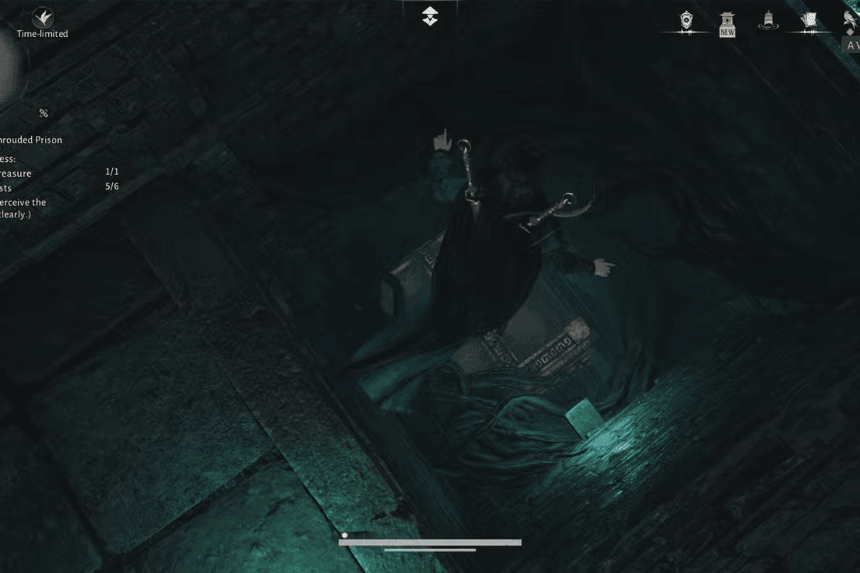
- Head back out through the gates to the starting room of the first loop.
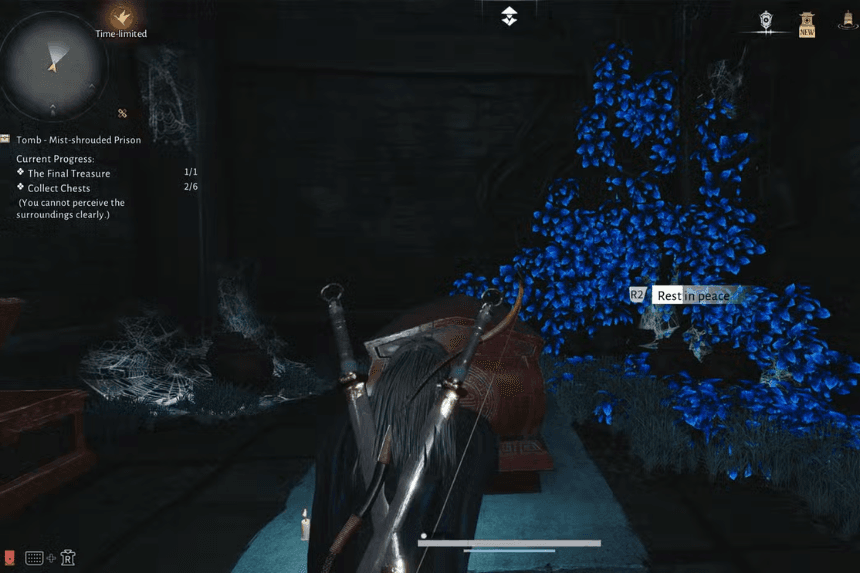
The door that used to have the blue veins on it is now open. Inside, head towards the back and you’ll find the final treasure chest. Interact with Rest in Peace to seal the tomb and complete the Mist-Shrouded Prison quest.