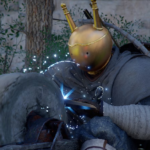
White Noise picks up right after completing Rat Catcher, a mission related to Stalker 2: Stories Untold. An intense assault involving mercenaries strikes your camp, and you must cooperate with your Scoutmaster to protect it. It’s a position-centric mission where you have to survive waves of enemy attacks using different weapons.
Below is a complete walkthrough that should assist you through this battle without much stress.
How to Start the White Noise Quest
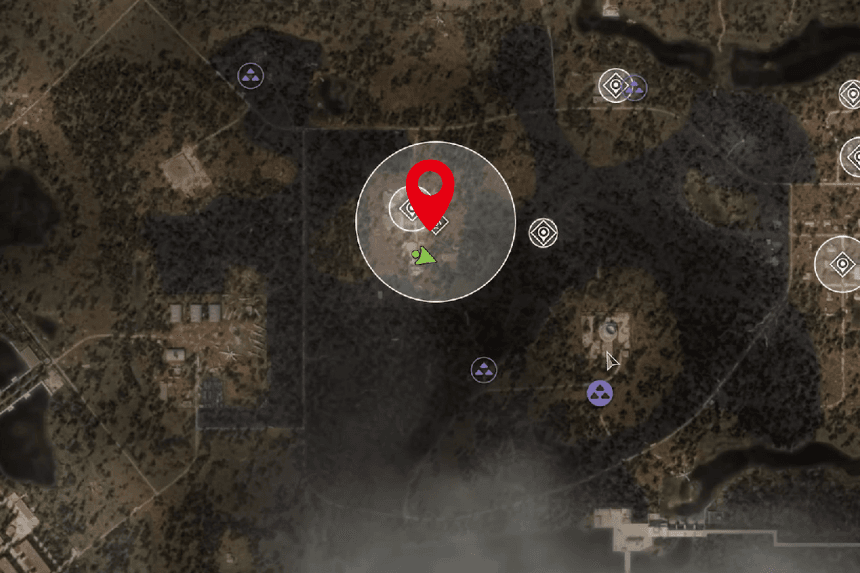
Once finished, the mercenaries from Skull will then attack your camp. The beginning of this quest will happen automatically as a part of the initial waves.
Clear out that original group, and then talk to the Scoutmaster. He will question you on what you would like to concentrate on in terms of defence.
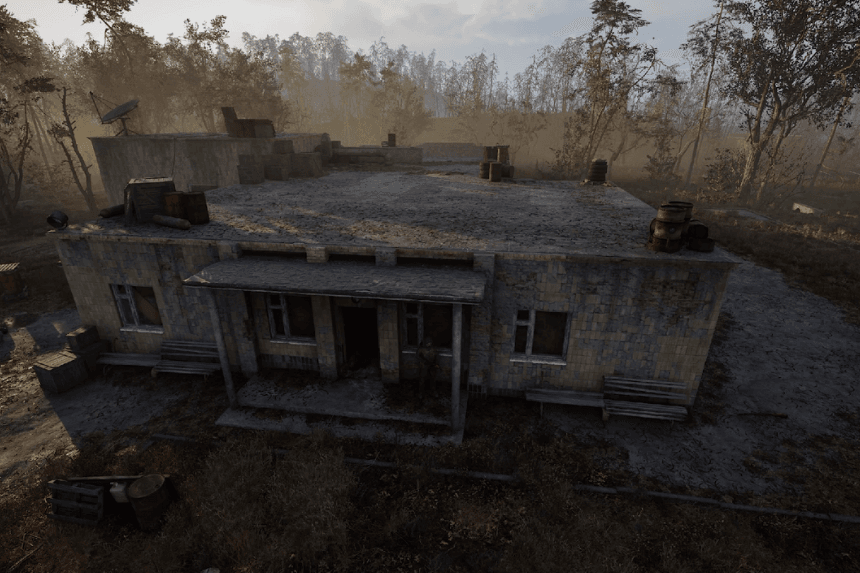
Selecting a Defensive Action
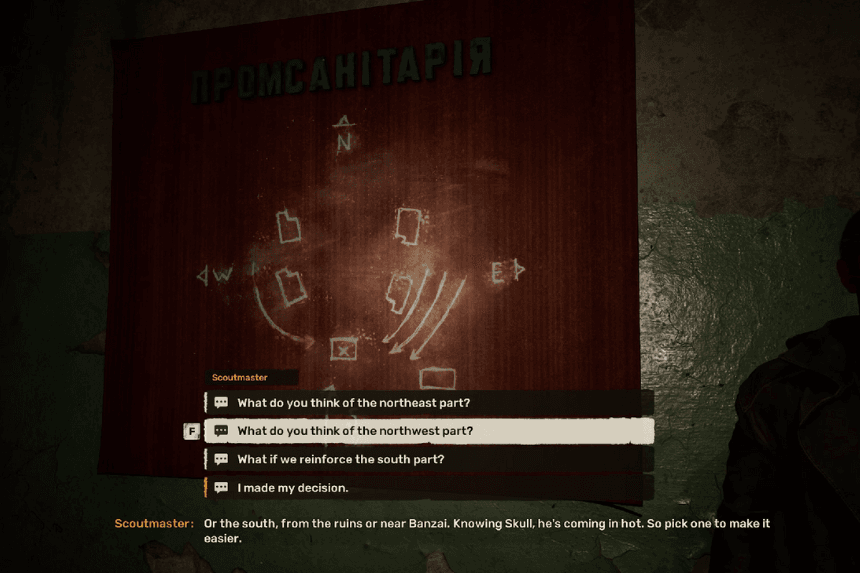
There will be three alternatives.
- South side of the camp
- North-west side of the camp
- North-east side of the camp
The north-west part is the best choice. It has the least fortified defences. Thus, the enemies will break into this part easily, even when you choose to overlook it. Additionally, this helps save the camp from being overwhelmed too soon.
The Scoutmaster will position himself on the roof, and he will tell you that if things get out of hand, you can climb up there to regroup or to help.
Selecting Your Weapon Loadout
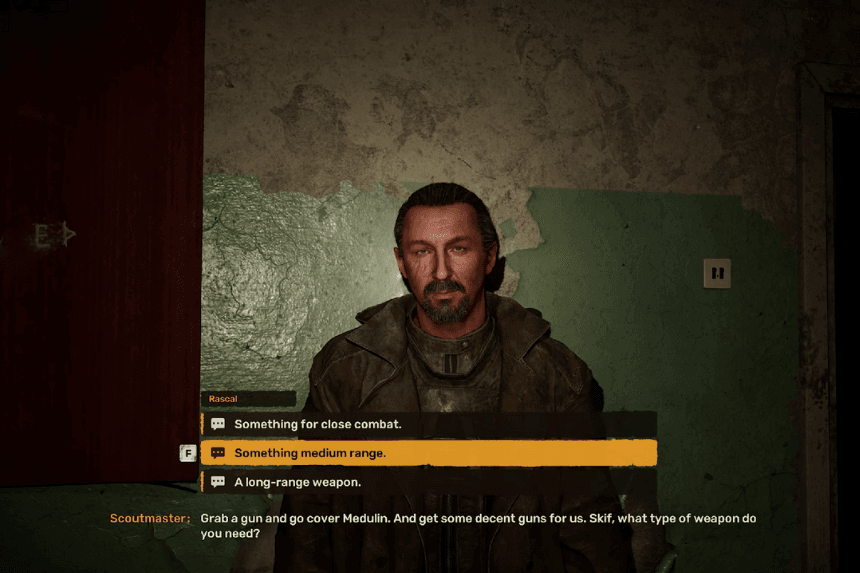
Then, the Scoutmaster asks for the type of weapon of your choice. This is dependent on the manner in which you wish to fight:
- Close-range weapon
- Medium-range weapon
- Long-range weapon
Once you have chosen your weapon style, Rascal will give you the choice between the local variant and the alien version of the weapon. Simply choose the one you can use.
If this is a nighttime attack, the Scoutmaster will also provide you with night vision goggles that work well for seeing enemies before they’re on top of you.
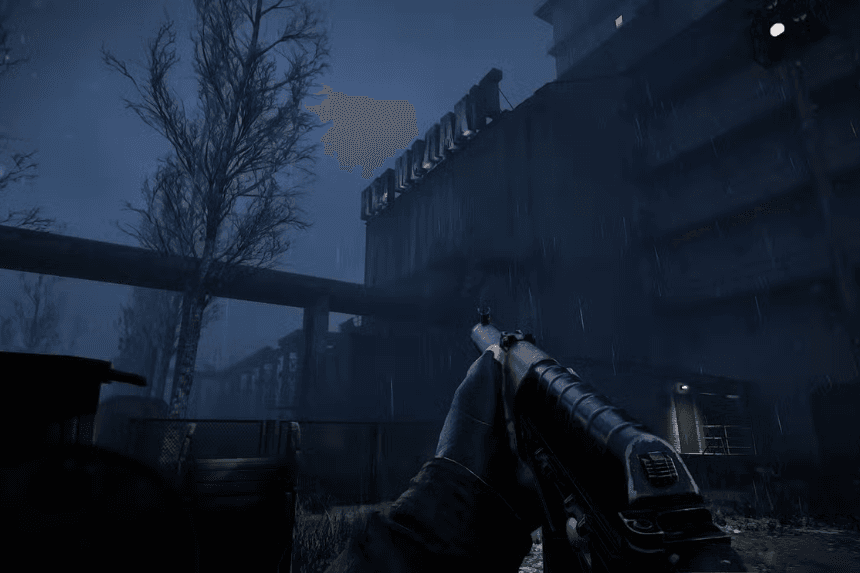
Defending the Camp
Once all that is settled, you’ll be asked to rest and prepare. When you’re asleep, the weapon of choice will be placed beside your bed.
Just as you take hold of it, the mercenaries attack.
During the fight:
- Use medkits quite frequently; make sure not to
- Often, change your position so that you don’t find yourself with your back to
- Whenever possible, use cover and elevation to conceal yourself from view
After battling through a few waves, you’ll have the option of changing the transmission frequency or keeping it the same.
This will not halt the battle, but will impact the events which will follow. Soon, the professor will ask you to switch on the generator. Quickly switch on the generator, since the principal mercenary force will soon arrive.
There are also zombies that you will have to remove near the camp until things calm down.
Assisting the Scoutmaster
When the fighting dies down, go to the roof to find the Scoutmaster. He’s hurt and requires medical attention. Heal him to progress through the quest.
Confrontation to Medulin
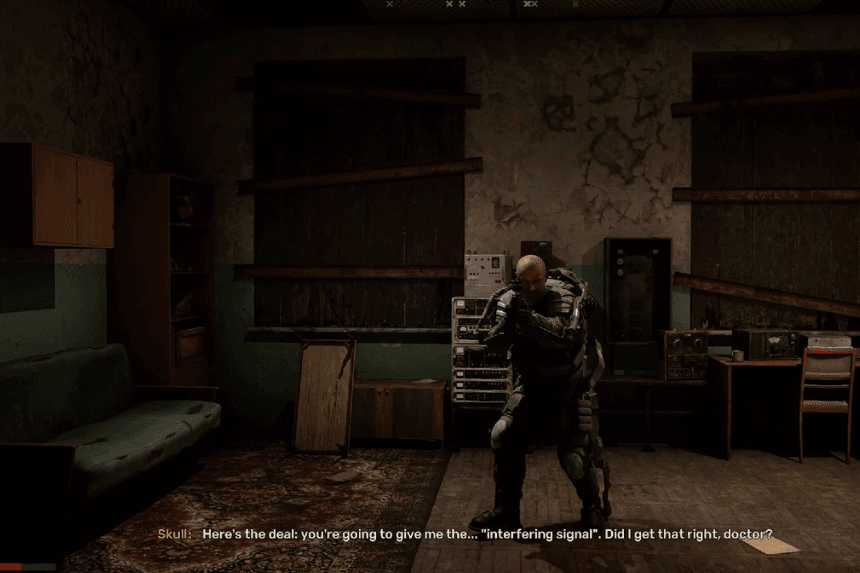
After the defence, travel to Medulin. In here, you’ll come across Skull, who demands the interfering signal. However, before you can make a decision, Rascal intervenes and challenges Skull.
It does not matter which choice you select; each time, Rascal shoots and kills Skull. Talk to Medulin afterwards to tie up any loose ends. This ends with a new hub being established inside the Zone, and this concludes the White Noise quest.