In StarRupture, there are many blueprints to find. Sometimes, you don’t know where to go to get the blueprints you need and that’s where this guide comes in. It will provide you with a comprehensive overview of all available blueprints and schematics for the game, covering everything from beginner to advanced crafting options that require keycards to unlock. With detailed directions and survival recommendations, you will efficiently unlock all crafting options while staying ahead of the curve when difficulty increases.
Story-Linked Blueprints

The four schematics available at launch are:
- Laser Emitter
- Scanner
- Pressure Tank
- Condenser
They are directly associated with the main story progression and will automatically be obtained as you move through the main storyline. These cannot be missed.
Early Game Blueprints
Stator Blueprint
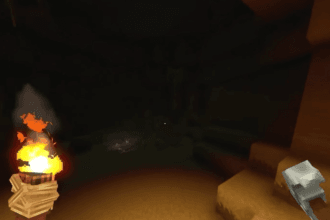
Griffith Research Outpost has the blueprint for the Stator. It is located near where you start; you will see it on a mountain near your starting point.

This outpost does not have a lot of enemies, making it one of the most secure locations in the game for finding blueprints. Go into the larger structure at the top, then use the stairs to reach the roof and jump across to the smaller building with the blue storage box. There you will find the blueprint for the Stator.
In this region, there are three dead bodies; there is one corpse located next to the blueprint crate, another corpse underneath a staircase with a hidden yellow chest, and lastly the third corpse is located in a building toward the back of the area and provides an ability called “LEM.” This ability reduces the stamina cost when using double jumps.
Rotor & Tube Blueprints

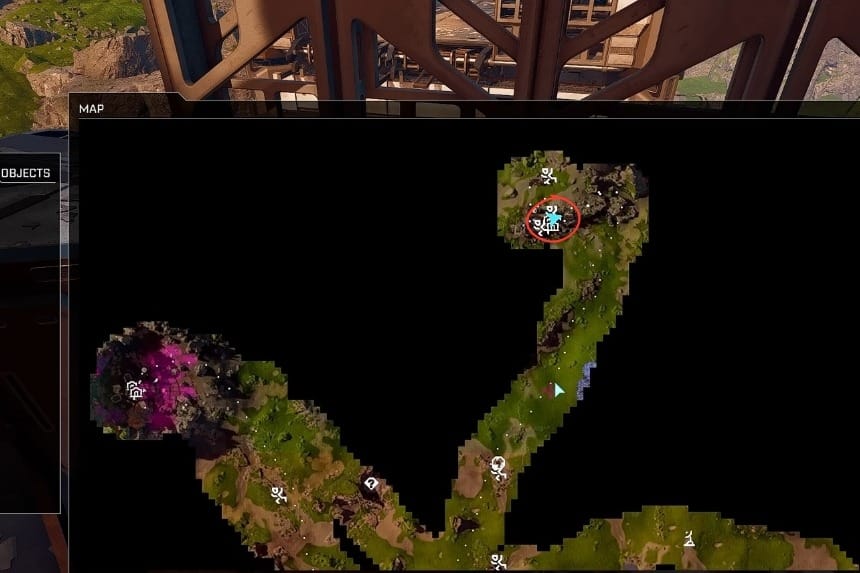
You will be able to access the Rotor and Tube blueprints at the Selenian Mining Base, northwest of the starting zone with its spawn clearly visible from the starting area. Use caution when traveling to this area because it has a large amount of alien enemies.
When you start out, your weapons will be limited to using the pistol, which makes it harder to engage with all the enemies in this area and survive. Moving around and drawing alien enemies away from the area, killing a few of them before going back to the base is the best tactic to avoid getting killed.
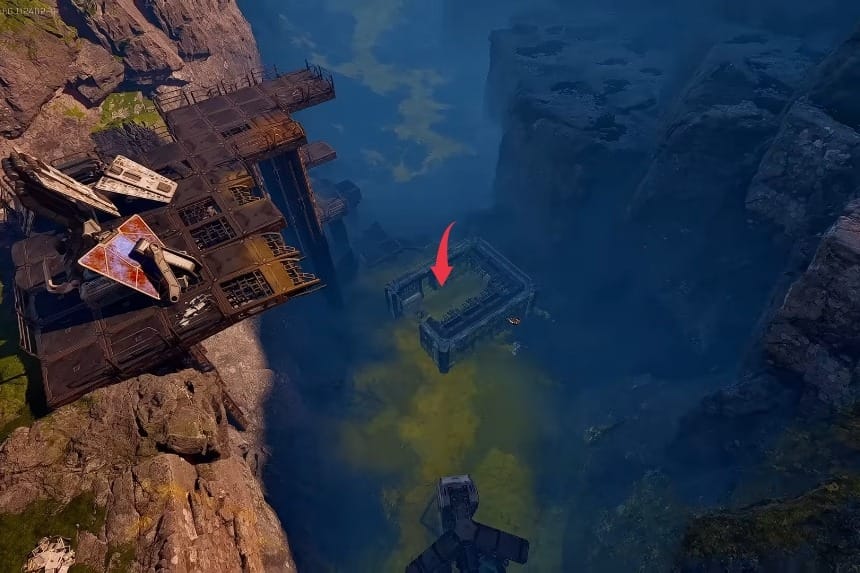
What you will be looking for is something that resembles the form of a broken satellite installation. The way into this structure is through a different route; you will need to go around to the back, scale the rock face behind, then access the interior via the ledge on the rear of the structure. Inside, you will find an unopened blue storage crate; every crate holds a blueprint.
Entering inside might start another wave of enemies, so be ready. While you’re in this area, loot everything you can. You will find many dead bodies with LEM upgrades (including increased stamina regeneration, increased shield capacity).
Mid-Game Blueprints
Synthetic Silicon Blueprint

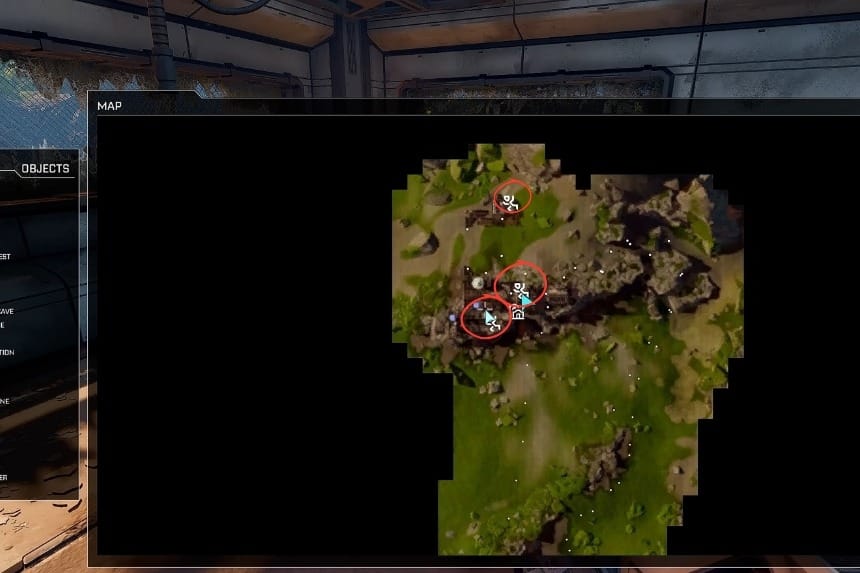
The Synthetic Silicon blueprint is also available inside the Griffith Research Outpost variant, which is also known as GRO Mythic Cry located just south of your starting position on the blue-tinted map.

The outpost has many similar features to those found outside of advanced locations: the enemies in this location respawn until all of the blue hive structures have been destroyed. Once you’ve found your way to the solar panel area at the top of this outpost, simply fall straight down into the building beside it, where you will see the blue blueprint crate.
You will also find three bodies located in this location, which includes one that will help to decrease natural calorie loss.
Follow the North path through the mountain gap near previously cleared areas to access the site. Follow this path uphill past the calcium resource and try to observe the faint blue environmental effects in the area.
Stabilizer Blueprint
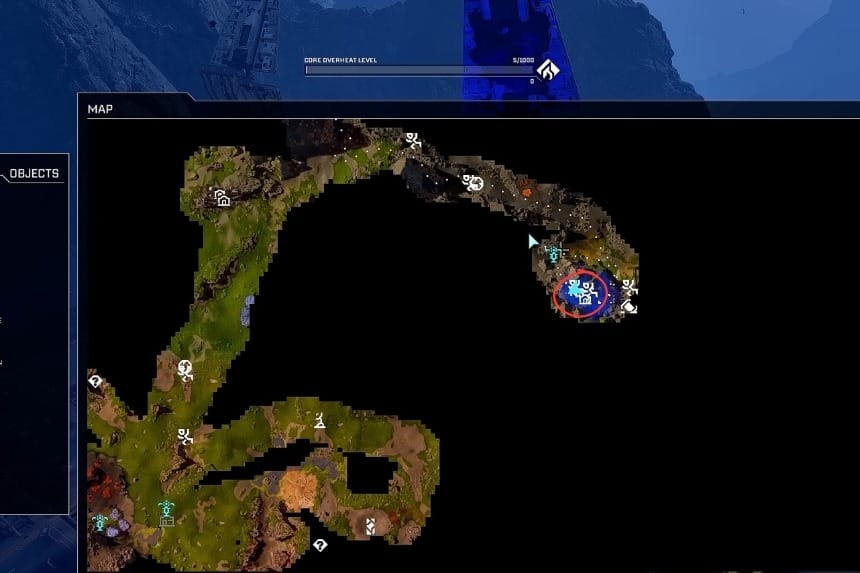
The Claywoods Research outpost has the blueprint to build the Stablizer in it. The outpost is located fairly close to the starting area but it does involve a fair amount of work to get there.

The blueprint can be found at the highest point of the very tall tower. This is easily identifiable by the blue storage container that is located at the top of the tower. There are no puzzles to solve to obtain this item, you just need to follow the path of platforms on the outside of the tower to get there.

Three dead bodies are scattered around the area:
- One near a ramp provides increased fog-of-war visibility
- One below the tower grants a consumable effectiveness boost
- The third is along the main path
From the initial point of departure, the quickest route to safety will take you towards the Geo Scanner, through a mountain pass, and then back up into the Tower area.
Note: This Outpost has blue hive structures that constantly generate enemies – you must destroy them to be able to access the Outpost and loot it safely.
Electronics Blueprint

On the far western area of the map lies the Electronics Blueprint and a Rotor Blueprint, which makes this area worthwhile for inventory purposes.

Even though the area doesn’t have a lot of security at the location of the blueprints, it has a lot of roaming enemies throughout the area. The blue storage crate is located in a structure that is part of the cliffs.
After leaving the starting point, travel north into the Starry Night area, pass between two mountains. Follow this route to get to the peak with a yellow tinted top. Then take left and go up until you find the Geo Scanner. Once you reach the summit go down through the gully to find the blueprint.
Late Game Blueprints
Hardening Agent Blueprint
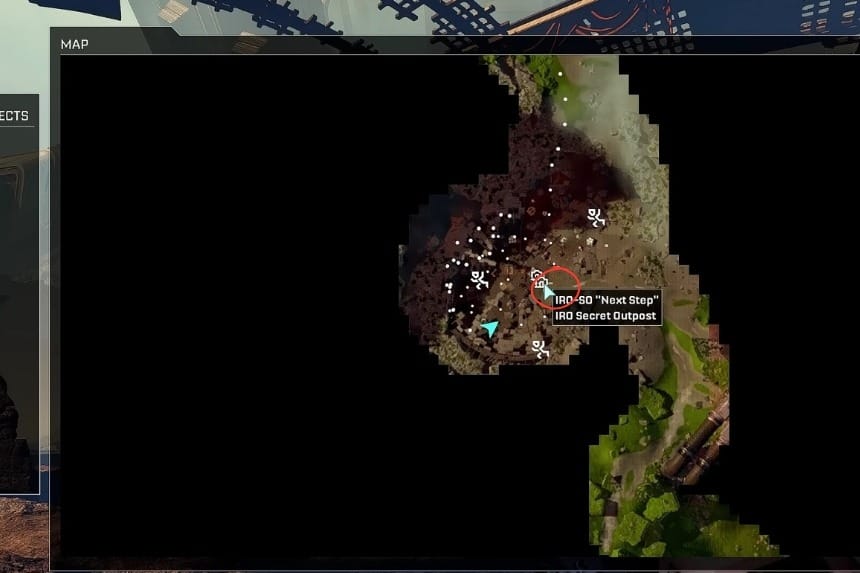
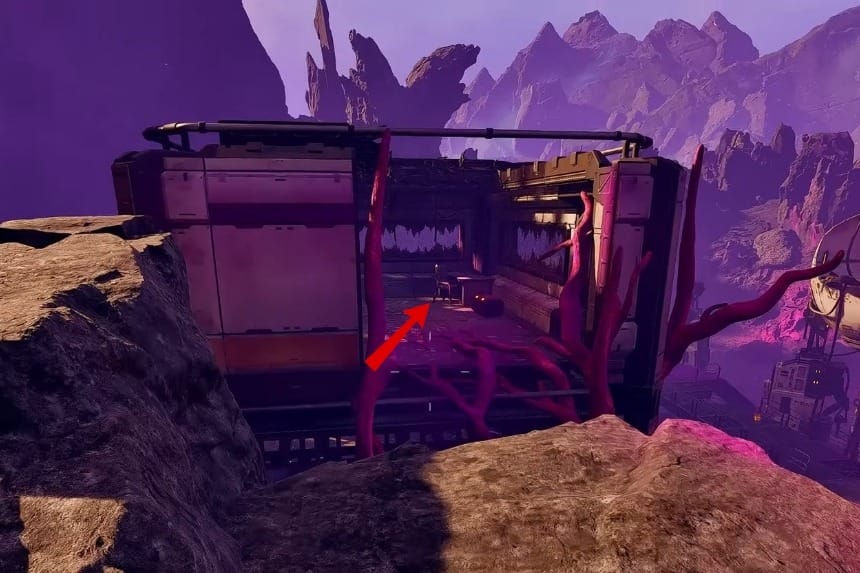
The Hardening Agent blueprint can be found at the ‘Next Step’, or IRO Secret Outpost, situated at the bottom of the huge central structure.

This is one of the hardest areas to obtain a blueprint, as it may spawn 100-150 enemies at any time. For reduced difficulty significantly, attempt it during a rupture.
To reach the rear of the outpost, go inside first. There will be a blue storage crate containing the blueprint for a Hardening Agent located there as well as many other containers. A vast array of valuable items can be found within this area. Therefore, take your time when searching through this part of the outpost.
Chemicals Blueprint

Clever Robotics Research Outpost – Spor Rock, which is located far to the right on this game’s map, has mid-to-endgame blueprints.
After you’ve ruptured the outpost, you should go in there as a team because there will be many dense groups of enemies like Goliaths. Also, you can collect a lot of dead bodies for loot after the enemies have died and all spore structures will need to be destroyed so that the enemies do not respawn.

Travel towards east from the point of origin in a mostly straight line toward the centre of the central structure. It has a large blue water area with a bluish aura surrounding it which marks it out as the correct target. The outpost is relatively small and sits at the top of a mountain.
The safest route will involve following alongside the mountains with higher elevation to avoid concentrated enemy areas, navigating through the Geo Scanner, below the Ark, and moving through the liquid-filled zone before arriving at the outpost and getting the blueprint.
Endgame Schematics (Keycards Required)

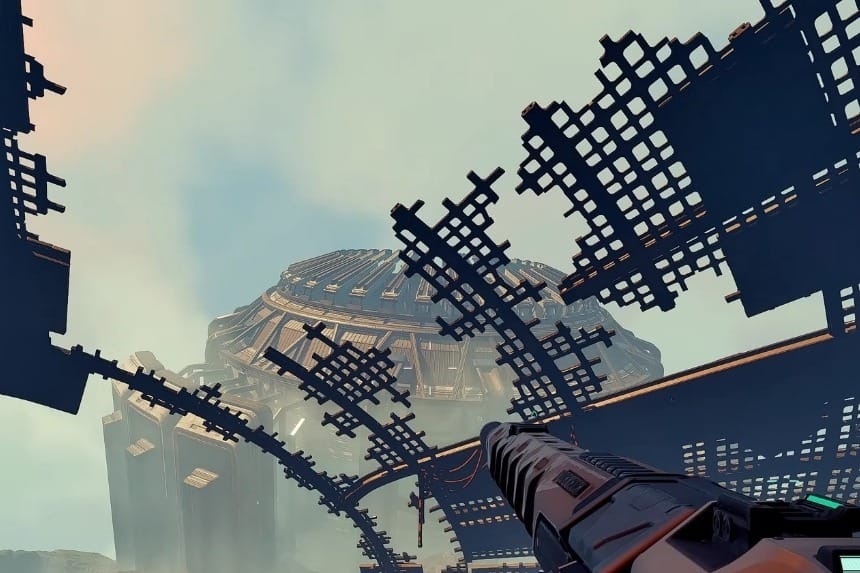
There is a three-keycard system located in a satellite facility “Red Leaf”, which has a very large satellite dish, situated in the far northeastern area on the map. This area houses several of the last non-story schematics, as well as the items necessary to progress through the endgame. It would be beneficial to establish a small outpost close to this area.
Keycard Collection Order
In order to find the keycards, you must follow the sequence below:
- The Red Leaf Override Access Card is located at the second building in the center of the satellite complex.
- Dr. Ellis’ Keycard is located in a red-marked building, where it can be found resting on a table.
- Dr. Diaz’s (or Perkins’) Keycard is located in a blue-marked building on the other side of the satellite complex; you will have to use a ladder to access it since it is housed within a locked building that holds the last keycard.
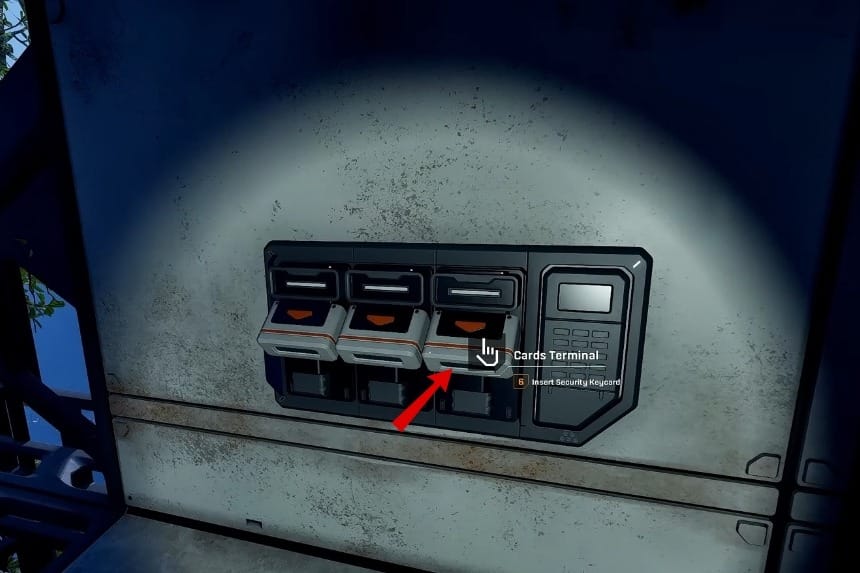
Once you have collected all three keycards, make your way back to the central structure of the satellite complex, and use the keycards on the console located within this structure (do not use the cards on the door). It is easy to overlook this step; once you have completed this step, you will unlock the schematics for: Valve, Hardening Agent; Turbine; and Electromagnetic Coil.