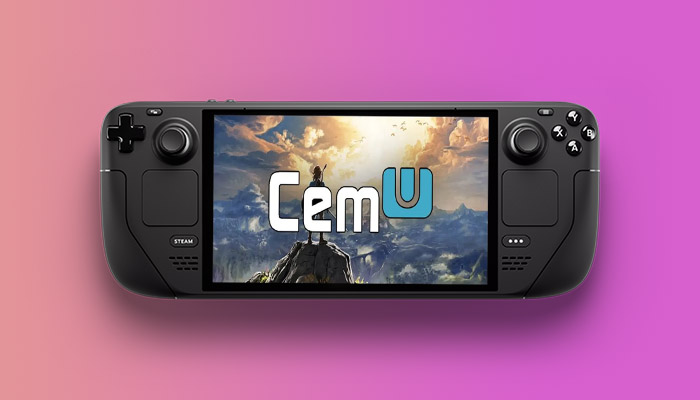
Steam Deck supports various emulators, but some of them still haven’t made it to the official list. In this guide, we will see how to install the CEMU emulator used for Wii-U on Steam Deck.
How to Set Up Wii-U (CEMU) Emulator for Steam Deck
CEMU is one of the few emulators not yet available on Linux for Steam Deck, so it makes installing it a bit of a tedious task. But not all hope is lost, as you can directly download and install it on your Steam Deck instead of going through the coding process in Linux. Here we will see how to go about getting the CEMU emulator for Steam Deck.
To install CEMU for Steam Deck, there are a few steps you will have to go through.
- On your PC, open the internet browser and download the emulator from the official CEMU – Wii U Emulator website.
- After it is done, go to the downloads folder and find the CEMU file. Extract the file into your preferred folder.
- Open Desktop Mode on Steam Deck and click on the + button found on the bottom left. Select the option for Add a Non-Steam Game
- Click on Browse > click on the drop down menu on top > select ‘/’ > double click on home > deck > folder containing the CEMU emulator
- Under File Name, input CEMU.exe. Open the file to run it
- Next, go to Steam Library > Settings > Properties > Compatibility > tick the box for Force Use Proton
- Close Properties Window
To change Steam Deck Controller Settings for CEMU
- Go to Desktop Mode in Steam Deck
- Go to Library > CEMU > Controller Layout
- Tick mark the Typical Gamepad Bindings option
- Click Play
- Once CEMU starts, go to main menu > Options > Input Settings
- Emulated Controller – Wii – U Gamepad
- Controller – Xinput
- Save Settings
While this may seem like a lengthy process, you won’t have to keep doing this forever, as the CEMU emulator will be open-sourced and will work in Linux soon. There is no ETA of when this is supposed to happen, but once it does you will be able to play through CEMU natively for Steam Deck.