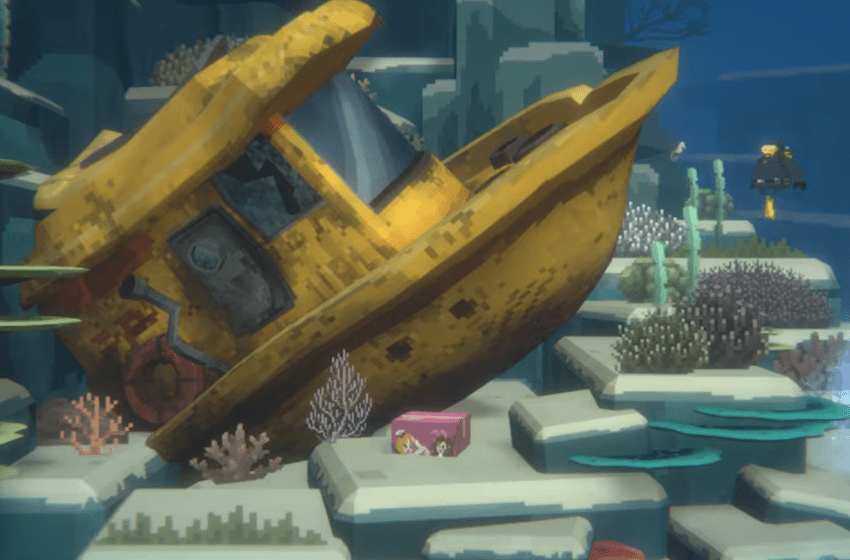
Strangelings are a very significant feature of Fantasy Life i: The Girl Who Steals Time. These living objects can be returned to their human forms and taken with you on your adventure as companions to help with crafting, gathering, and battle. Discovering Strangelings, particularly for some Lives, can be pretty tricky because there are so many various locations to explore in Fantasy Life i.
Fortunately, most of the Strangelings in Fantasy Life i have guaranteed spawn points, so you can bypass directly to certain Shrines in Ginormosia or finish some quests to unlock the buddies which you require. It’s challenging to make the best recipes or reap the best rewards from legendary gathering nodes by yourself, so you’ll need a team of Strangelings to support you as you progress in Fantasy Life i: The Girl Who Steals Time.
Location of All Strangelings in the Game
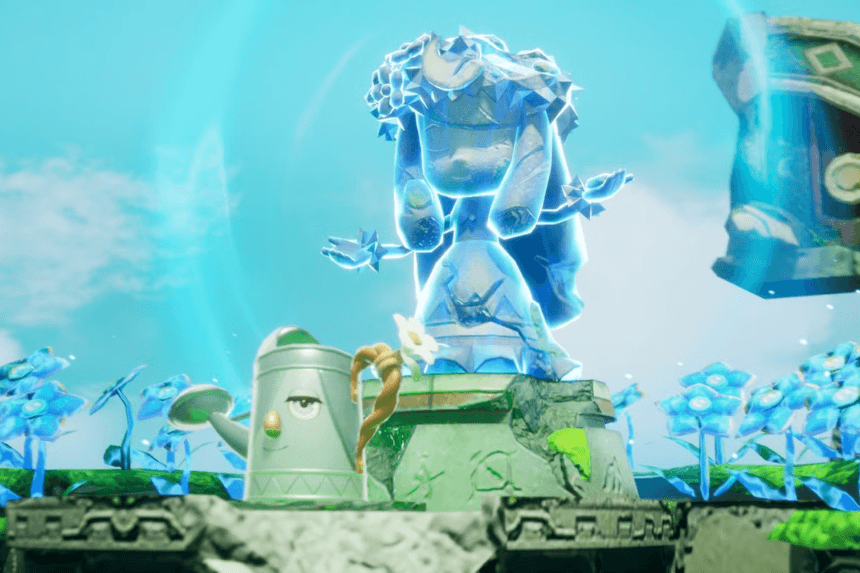
There are 49 Strangelings to find in Fantasy Life i: The Girl Who Steals Time. There is a majority of them that spawn in fixed locations either within Ginormosia Shrines or as rewards for quests from specific NPCs, but there are some that are random drops of boss enemies.
| Strangeling | Life | Location |
| Secretive Mask (Sophie) | Alchemist | Random Drop |
| Big Ol’ Bomb (Flamel) | Alchemist | Complete 3 requests for Pyroscoe at Panther Preserver in Moltana Wastes. |
| Lovey-Dovey Lamp (Alchemist) | Alchemist | Wur’ii Shrine in Fansgshore Isles |
| Graceful Carp Banner (Teruha) | Angler | Found on a small island off the eastern coast of Drakeseye Valley. |
| Angler’s Hood (Isaac) | Angler | Fan’ni Shrine in South Greatgut Plains |
| Old Man Anchor (Ahab) | Angler | Complete 3 requests for Terrapapa in Fangshore Isles. |
| Big Brother Bust (Pierre) | Artist | Ree’life Shrine in Wingtip Valley |
| Shaman’s Painting (Meime) | Artist | Complete 3 requests for McCowing at Buffalo Base in West Greatgut Plains. |
| Graceful Fan (Kikyo) | Artist | Obtained during Chapter 5 of the main story. |
| Quirky Hammer (Magmia) | Blacksmith | Found at the end of Agekara Cave in Wingtip Valley south of Gela’shi Shrine. |
| Fresh-Faced Helm (Ian) | Blacksmith | Random Drop |
| Blue Demon’s Tile (Bray) | Blacksmith | Happi Shrine in Drakeseye Valley |
| Odd Dresser (Kunugi) | Carpenter | Obtained during Chapter 2 of the main story. |
| Cash Cat (Comel) | Carpenter | Complete 3 requests for Haniwendy at Haniwa Hamlet in East Dryridge Desert. |
| Fluffy Beaver Doll (Cherry) | Carpenter | Dahl Shrine in Crickneck Canyon |
| Snacky Pie (Nommie) | Cook | Random Drop |
| Cook O’Lantern (Chakpo) | Cook | Found at the farms in Viridia Plateau. |
| Royal Yummy Stew (Allan) | Cook | Thril’ah Shrin in Drakesnout Range |
| Scarecorn (Roissin) | Farmer | Found on a large island between Wingtip Valley and Shroomhaven. |
| Leafy Watering Can (Pino) | Farmer | Obtained during Chapter 4 of the main story. |
| Little Brother Bust (Butch) | Farmer | Glehd Shrine in Pettlewing Woods |
| Homely Flower Basket (Leilah) | Hunter | Found in the middle of a lake southeast of Simian Settlement in Shroomhaven. |
| Corny Bottle (Jerry) | Hunter | Random Drop |
| Breezy Weathervane (Hawke) | Hunter | Het’rud Shrine in Shroomhaven |
| Bereted Target (Fern) | Hunter | Gela’shi Shrine in Wingtip Valley |
| Sleepy Pillow (Sloane) | Magician | Random Drop |
| Witch’s Broom (Hazel) | Magician | Found by a palm tree on the southernmost mountain in West Dryridge Desert. |
| Maajik Daemon Statue (Daemon) | Magician | Complete 3 requests for Gonk at Beetle Borough in Crickneck Canyon. |
| Fortune Cat Doll (Colin) | Magician | Angar Shrine in Viridia Plateau |
| Elegant Icewolf Statue (Cliff) | Magician | Wav’yu Shrine in Moltana Wastes |
| Snowy Idol (Snow) | Mercenary | Eeg’ah Shrine in West Greatgut Plains |
| Plushling Lady Doll (Rouge) | Mercenary | Random Drop |
| Dragonslayer’s Sword (Glenn) | Mercenary | Obtained during Chapter 6 of the main story. |
| Black Wolf Doll (Fang) | Mercenary | Found in Wyrmtail Cave in East Dryridge Desert northeast of Googlbert’s Tower. |
| Cold Crystal (Sylvia) | Miner | Lun’li Shrine in Scorchrock Mountain |
| Cherry Wheat Juice (Grantz) | Miner | Random Drop |
| Sturdy Wheelbarrow (Duglas) | Miner | Obtained during Chapter 3 of the main story. |
| Pirate Princess Flag (Olivia) | Paladin | Random Drop |
| Black Knight’s Sword (Odin) | Paladin | Sker’ri Shrine in Viridia Plateau |
| Mustachioed Helmet (Mustang) | Paladin | Besh’fal Shrine in East Greatgut Plains |
| Free-Spirited Cap (Laura) | Paladin | Sed’nas Shrine in East Dryridge Desert |
| Knight Flan (Jake) | Paladin | Complete 3 requests for Primasilea in Simian Settlement in Shroomhaven. |
| Easy-Going Shield (Hilda) | Paladin | Random Drop |
| Wholesome Yarn Basket (Taylor) | Tailor | Random Drop |
| Wooly Chair (Shea) | Tailor | Found on a small island in the lake in East Greatgut Plains. |
| Dandy Bat Hat (Klaus) | Tailor | Bit’ah Shrine in Drakeseye Valley |
| Country Wood Pot (Orlando) | Woodcutter | Found at the campfire next to some boxes on the southern coast of Drakesnout Range. |
| Soothing Basket (Monika) | Woodcutter | Ba’reng Shrine in South Greatgut Plains |
| Hefty Bear Carving (Bearheart) | Woodcutter | Faan Shrine in Crickneck Canyon |
You can pick up any of these Strangelings along the way through the main story of Fantasy Life i, as there are no restrictions on exploration in Ginormosia. Just watch out if you’re looking for a Strangeling in a high-level zone, as there is no level scaling. Not every one of the Shrines does have combat challenges, though, so you might not need to level a combat Life at all.
