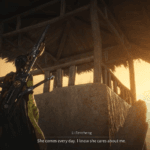
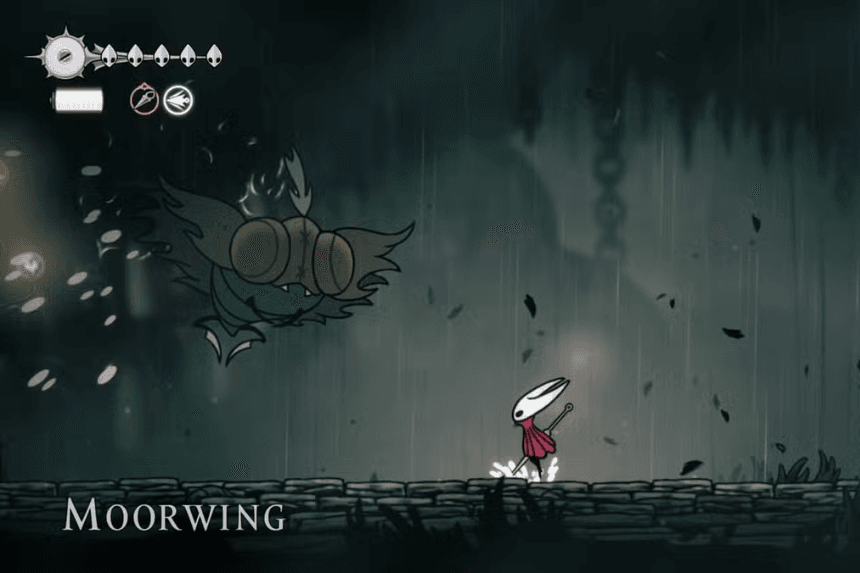
Once the Drifter’s Cloak has been obtained in the Far Fields, players must make an important decision: head towards Hunter’s March in the hopes of finding the Beast Crest or seek the dangers of Greymoor. Those who opt for the latter will find themselves up against a lethal enemy in the form of Moorwing, a crazed mite beast with a flurry of piercing, debilitating attacks.
This is one of the more challenging first-game battles, but must be mastered if you want to continue into Bellhart, where the silk curse has bitten.
How to Find Moorwing and Prepare
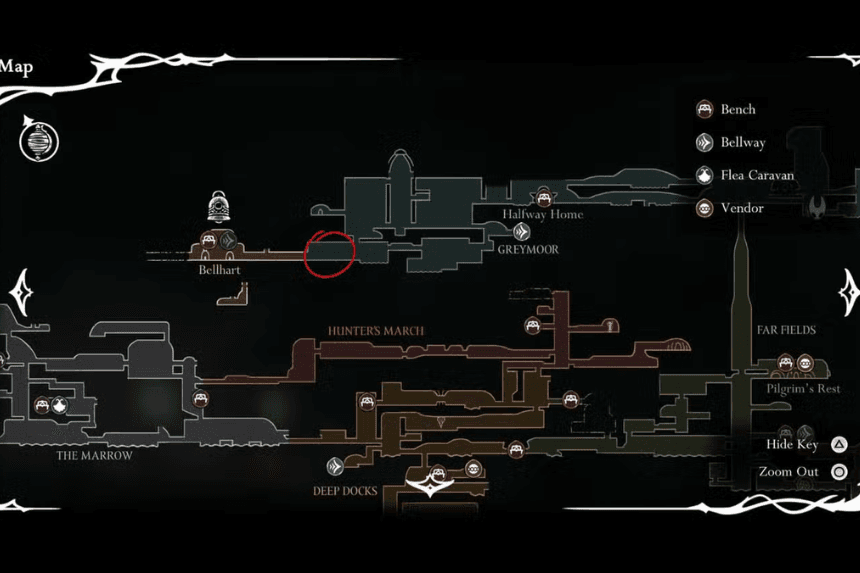
Moorwing is located in the lower-left quadrant of Greymoor, an area comprised of flying insects and scissors-and-trident-wielding enemies, and other nasty implements. Simply surviving this portion might test your patience.
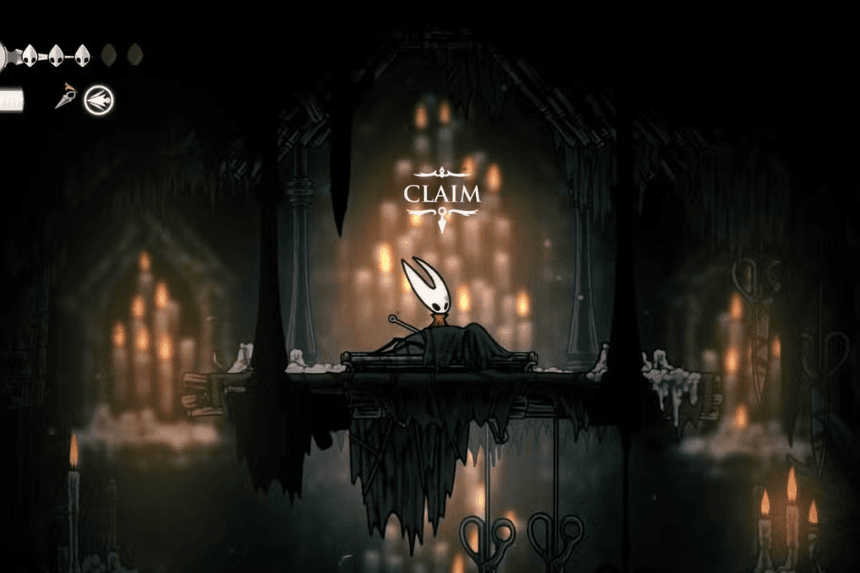
Prior to heading off to Moorwing directly, it is worth taking a side trip into the Reaper’s Chapel, just above his den. There lies the Reaper Crest, a metamorphic item for this fight, which gives Hornet additional sustain through its Bind special effect.
For best preparation, rest at central Greymoor’s Halfway Home. This is a longer runback, but it allows you to have Tools that have synergy with the Reaper Crest. Equipping something like the Straight Pin or Warding Bell, and socketing further Memory Lockets if available, will greatly ease the battle.
Moorwing Boss Fight Strategy
Phase One
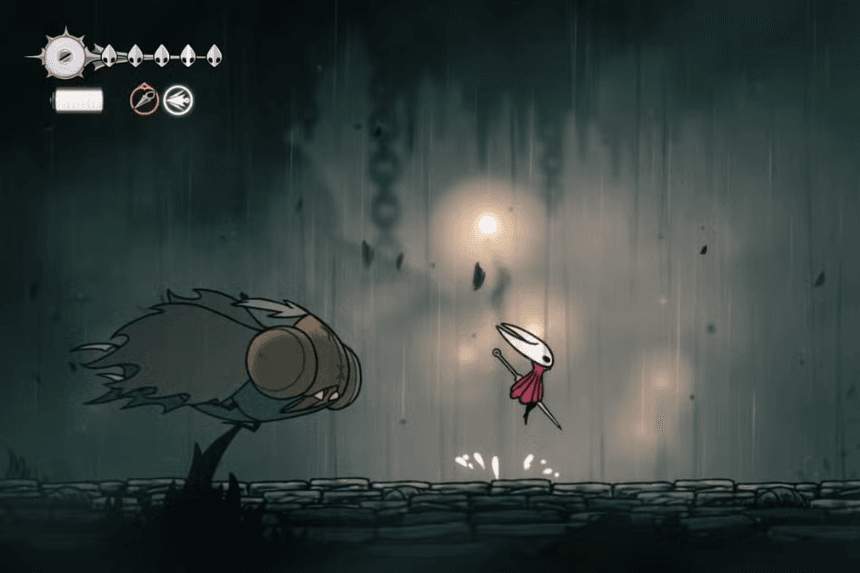
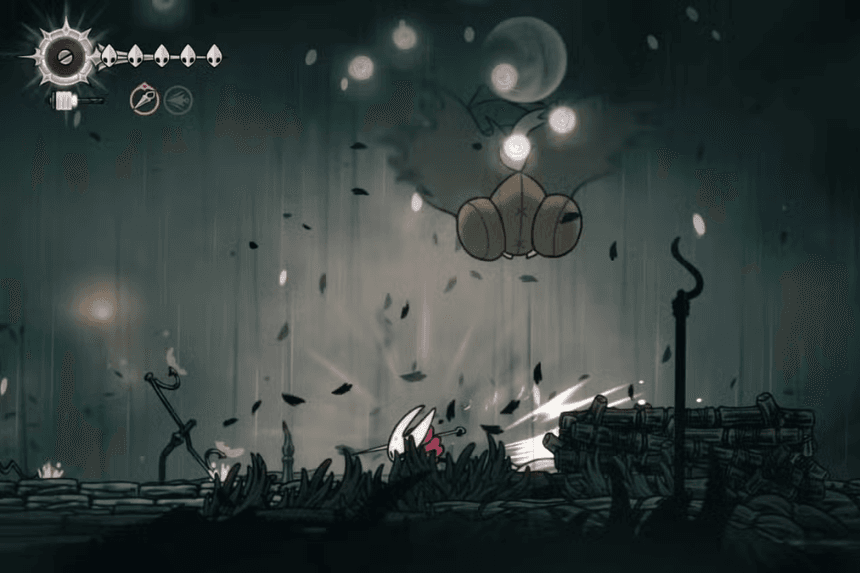
The early portion of the battle is simple, because of the spacious arena. Moorwing primarily comes in cycles on three attacks:
- Swooping Dive: Rapid gliding across the arena. It is a good place to pogo on its back and deal constant damage.
- Piercing Flurry: Lunge forward and then immediately thrust with stingers quickly in a flurry. This is deadly because both hits have two masks of damage. The best thing to do is run away the moment you see it setting up this attack.
- Bladed Projectiles: Moorwing rolls out blades on the ground that are telegraphed easily but punishable if not read properly, and they have huge damage.
Chip away patiently, don’t overextend, and wait for the moment when Moorwing lets loose a deafening scream — the signal for Phase Two.
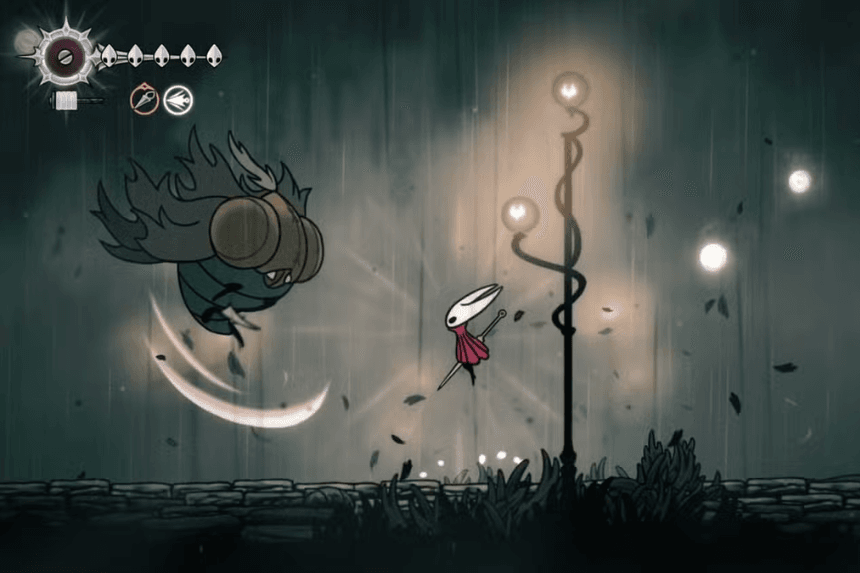
Phase Two
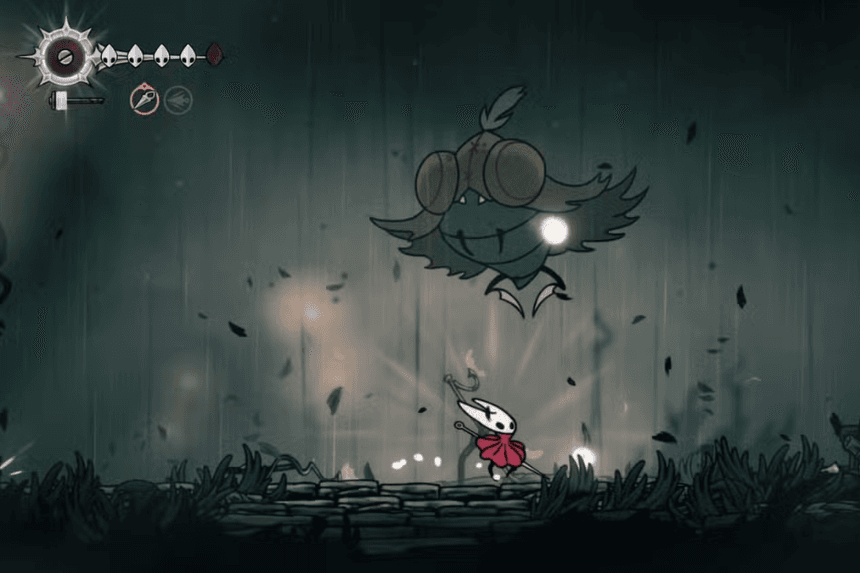
Having been staggered twice previously, Moorwing steps up the fight with more aggressive patterns and overlapping projectiles. Blades pack the arena with razor-sharp reflexes and strategic positioning required to overcome it.
- Dual Ball Attack: Moorwing raises its stinger and launches two projectiles arcing out in front then crossing under. Time a jump away from both at the point of overlap, or step back to avoid the arcs entirely.
- Amplified Projectile Barrage: Its standard ball attack now fires two at once, one curved back in an arc after passing by. Short, little jumps are safest to handle this pattern while keeping an eye out for the return blade.
The task of the fight is reading these patterns, parrying consistently, and punishing on recovery windows. The Reaper Crest is worth it for this: every Bind generates silk orbs across the arena so you can rapidly recharge silk and get additional heals in. Play this aggressively following binding, chain offense into recovery to stay ahead on damage.
Rewards for Defeating Moorwing
Moorwing does not pay out an immediate item drop. The victory is significant since it uncovers the way to Bellhart, a highly significant area that is tied to the main questline known as The Threadspun Town. Progress through this zone is inevitable, so Moorwing is a hurdle you can no longer avoid doing for long.