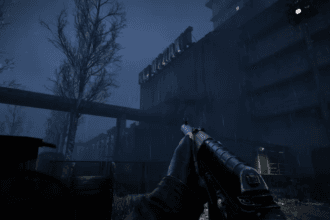
The battle with the Matriarch in ARC Raiders can be challenging, but not unachievable. This guide outlines the flow of the Matriarch fight, the areas the Matriarch spawns, and why the Matriarch is so formidable. With proper preparation, strategic placement, and patience, the player can endure the fight, overcome the Matriarch’s defenses, and collect the Matriarch Reactor without solely depending on luck.
What Makes the Matriarch So Dangerous
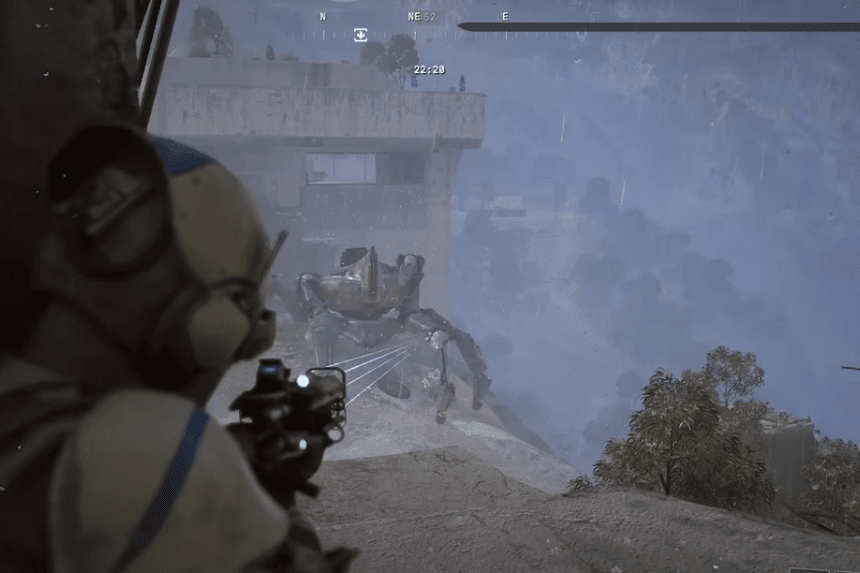
The Matriarch has a strong armor system but also has a layered construction. Each section of it is a separate segment of the body, with protective plating on the legs, core, and reactor area. Damage done to the Matriarch’s body until her armor is removed is largely wasted.
She also controls the battlefield. Distance doesn’t matter to her, cover is temporary, and staying exposed for even a few seconds can be lethal.
The Matriarch is a very dangerous opponent with an enhanced, highly protected body that has a segmented ARC design. She has a very powerful long-range energy weapon that can aim at opponents from far away. When she is defeated, you will receive the Matriarch Reactor item used in crafting legendary items, such as the Aphelion Rifle.
How the Matriarch Fights
The fight is less about reacting and more about surviving sustained pressure. Her attacks overlap constantly, forcing players to stay mobile while never straying too far from cover.
- She can shoot a huge flashbang that will fly an incredible distance and go right through windows. Once it lands, the explosion area is huge. Most of the time, the only way to keep from being hit is to look away in time.
- Homing missiles are her primary tool. They’re fast, aggressive, and track relentlessly. Rolling won’t save you, and standing in the open almost guarantees you’ll go down.
- Typically, Matriarch doesn’t fight alone. Regularly, small ARC teams will arrive to help with the fight, then there are times when she will call for heavier backup (the most common example being Rocketeers or Bastions). Failing to pay attention to these additional units typically results in a poor outcome.
- Occasionally, Matriarch will create a protective dome that makes incoming shots ineffective. If you shoot while the dome is up, you are wasting your ammunition. Be patient; wait for the dome to lower, so you can attack again.
Where (and When) She Appears – Spawn Location
The Matriarch doesn’t spawn randomly. She only enters a match when her dedicated dynamic event is active. That event can occur in three locations, each with a fixed spawn zone. Known Spawn Areas:
- Dam Battlegrounds: Water Towers
- Spaceport: Between Rocket Assembly and the Launch Towers
- The Blue Gate: South of the warehouse complex, near the ridgeline
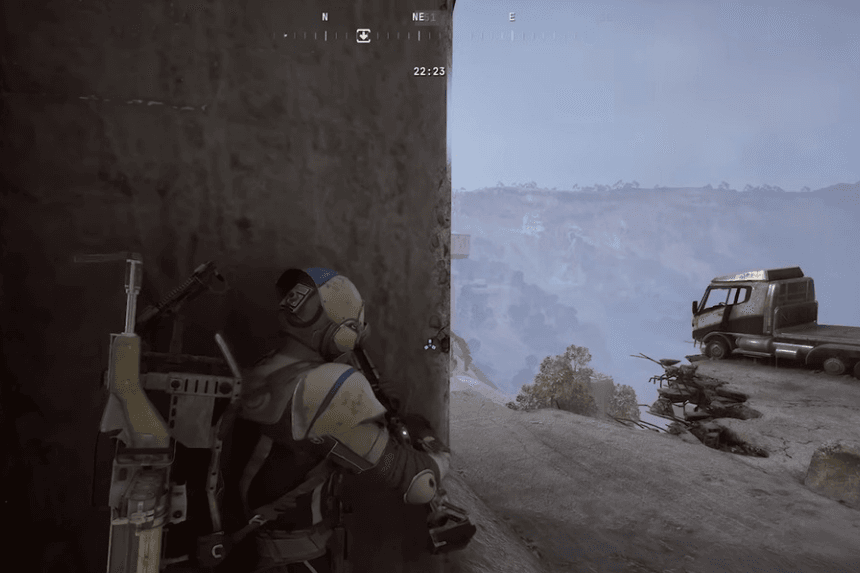
How the Fight Actually Plays Out
A safe place to engage is from an elevated location for you and your crew to use as cover near you. The most serious threat is missiles; the only protection you will have against them is good cover. If you use Barricade Kits properly, you will be able to expand your area of safety, but they are a temporary solution and won’t last forever.
Be patient if other Raiders have already engaged in combat with her and are drawing her attention. Wait until she is no longer paying attention to them before attempting to attack her legs. Breaking the armor on her legs exposes her inner cores, and breaking these cores causes her to fall down and provide a very brief opportunity for attack.
She might fall in a way that allows you to strike either from the top or bottom before she recovers. The Rocketeer may target you due to being isolated or alone; stay aware of this and don’t get caught unprepared.
Where to Deal Real Damage
The primary target on this ship is the helmet plating. When the helmet plating fails, internal power supply reactors are exposed. Power supply reactor damage is the most critical part of the ship as it is where the ship’s power levels originate from. Sustained fire from firepower like the Hullcracker and Anvil will deplete the ship’s power levels at an increasing rate and escalate the progression of the burning state for the ship.
Use Wolfpack Grenades in this situation as well as for the remaining exposed phases. Wolfpack Grenades have an advantage because they actively seek out weak spots on targets during the phases they are most vulnerable.
Patience, good positioning, and proper timing when it comes to disengaging from a situation will determine win or loss. You must show respect to the encounter and only engage when it is advantageous. If you can draw her attention away from one weak position to another without forcing damage at an awkward angle, you may be able to defeat her, and the reward will justify the effort required.