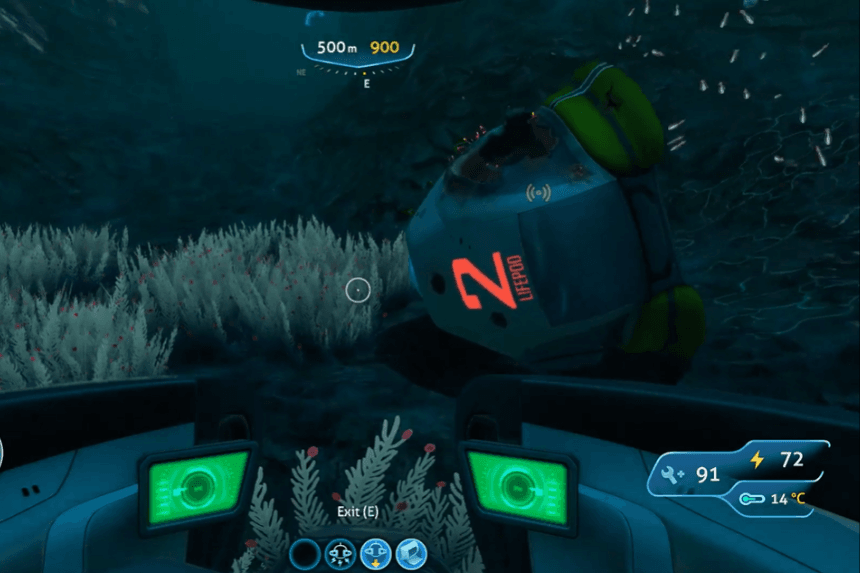
Lifepods are scattered crash wrecks of the crash of the Aurora, and each one has a piece of the crew’s storyline. They also hide useful rewards like blueprints, PDAs, and equipment upgrades that help you survive and explore deeper biomes. There are nine Lifepods that can be discovered, and each one is marked on your PDA after you receive the respective radio message.
With the exception of Lifepod 4, all of them have sunk beneath the waves. Below, we’ll cover where to find them, what dangers to watch for, and what loot you’ll gain from each.
Lifepod 5 – Your Starting Point
This is the one you begin in. Unlike the others, it was held together reasonably well after landing and sits on the surface. It doesn’t have hidden loot, but it is your first home and crafting hub until you build your own bases.
Lifepod 2 – The Deepest Pod
Biome: Blood Kelp Zone
Depth: ~500m
Usually the final distress call you’ll receive, Lifepod 2 lies far below in the Blood Kelp Zone. Its depth makes it one of the trickiest to reach, so bring either a Seamoth with depth modules or a Cyclops. Inside, you’ll recover Chief Technical Officer Yu’s log and a data box containing the Cyclops Depth Module MK1.
Lifepod 3 – A First Step Beyond Safety
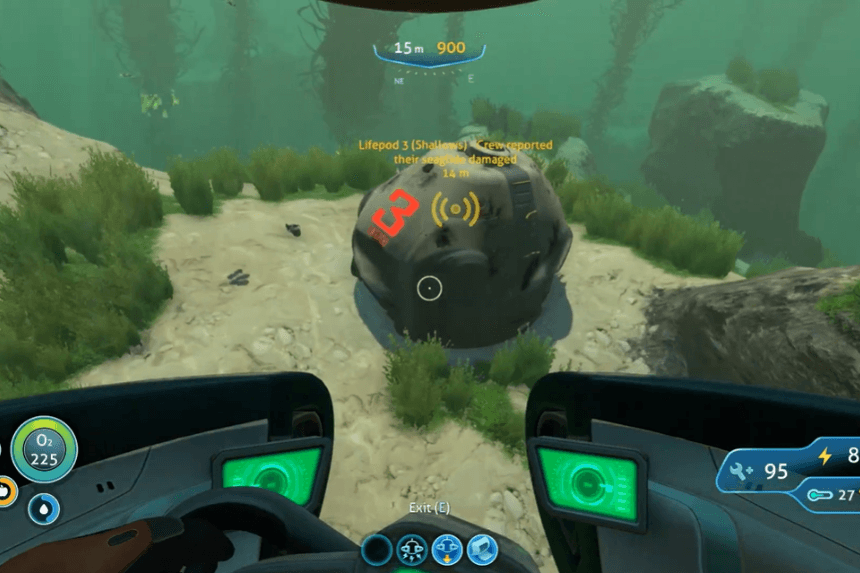
Biome: Kelp Forest
Depth: ~20m
Close to your starting location, Lifepod 3 is often the first you’ll investigate. Here you’ll find a Compass blueprint, a Seaglide fragment, and a Crew Log PDA. Easy to reach, it’s a good introduction to how lifepods reward exploration.
Lifepod 4 – Still Afloat
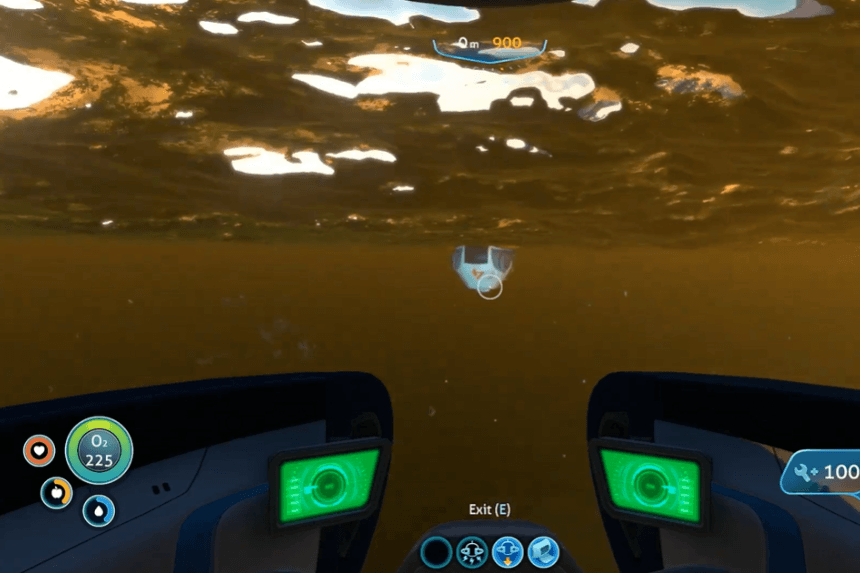
Biome: Crash Zone, near the Aurora
Depth: Surface
Unlike the others, Lifepod 4 didn’t sink. You’ll spot it floating near the Aurora’s wreckage. Inside is a Crew Log PDA and a data box containing the Creature Decoy blueprint, useful for distracting Leviathans when piloting large submarines.
Lifepod 6 – Speed Upgrade
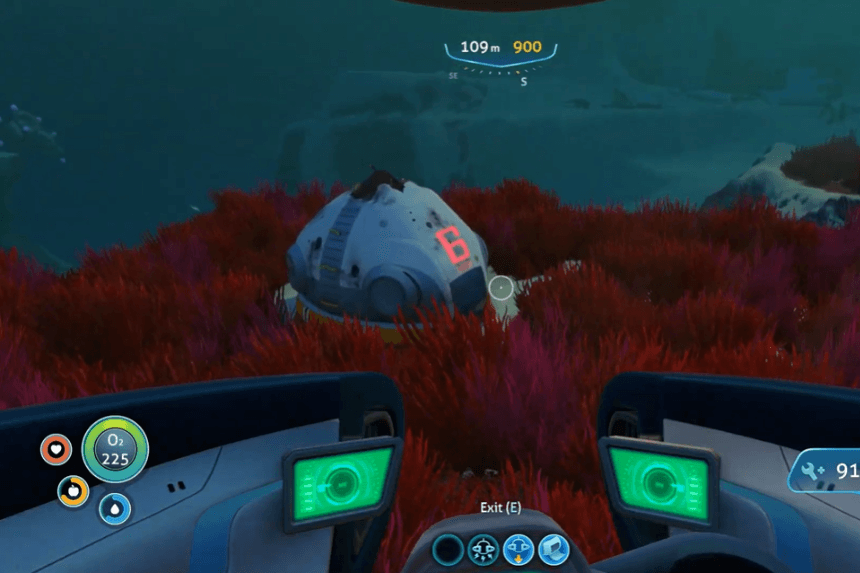
Biome: Grassy Plateaus
Depth: ~110m
This pod is situated deep in the Grassy Plateaus, surrounded by red grass and reefback patrols everywhere. Inside you’ll find two Crew Log PDAs and a data box that unlocks the Ultra Glide Fins to enable faster swimming on foot.
Lifepod 7 – Odd Relics
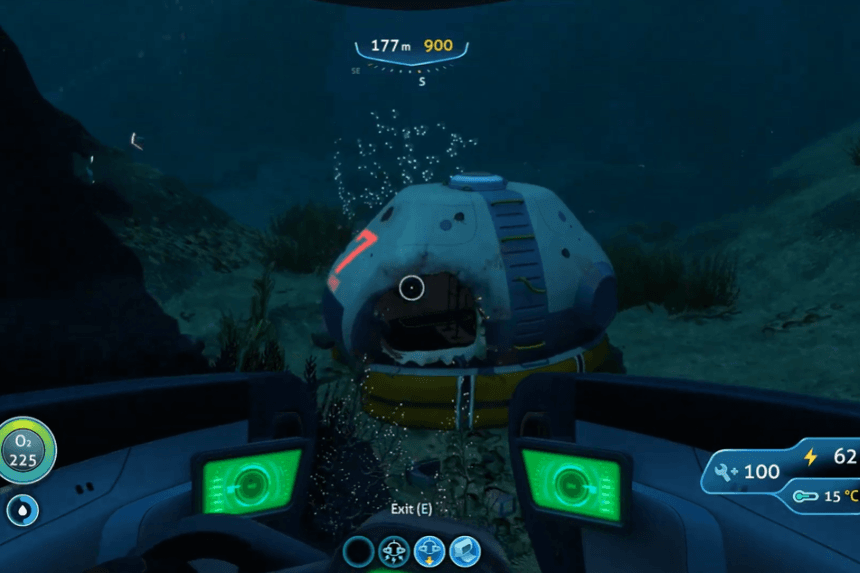
Biome: Crag Field
Depth: ~180m
Immersed in the uneven surface of the Crag Field, Lifepod 7 has a Crew Log PDA and two other strange Easter egg items: the Markiplier doll and another placeable ornament. A quirky reward compared to more practical pods.
Lifepod 12 – Bulb Zone Discovery
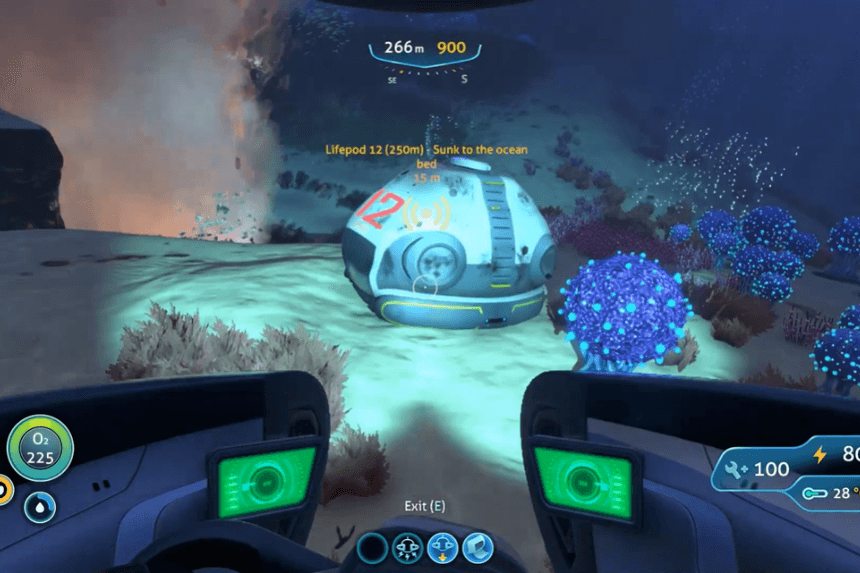
Biome: Bulb Zone
Depth: ~270m
Surrounded by radiant bulb plants, Lifepod 12 conceals a Crew Log belonging to Medical Officer Danby and a data box with the Repulsion Cannon design — ideal for repelling dangerous wildlife.
Lifepod 13 – Emissary’s Fate
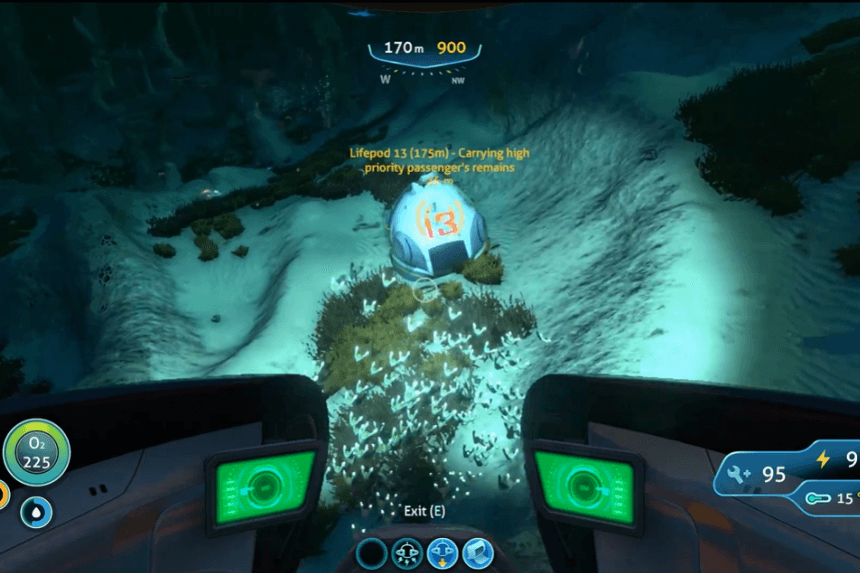
Biome: Mushroom Forest (northwest side)
Depth: ~180m
The Emissary’s Voicelog PDA and another Ultra Glide Fins design are housed in this pod. The Mushroom Forest is teeming with resources and fragments, so this mission frequently rewards twice.
Lifepod 17 – Seamoth Beginnings
Biome: Grassy Plateaus
Depth: ~90m
One of the pods that’s also been crashed in a field of red grass. Inside, you’ve got a Crew Log PDA and a Seamoth fragment, and these will give you an important step towards building your first submersible.
Lifepod 19 – Officer Keen’s Logs

Biome: Deep Sparse Reef
Depth: ~300m
Of all the pods to engineer, perhaps the most rewarding is Lifepod 19, which delivers two PDAs containing Officer Keen’s voicelog and crew logs and a data box containing the Ultra High Capacity Tank blueprint. This upgrade significantly extends your dive time, so it is a must-have when traveling down into lower regions.