To initiate the quest, go to Kaifeng and enter the Jadewood Court region. Within the region, you’ll see that there is the Martial Temple. Enter the temple and talk to the Mysterious Painter who stands inside. After having a brief conversation, the quest shall activate, and a marker shall point to the west side of the Martial Temple.
Before continuing, it’s always good to come to the task at hand prepared. Some of the puzzles around the Norway mission will require you to have certain tools with you, so getting them within the first few missions.
Also Read: Where Winds Meet: How to Unlock Lion’s Roar Mystic Skill
Recommended Preparation
| Requirement | Why You Need It |
| Meridian Touch Mystic Skill | Necessary in bell-and-knocker puzzles |
| Fire Arrows | Used for lighting of ceiling lamps and removing obstacles |
| Decent Healing Supplies | Plague damage can quickly add up |
Fire arrows being scarce, look for an available quiver in the temple, or make some yourself before proceeding.
When ready, proceed as the quest objective indicates onto the rooftops and into the Martial Hall.
Looking for Footprints of The God of Killing
Within the Martial Hall, interact once more with the Mysterious Painter at the indicated spot. Afterwards, you will be prompted to light up the suspended lanterns by using fire arrows. You will then be able to access the surrounding corridors. The jade bell and knocker mechanics are also introduced in this stage.
You will also gain access to a new emote named “An Unholy Prophecy.” The Painter has explained: “To fulfil the prophecy, you must stand in place of the God of Killing and take his pose.”
Approach the marked platform nearby. Access the Puzzle Emotes menu. Select the emote An Unholy Prophecy. This triggers an unknown mechanism in the temple, which lowers a platform.
Investigating the Underground Passage
After going underground, turn left into the passageway opposite the gated entrance. Walk down the passageway until you meet the guards and kill them to unlock the route.
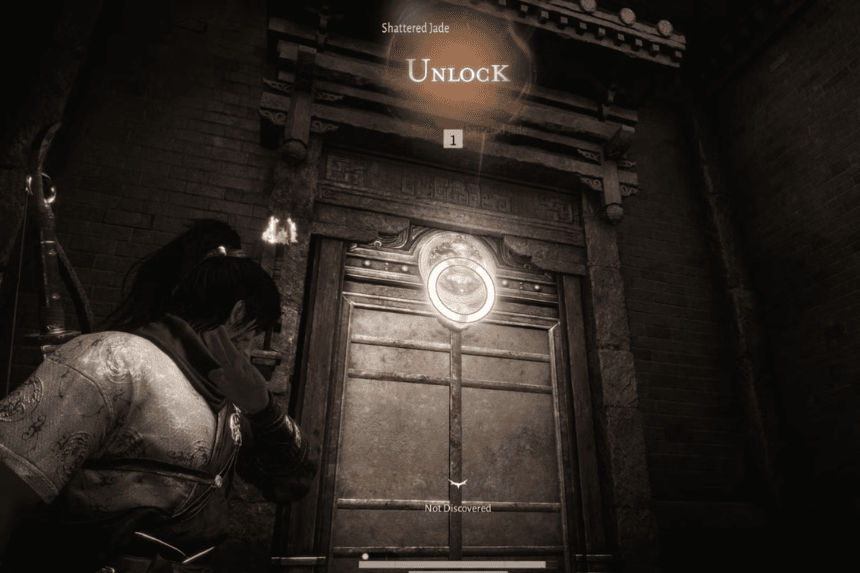
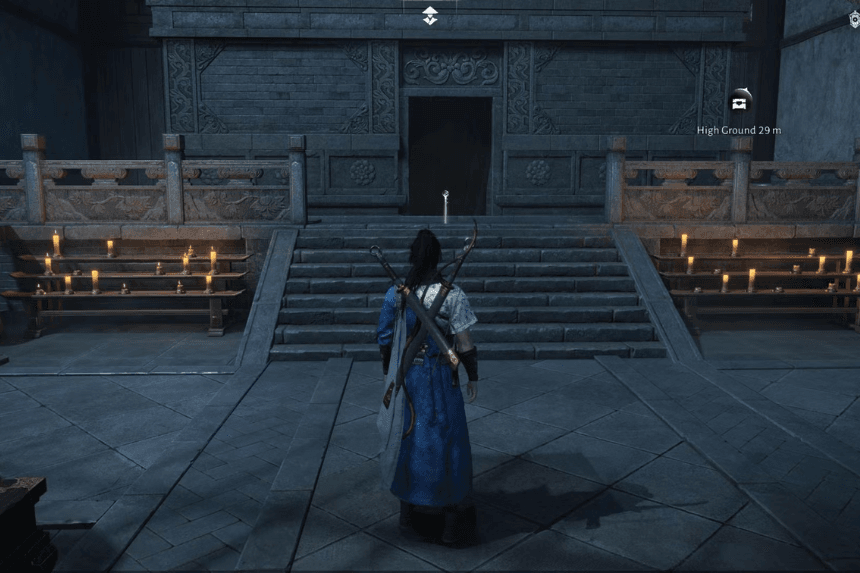
Your first major puzzle door comes up ahead. Ring the jade bell first, followed instantly by Meridian Touch on the door knocker. Over the next doorway is the Grand Arsenal Hall, an enormous chamber filled with weapon exhibits and suits of armour.
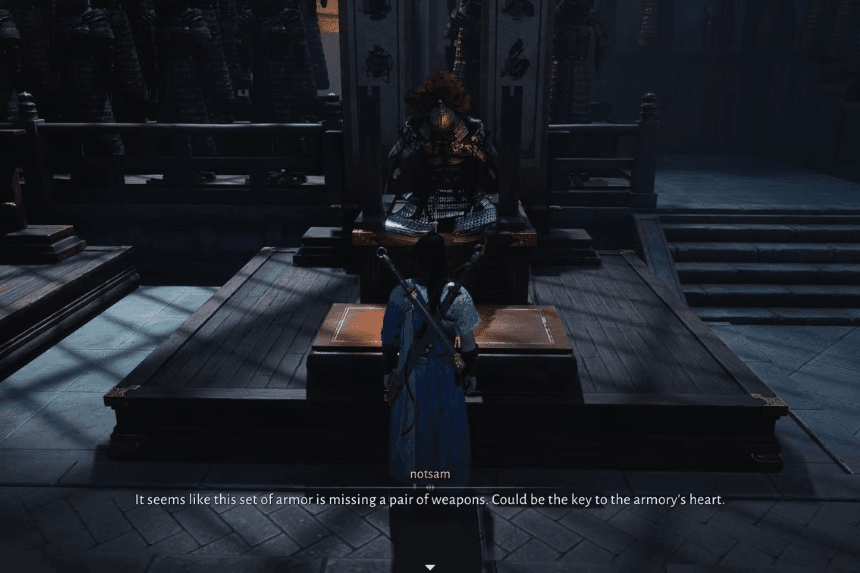
As you move down the hall, you will come across several enemies. Once you have defeated them, look at the armour pedestals, and you will see that two of them lack weapons. The only way you can move further is by obtaining a long weapon and a short weapon from the left and right sides of the hall.
Also Read: Where Winds Meet: Qinghe and Kaifeng Boss Locations
Uncovering the Long Weapon (Left Wing)
The left side is dominated by traps that rely on timing. Go down the stairs and proceed to a corridor with retractable wall spikes. Timing the rhythm of the spikes and running forward when they retract is essential.
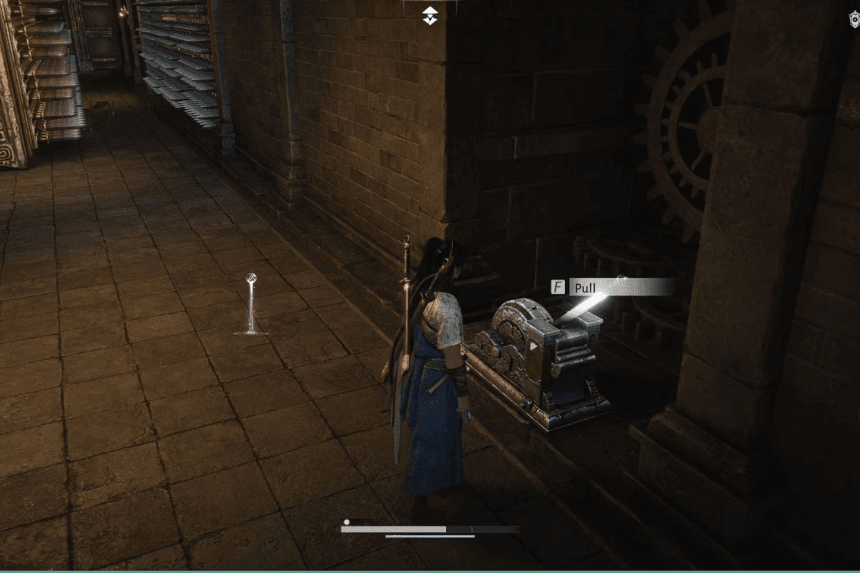
At the end of the corridor, pull the lever. This brings on the mercenaries to chase you. Turn the traps on them to clear your way ahead by reactivating the spikes.
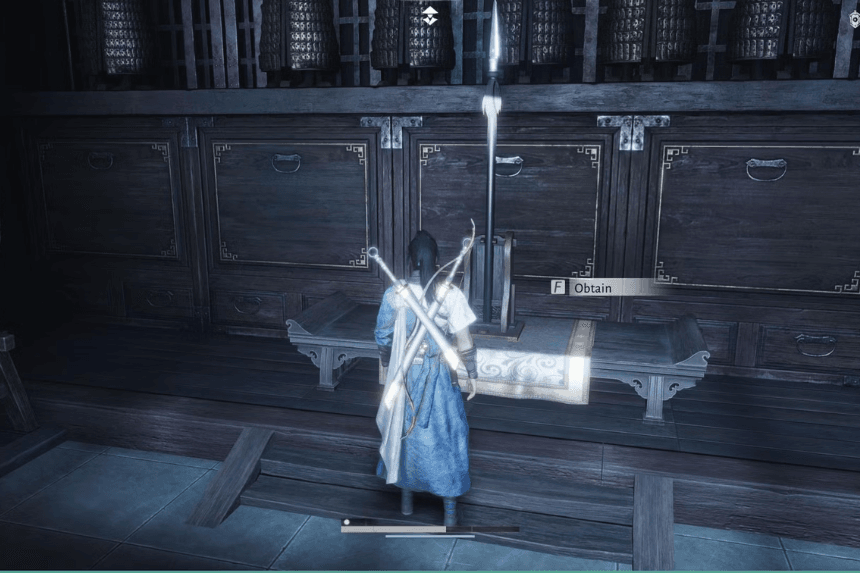
Further in, you’ll come across another bell-and-knocker door. Solve it in the same way as before, leading you to a guarded room with a spear. Kill the enemy and take it.
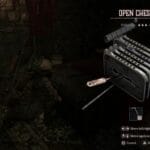
Now, you will enter an arena filled with vertical platforms. Be careful and jump up to enter the Grand Arsenal Hall again. Do not miss the opportunity to explore the chamber you entered from, where a chest is hidden.
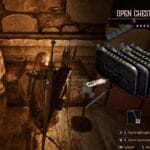
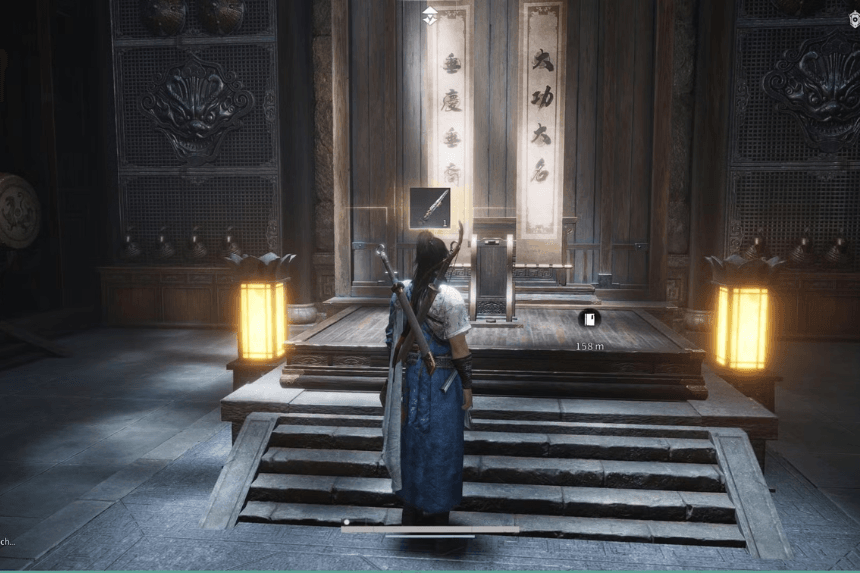
Further down on the left wing, there are additional spike corridors and another lever. Soon after, you’ll come upon rooms where the Silver Spear of Discipline and then the Spear: Rampage are found. Once you have defeated the enemies protecting these weapons, go back to where the armour exhibit is and press it to activate Long Weapon Returned.
Locating the Short Weapon (Right Wing)
The right side of the level mirrors the left but also offers fresh dangers in the form of ceiling spikes that can spring out at any time. A high level of patience is required in this part of the level, as opposed to speed. The final part of the
Crouch and move only when the spikes are retracted, then pull the lever to proceed. Following another bell and knocker puzzle, you will encounter a guarded soldier who shields a short weapon.
If you find it difficult to punch a breakthrough in the defence, then the Tai Chi mystic skill is also highly effective, staggering the enemy and then finishing him off.
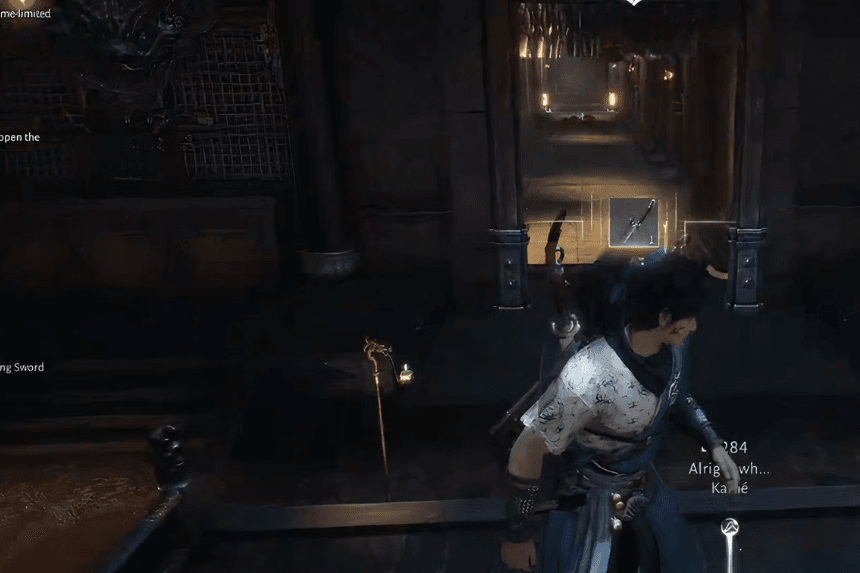
Once the weapon is collected, a circular room with a spiked pit in the middle must be traversed by jump platforms. Avoiding the spiked pit, the Triumph Sword or Blackcloud Long Sword will be obtained after fighting enemies.
Once the right wing is cleared, get back to the Grand Arsenal Hall and select Short Weapon Returned from the armour exhibit.
Entering the Hidden Door

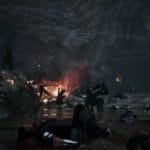
With the weapons in hand, a short cutscene ensues while the armour activates a hidden device. A secret door swings open, which leads to a final room full of traps.
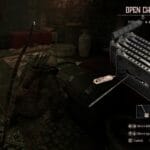
In this section, rising spike floors are featured. Sprint and jump quickly, without any delay, and do not linger on the platforms. After escaping, find the chest in the following room and trigger the last battle by opening it.
How to Defeat Shi Zhen
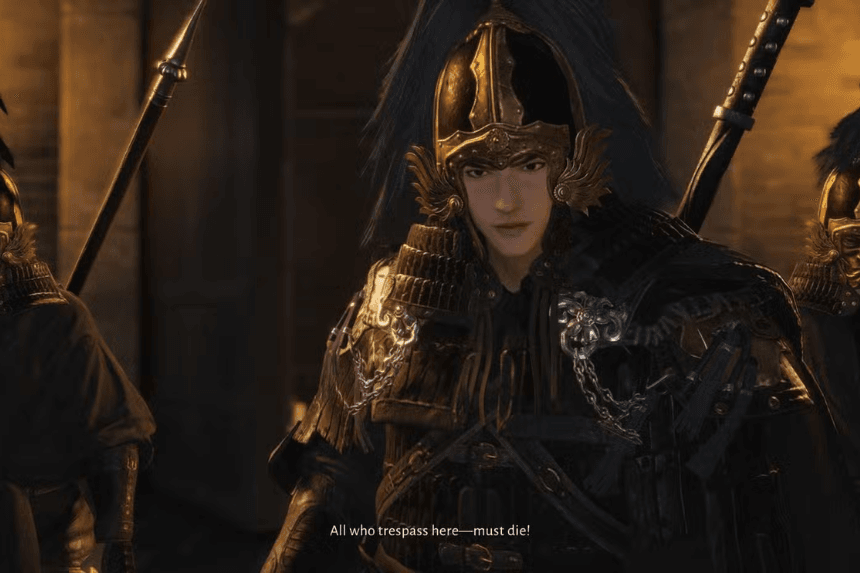
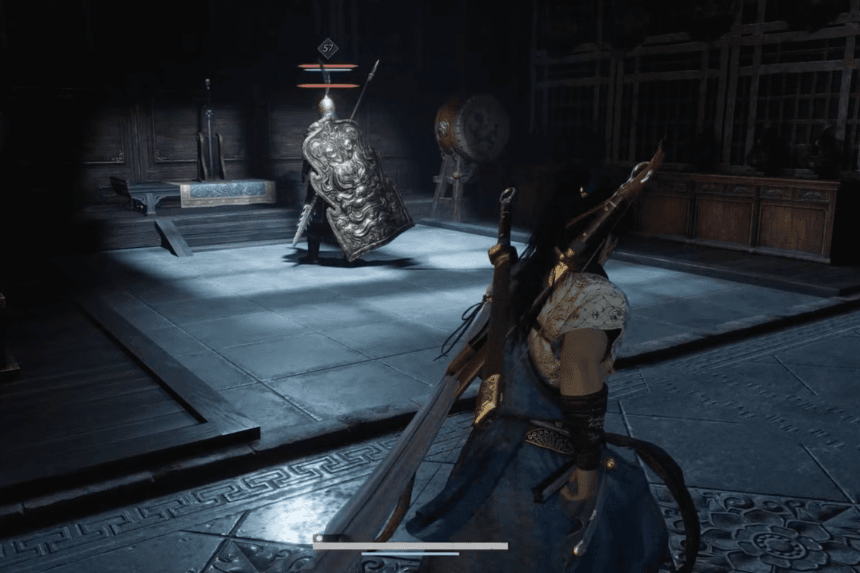
The fight against Shi Zhen is dangerous primarily because he is not alone. He comes to the fight with four guards. Mindless aggression is all that is required to be immediately overmatched.
These words from “The Art of Power” advise to find an opening in your opponent’s Your primary goal at the beginning of the battle is to eliminate the guards. Take them down one by one to avoid being stunned or flanked by Shi Zhen’s powerful attacks. Once the room is cleared, the fight becomes much more manageable.
Just dodge his slow but heavy attacks and then counter by chipping away at him until he goes down. After the fight, a cutscene follows, during which you can loot the chest that is nearby.
Also Read: Where Winds Meet: How to Increase Elegance
Quest Completion
Follow the quest marker back out of the underground tunnel. The Mysterious Painter will be waiting for you when you emerge back on top. Talk to him one last time in order to finish An Unholy Prophecy.
It’s an arduous task, and it has become memorable due to puzzles, traps, and battles that give it one of the most memorable Fragment Chapters in “Where Winds Meet.”