Where Winds Meet is chock-full of boss battles, some of which are hidden in the open-world areas of the game, while others are actually related to the storyline. Dao Lord is one such boss battle that is related to the storyline in Chapter Two, and it is one of the most chaotic battles you’ll encounter in the game if you’re not prepared for it.
This walkthrough explains where you can expect to encounter Dao Lord, as well as strategies for both stages of battles with Dao Lord.
Also Read: Where Winds Meet: How to Complete One Leaf, One Life Lost Chapter Quest
Dao Lord Boss Location
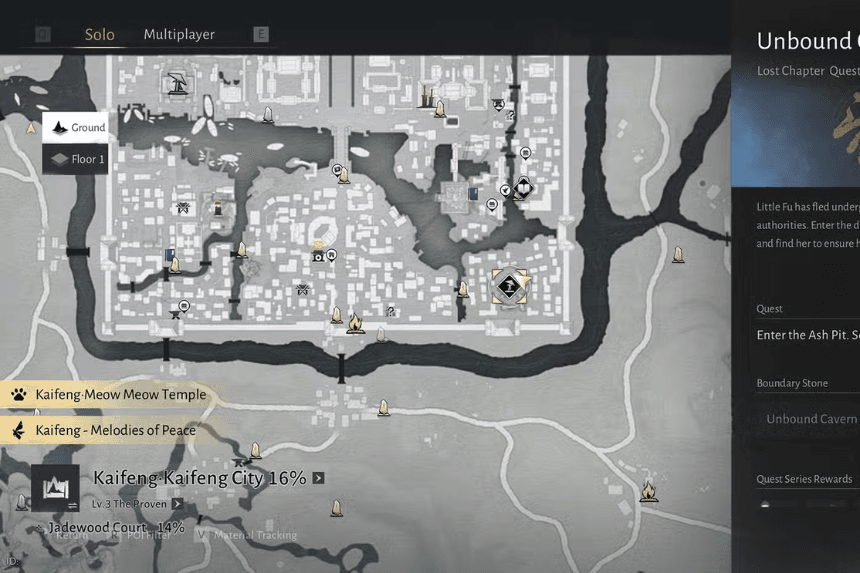
Dao Lord is encountered late in the Unbound Cavern Campaign, which is unlocked through the Accident quest in Chapter Two of the main storyline.
Following the series of events with the purloined treasure basins and the authorities, this quest must be cleared before progressing through the storyline, with Dao Lord encountered at the end of it.
Also Read: Where Winds Meet: How to Complete a Kindred Steed Encounter Quest
Key Mechanics to Watch Out For
To get into specifics about attacks, it is important to understand what makes this encounter complicated.
| Mechanic | What It Does |
| Blind buildup | Narrows your field of vision and releases target lock |
| Multi-hit attacks | Lots of combos occur multiple times in rapid succession |
| Short Parry Windows | There are some attacks that need accurate timing |
| Split phase | Dao Lord splits into three adversaries for Phase Two |
Blindness is the greatest issue here. If it is accumulated, it would become more difficult to track the boss. Therefore, positioning as well as good parries are more important here.
Phase One: Dao Lord’s Main Form
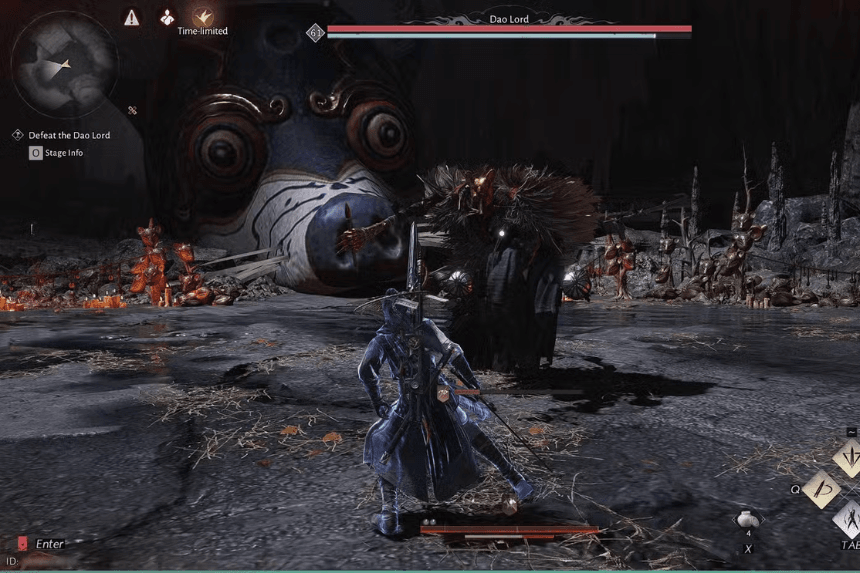
Dao Lord is very aggressive with his openings, rarely allowing you to breathe.
One of its most frequent opening attacks is a spinning sweep combination. The boss stands up for a brief moment before spinning while conducting its weapon sweeps a number of times before ending with a head slam. The lag between spinning is consistent enough that it is possible to parry the attacks on beat. Be careful, however, as the head slam at the end is slightly laggy.
Occasionally, Dao Lord goes directly into the final spin attack with a head slam. This is similar to the wind-up, except the shortened pattern can mess with your timing if you’re used to the full combo.
When you spot Dao Lord drawing back his spear, prepare for a rapid-forward charge attack. This is easier to parry with some distance between you, allowing you to get a better look at the attack.
A further high-risk attack is begun with Dao Lord expanding its arms outward before charging into a flurry of thrusts that culminate with a powerful slash attack. These attacks get dealt quickly with serious damage, so either parry through or dodge through the entire attack.
You would also need to defend yourself against two slashing attacks—diagonal slashes that combine into one slash, and a wide cut attack. Their timing for parry is difficult, though it is consistent once you understand the slash attack animation.
When you attempt to maintain a distance, Dao Lord could react by firing three tidal waves of projectiles. This is very hazardous, especially for ranged characters. However, deflecting the tidal waves is one effective way of dealing with Qi damage.
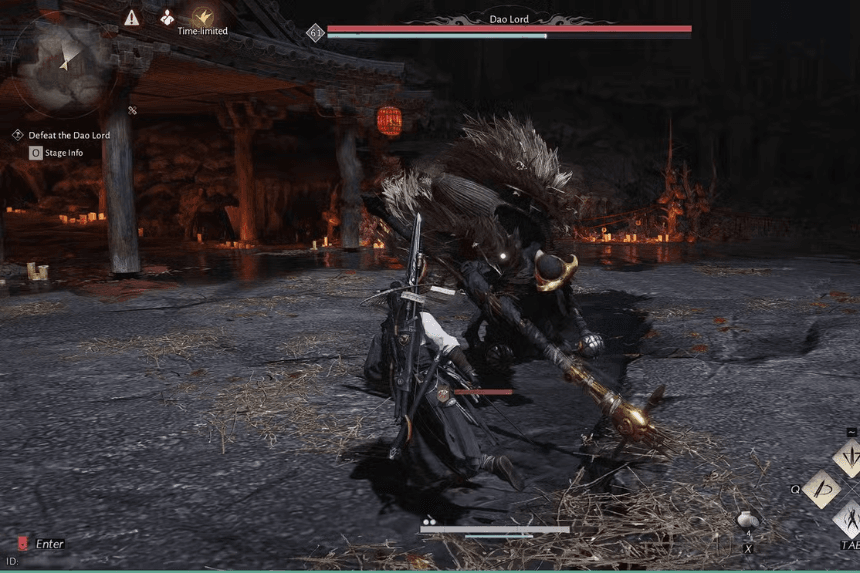
Phase Two: “The Split”
Once the health meter of Dao Lord is depleted, things change drastically in combat. You no longer have to encounter one enemy but three smaller Dao Lords, with each of them wielding a different weapon.
| Variant | Weapon | Key Threat |
| Hammer | Large blunt weapon | Jumping Slam attack |
| Dagger | Light weapon | Fast dashing strikes |
| Spear/Projectile user | Ranged Pressure | Burrow and Projectile Attacks |
While they are not individually frightening, finding oneself attacked by the trio could quickly get out of hand. It is often sufficient to back away and get enough space between the trio to get them apart one by one.
- Hammer-wielding Dao Lord charges for a brief moment before jumping into a slam. Parry it right before it lands to counter.
- The Dagger-wielding Dao Lord has quick dash attacks. These can be parried easily, leaving it vulnerable to attack.
Eventually, all three of them would start tunnelling underground, only to resurface again to throw projectiles. Each time they resurface, you could knock them down by shooting an arrow at them, nullifying their attack. This would continue for a few instances before they revert to fighting each other.