In Grounded 2, you are able to survive the giant wilderness either alone or cooperatively. If you want to play alone, there’s still a lot of assistance — such as ridable bug companions, or Buggies. The Red Soldier Ant Buggy is one of the first and most crucial mounts that you can acquire. Unlocking it requires some work and risk, but it’s a large early-game reward that provides a huge boost.
This is how to explore the Snackbar Anthill and brood your own ant friend.
Unlocking the Snackbar Ranger Outpost and Constructing the Hatchery
Your initial priority is constructing a Hatchery — the building that enables you to hatch and tame a Buggy. This becomes accessible when you’ve unlocked the Snackbar Ranger Outpost, which is located between the Entrance and the Snackbar Front zones.
In order to construct the Hatchery, you will require a number of resources. A majority are quite accessible throughout the park. Mites, for example, can be found just outside the Snackbar Ranger Park. Acorns develop along the crests close to the tree in the Entrance region. In order to harvest Weed Stems, it is possible to chop down dandelions using a standard axe, though thicker vegetation will need a better Omnitool.
Once you’ve acquired a sufficient amount of Weed Stems, Acorn Shells and Top, and Mite Fuzz, you’ll be prepared to build the Hatchery and proceed with getting an egg.
Finding a Red Soldier Ant Egg in the Anthill
This method of domestication is different from taming a random ant, as it needs you to hatch one from an egg — namely a Red Soldier Ant Egg, which you can find in a very particular spot.
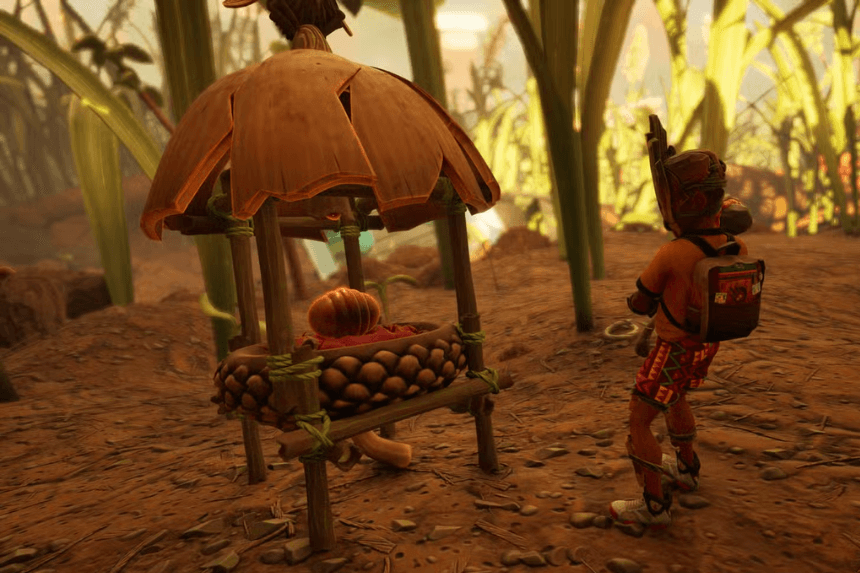
Head toward the Snackbar Anthill: South Entrance, located in the northeastern part of the Entrance area. Before entering, be sure you’re well-equipped with armor, weapons, healing items, and torches. The anthill is packed with hostile insects and dark, winding tunnels.
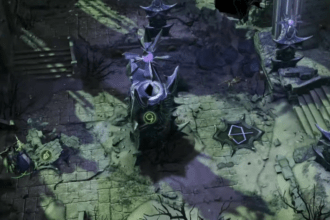
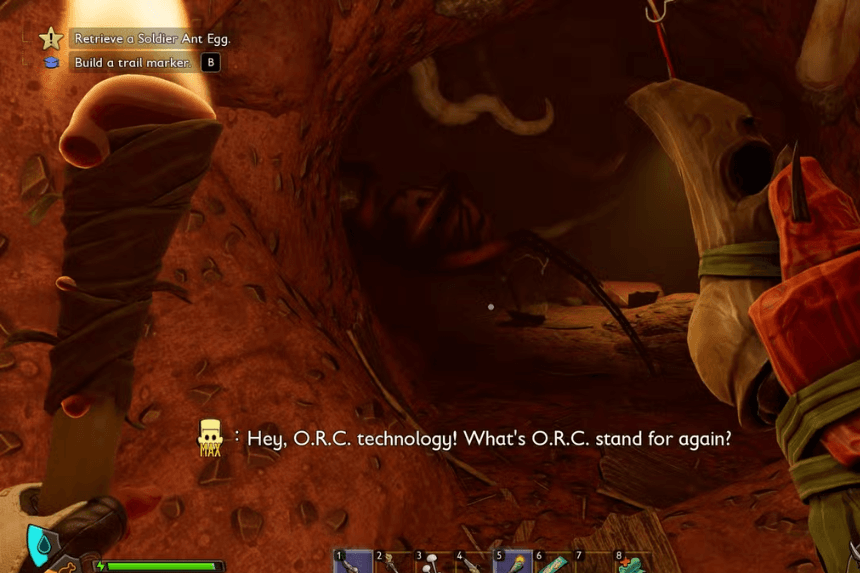
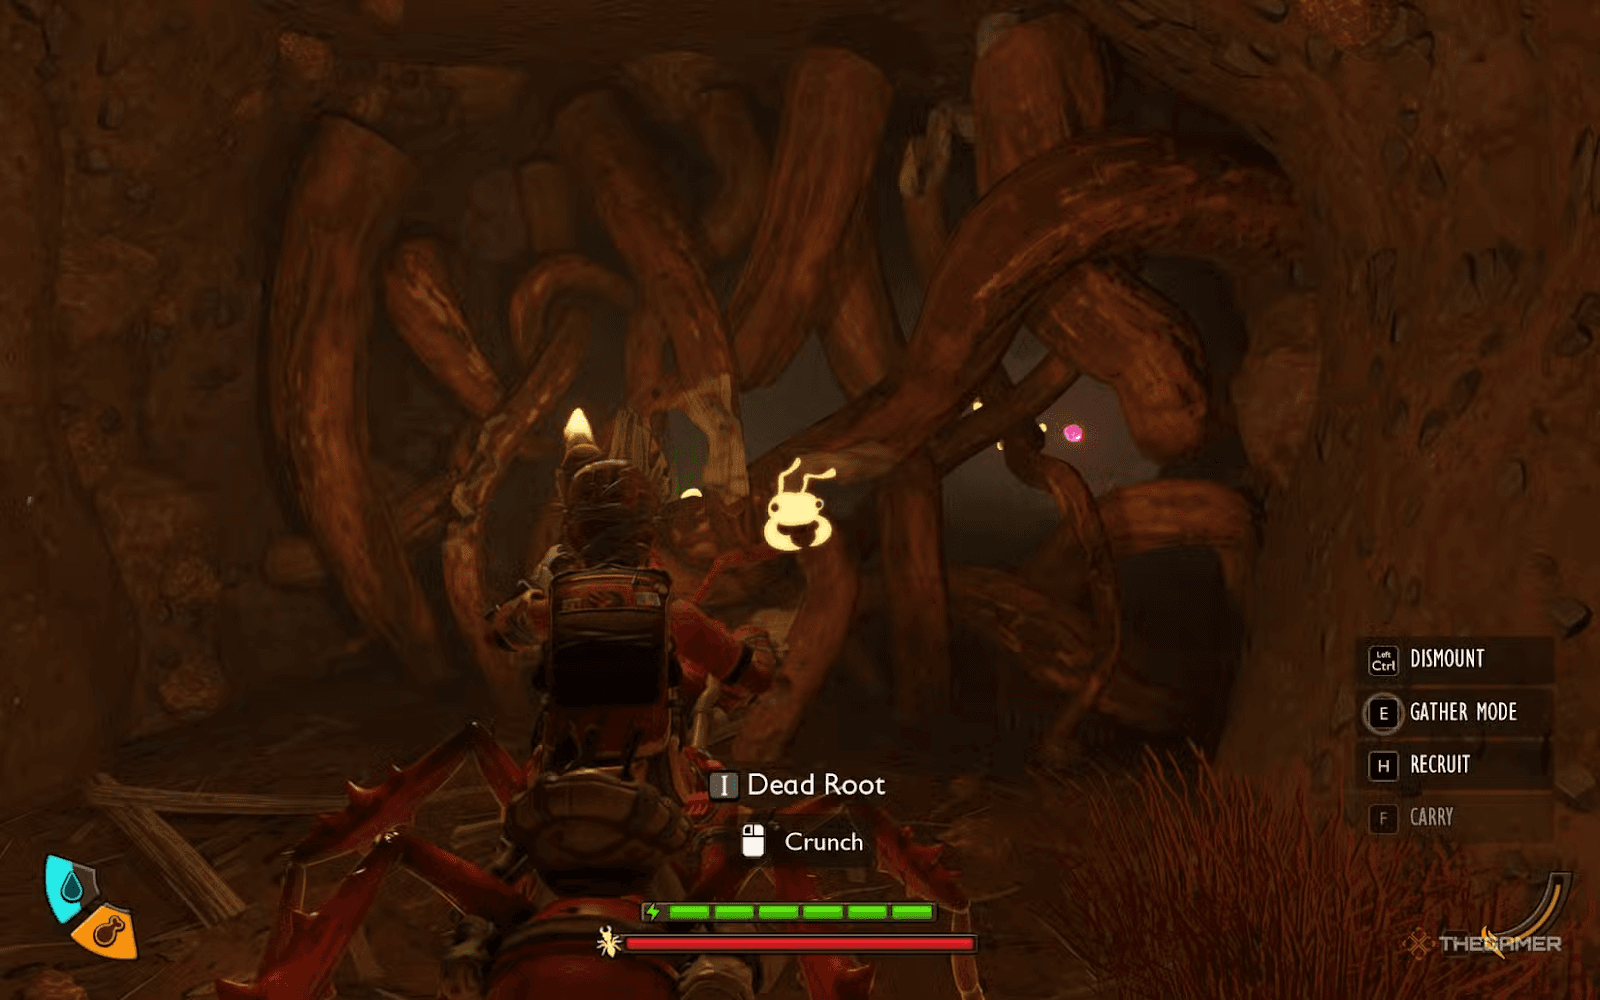
After entering, stay on the main path and head downwards. You will encounter Red Soldier Ants and a tough O.R.C. along the way. There are side-labs, though, that hold supplies as well as beds to set a temporary respawn point. You will eventually find yourself at a lab that has an egg suspended in a tank. Continue through the tunnel past that lab until you come to a chamber filled with Red Soldier Ant Eggs.
Taking one of these eggs immediately will make all ants in the vicinity aggressive. You won’t be able to keep the egg in your inventory, either — it will have to be held in hand, which restricts your fighting capacity. You can return the way you came, or move forward into the anthill, which leads to an exit in the Snackbar Front area. The route is quicker but defended by mosquitoes.
How to Hatch the Egg

Now that you have your Red Soldier Ant Egg, head back to your Hatchery. You’ll also be needing some other materials to make the saddle that you can mount the ant with once it’s hatched.
Sprigs and Acorn Shells can be gathered quickly around grassy areas and near trees. For Grub Hides, you’ll need to craft an Omnitool Shovel and locate grubs by listening for their burrowing sounds and looking for dirt being tossed into the air. Dig up the area — you’ll either find a harmless grub or an aggressive larva.
Once you have everything, put the egg in the Hatchery. Hatching is twelve in-game hours. You can either continue your adventure or sleep to bypass most of the wait. Once the timer is done, go back and manually hatch your Red Soldier Ant.
Using the Red Soldier Ant Buggy
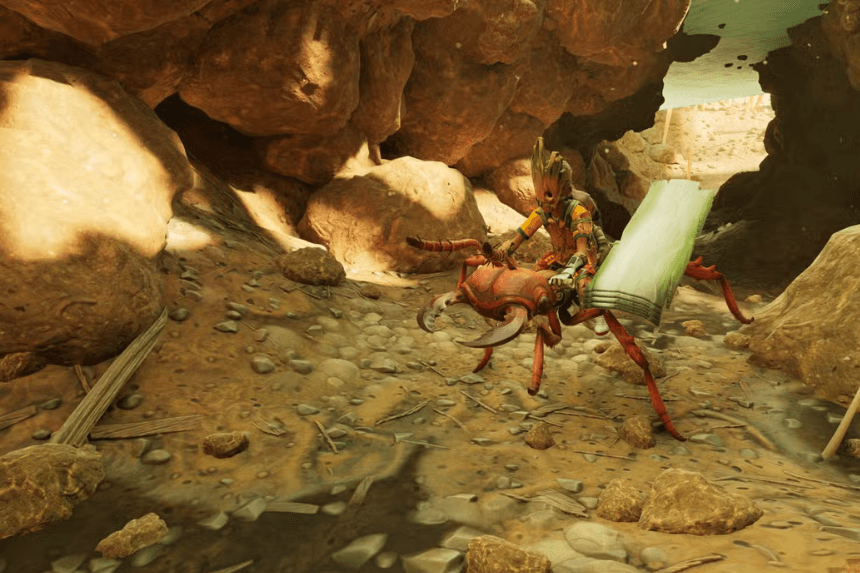
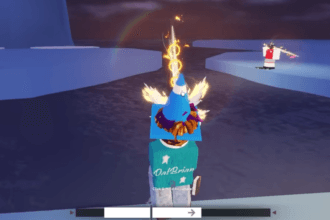
Once hatched, the Buggy offers several improvements over traveling on foot. You’ll move faster, jump higher, and be able to perform charged attacks that knock down multiple blades of grass at once. The Buggy also has its own inventory for storing items and can carry more building materials — up to twelve grass blades.
Riding it will also cause red ants to no longer perceive you as a threat, thus letting you visit their anthill without fighting. You will also be able to pass through some barriers with ant symbols to reveal new routes.
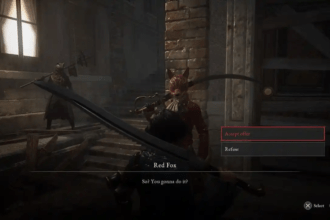
There is a catch: you won’t have access to your regular weapons when riding. Fighting is limited to the Buggy’s regular and special attacks. To assist in combat, you can hire a Worker Ant, who will accompany you and attack foes. They don’t inflict serious damage, but they distract enemies and provide space for you to flee or attack.
What to Do if Your Buggy Goes Down
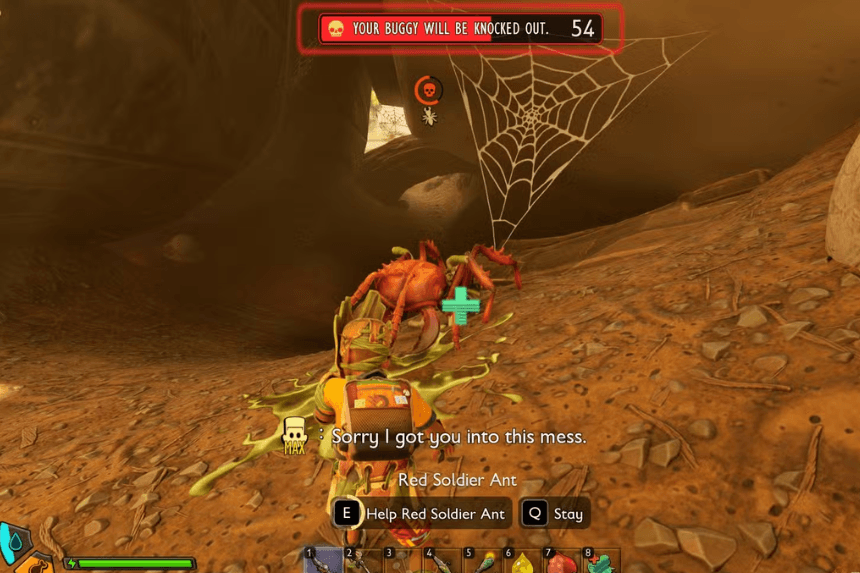
If your Buggy suffers too much damage, it will fall down. Thankfully, it’s not lost forever. After the area is clear, you can approach it and revive it. If you can’t revive it in time, it will vanish temporarily.
After it cools down for four minutes, you can use it again via the quick menu or by going to your Ant Nest, if you’ve constructed one. There are no permanent repercussions for a Buggy getting knocked out — indeed, you can utilize this as a diversion if you have to flee from a tough battle.